How to Convert Standard Hinges to Egress Hinges
How to Convert Standard Hinges to Egress Hinges Converting standard hinges to egress hinges lets a window or secondary door open wider and more quickly for...
How to Convert Standard Hinges to Egress Hinges
Converting standard hinges to egress hinges lets a window or secondary door open wider and more quickly for emergency escape. This is a common requirement in houses where a bedroom needs a safe second means of escape, and it is a task both UK trade professionals and competent DIYers can tackle with the right preparation. Below you will find practical, technically accurate steps, tools and trade tips to convert common hinge types while maintaining weather performance and security.
What an egress hinge does and why you might need one
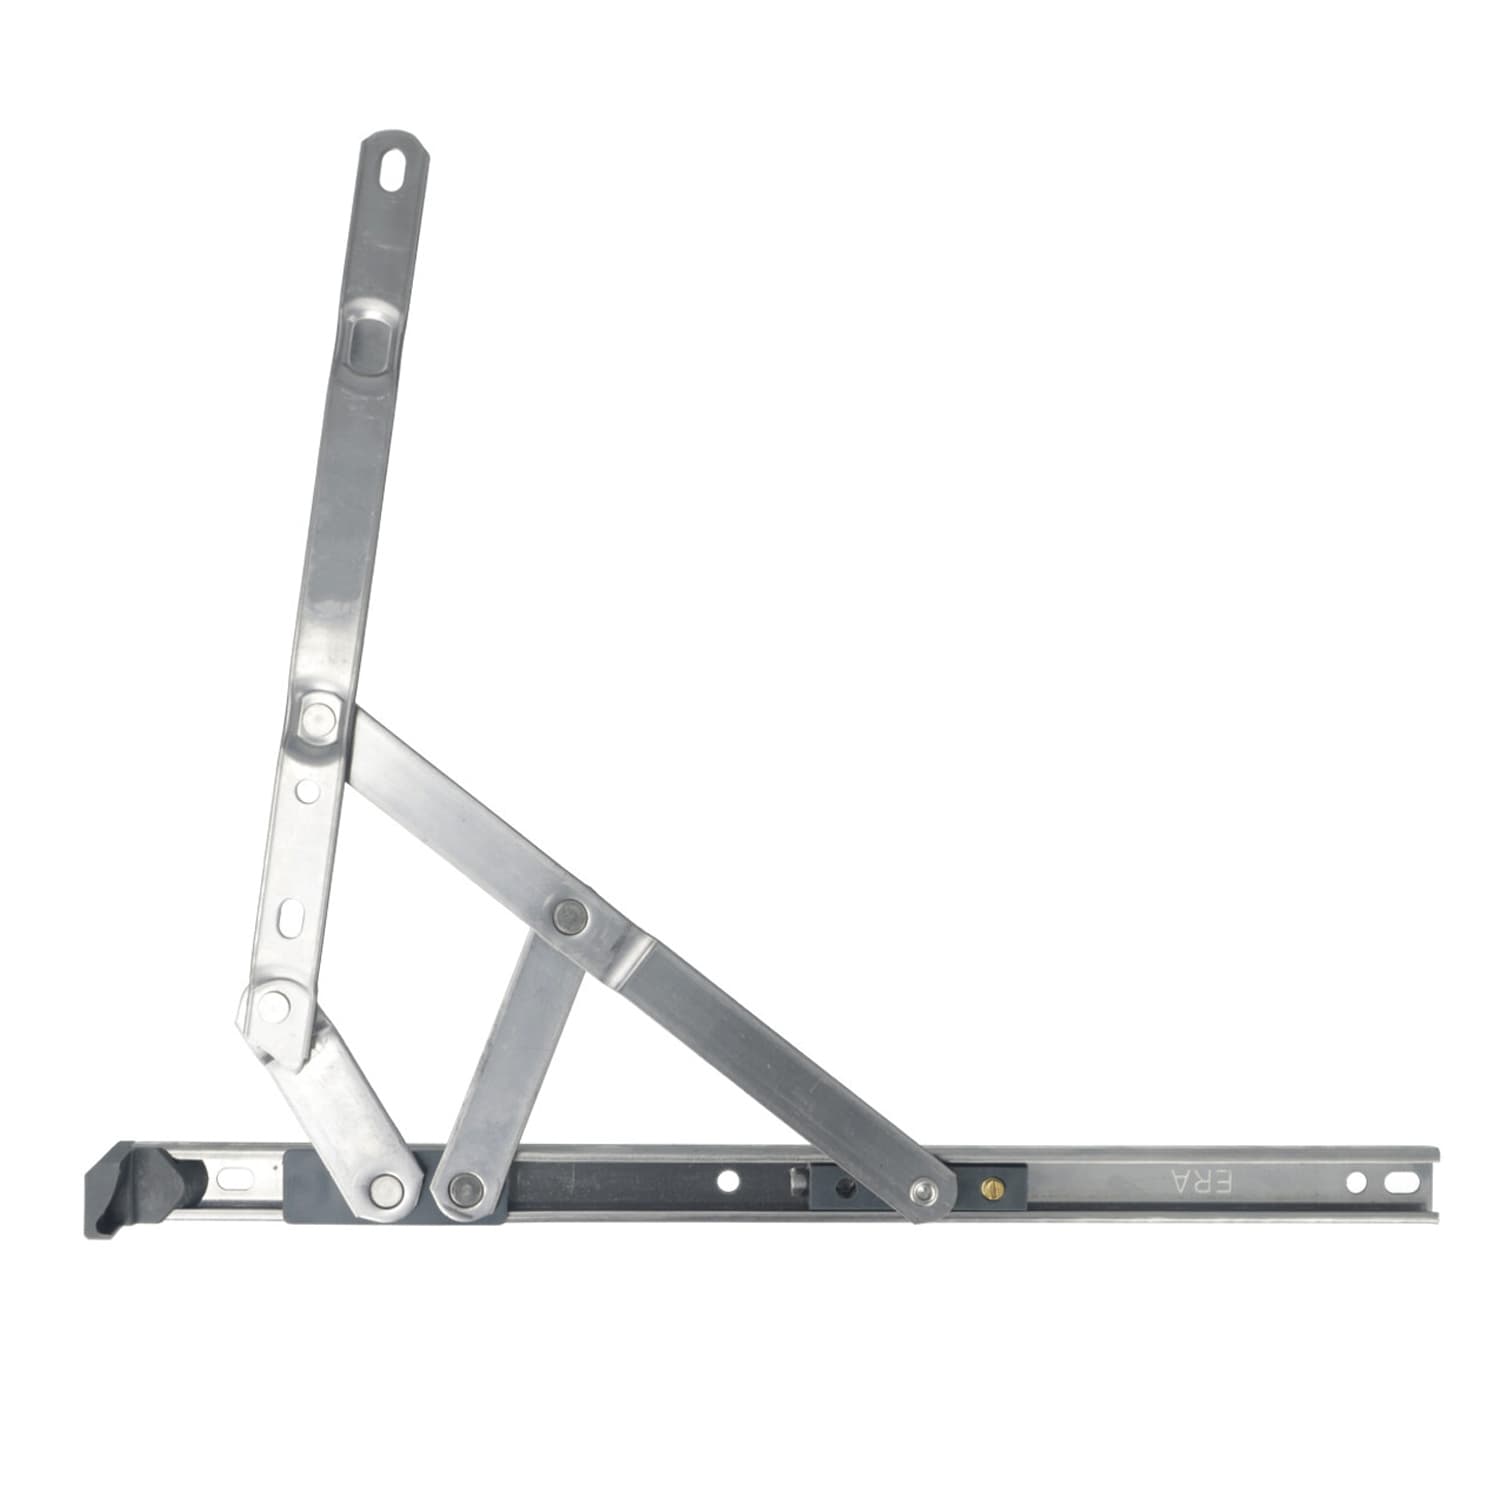
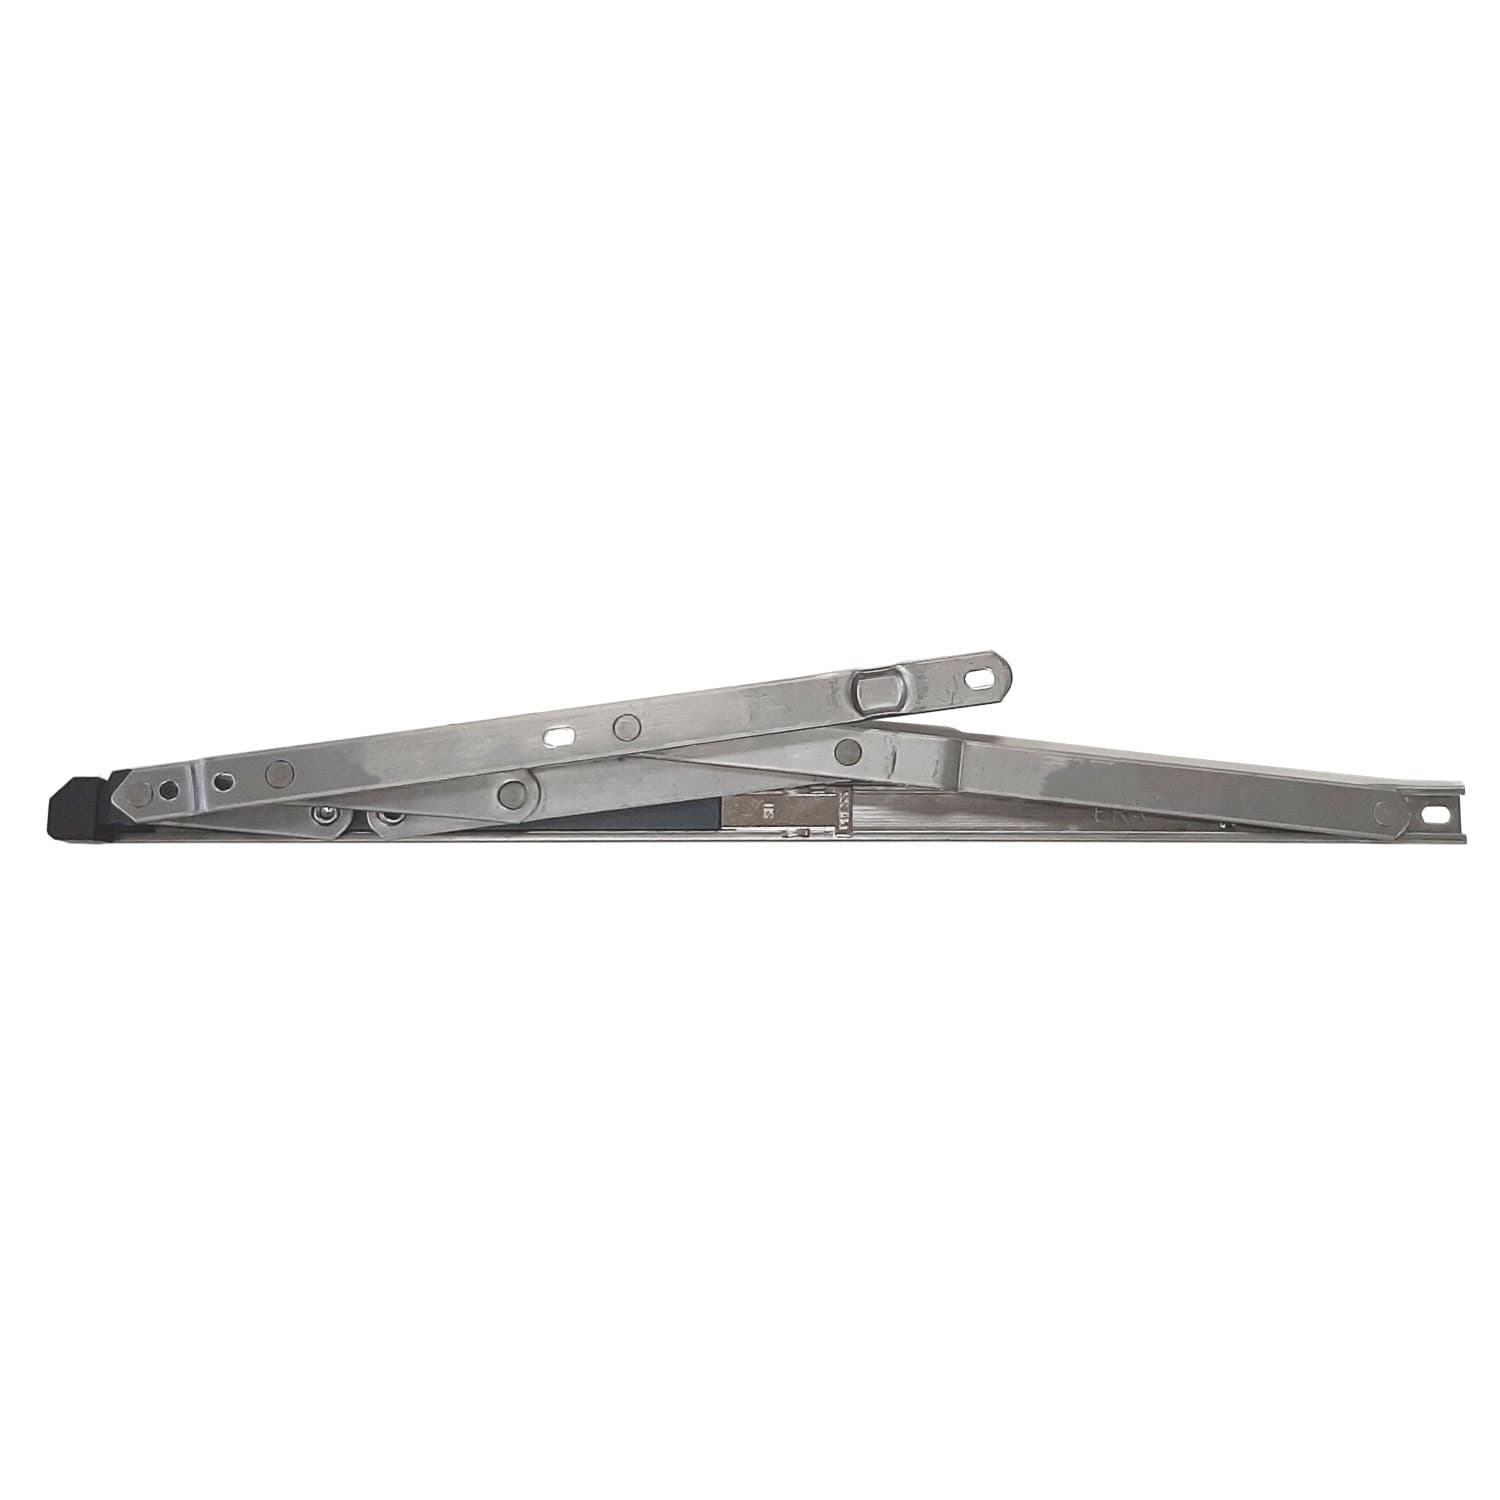
An egress hinge changes how the sash or leaf opens so the aperture becomes large enough and unobstructed for escape. On casement windows this typically means allowing the sash to swing beyond the friction stop to 90 degrees or more; on certain inward-opening secondary doors it removes impediments caused by standard butt or friction hinges. You might need egress hinges to comply with safety advice or to improve ease of exit; always check local Building Regulations and fire-safety guidance to confirm any required clear opening dimensions and escape route standards.
Assessment: what to check before you start
- Hinge type: identify whether the existing hinge is a friction stay, butt hinge, flag hinge or a multi-point pivot. Conversion is usually a replacement rather than a modification.
- Sash weight and size: heavier sashes need heavier duty egress hinges or additional hinge points; check hinge load ratings.
- Frame material: timber, aluminium or uPVC frames need different fixings and sometimes backing plates or reinforcement.
- Restrictors and locks: some windows have restrictors fitted for safety; decide whether to replace these with quick-release egress restrictors or remove them entirely where regulations allow.
- Weather and security: ensure the new arrangement can be sealed and secured as required; consider draught and water-shedding performance.
Tools and materials you will need
- Appropriate egress hinges rated for your sash size and weight
- Stainless steel or zinc-plated screws; 316-grade stainless for coastal environments
- Reinforcement plates or sash inserts for uPVC or thin aluminium
- Drill with correct bits, countersink, screwdriver bits, chisel, spirit level and square
- Sealant, silicone or compatible weatherstrip, and touch-up paint
- Personal protective equipment: gloves, goggles and a second person for lifting heavy sashes
Step-by-step conversion process
- Prepare the workspace: clear the area, prop open the window and support the sash. Use a sash prop or secure blocks; have a second person for heavy or large sashes.
- Remove the existing hinge: unscrew fixings and carefully lift the sash free. Note hinge positions and fixings so you can match screw centres when fitting the new hinge.
- Choose hinge positions: if the new egress hinge has a different geometry, mark new fixing points on both sash and frame. Maintain recommended distances from top and bottom to avoid twist. For heavy sashes add a third hinge midway.
- Prepare frame and sash: for timber frames you may need to chisel small recesses or countersink screw heads; for uPVC or aluminium use reinforcement plates or stainless steel inserts so screws bite into metal, not just plastic.
- Fit the hinge to the sash first: secure with the correct length screws so they pass through into reinforcement or timber by at least the minimum engagement the manufacturer's instructions specify.
- Fit the hinge to the frame: with the sash supported, offer the sash up and secure frame side screws. Do not overtighten; ensure the hinge pivot operates smoothly and the sash opens fully to the desired egress angle.
- Adjust and test: check alignment, closing action and the security of the locking keep. Test the full opening for any catches against the frame or handle. If the hinge is adjustable, set the lateral and vertical positions to ensure even compression of weather seals.
- Address weathersealing: if opening geometry changes, you may need to alter the position of compression seals or add new seals to prevent draughts and water ingress.
- Replace restrictors: if restrictors were fitted for child safety, consider fitting an approved quick-release restrictor that can be disengaged from inside in one motion for escape, but not easily by young children.
- Final checks: ensure all fixings are tight, hinges are lubricated with a light machine oil, and any exposed metal is touched up with suitable paint to prevent corrosion.
Trade tips and common pitfalls
- Do not rely on self-tapping screws in thin uPVC or aluminium; always use reinforcement plates or backplates to avoid pull-out under load.
- Match hinge capacity to sash weight with a margin; manufacturers publish weight ratings and recommended number of hinges.
- When fitting to composite or reinforced frames, position screws so they engage with the reinforcement profile rather than only in plastic.
- Check handle and lock operation after conversion; some sash movements change when opening angle increases and the locking keeps may need shifting.
- Keep records of any changes for homeowners and building inspectors; note hinge model, manufacturer and fixings used.
- If you are unsure about compliance with fire escape requirements, consult a qualified building professional or local authority building control.
DIY safety and competence advice
Converting hinges involves lifting sashes, altering fixing patterns and in some cases altering seals. If you are comfortable with basic joinery and using power tools, this is a straightforward retrofit; however, do not attempt conversions on large or heavy glazed sashes alone. Use correct PPE and get a second person to help with lifting. For specialist frames, structural alterations or where Building Regulations may be affected, use a qualified trade installer.
Further information and resources
For more detail on hinge types and specifications visit our pillar resource on window hinges at /guides/window-hinges. Consult hinge manufacturer datasheets for load ratings and fitting templates before buying.
Recommended Products
Based on this article, you may find these products helpful:
- Top Hung Friction Stay - 12"
- ERA Egress (Fire escape) Friction Stay
- TSS Standard Friction Stays – 13mm & 17mm Stack Height
- Restricted Friction Stay Hinges
- Top-Hung Window Hinge - Standard
Conclusion and next steps
Converting standard hinges to egress hinges is primarily a matter of selecting the correct hinge for the sash weight and frame type, preparing proper fixings and ensuring good alignment and weather performance. Start by assessing your current hinge type and frame material; choose egress hinges with the correct rating and reinforcement for secure fixing. If in any doubt about compliance or structural suitability, contact a professional installer. For hardware, replacement hinges, reinforcement plates and quick-release restrictors, browse our product range or speak to a member of our technical team for tailored advice.