Replacing Old Window Stays: Finding Matching Hardware
Replacing an old window stay can restore functionality, security and appearance to a worn casement. Whether you are a joiner, a glazing contractor or a dil...
Replacing an old window stay can restore functionality, security and appearance to a worn casement. Whether you are a joiner, a glazing contractor or a diligent homeowner, finding a matching window stay requires the right measurements, an understanding of types and finishes, and correct fitting technique. This post explains how to identify, measure and select a replacement, with practical trade and DIY advice for timber, uPVC and aluminium frames.
What a window stay does and common types
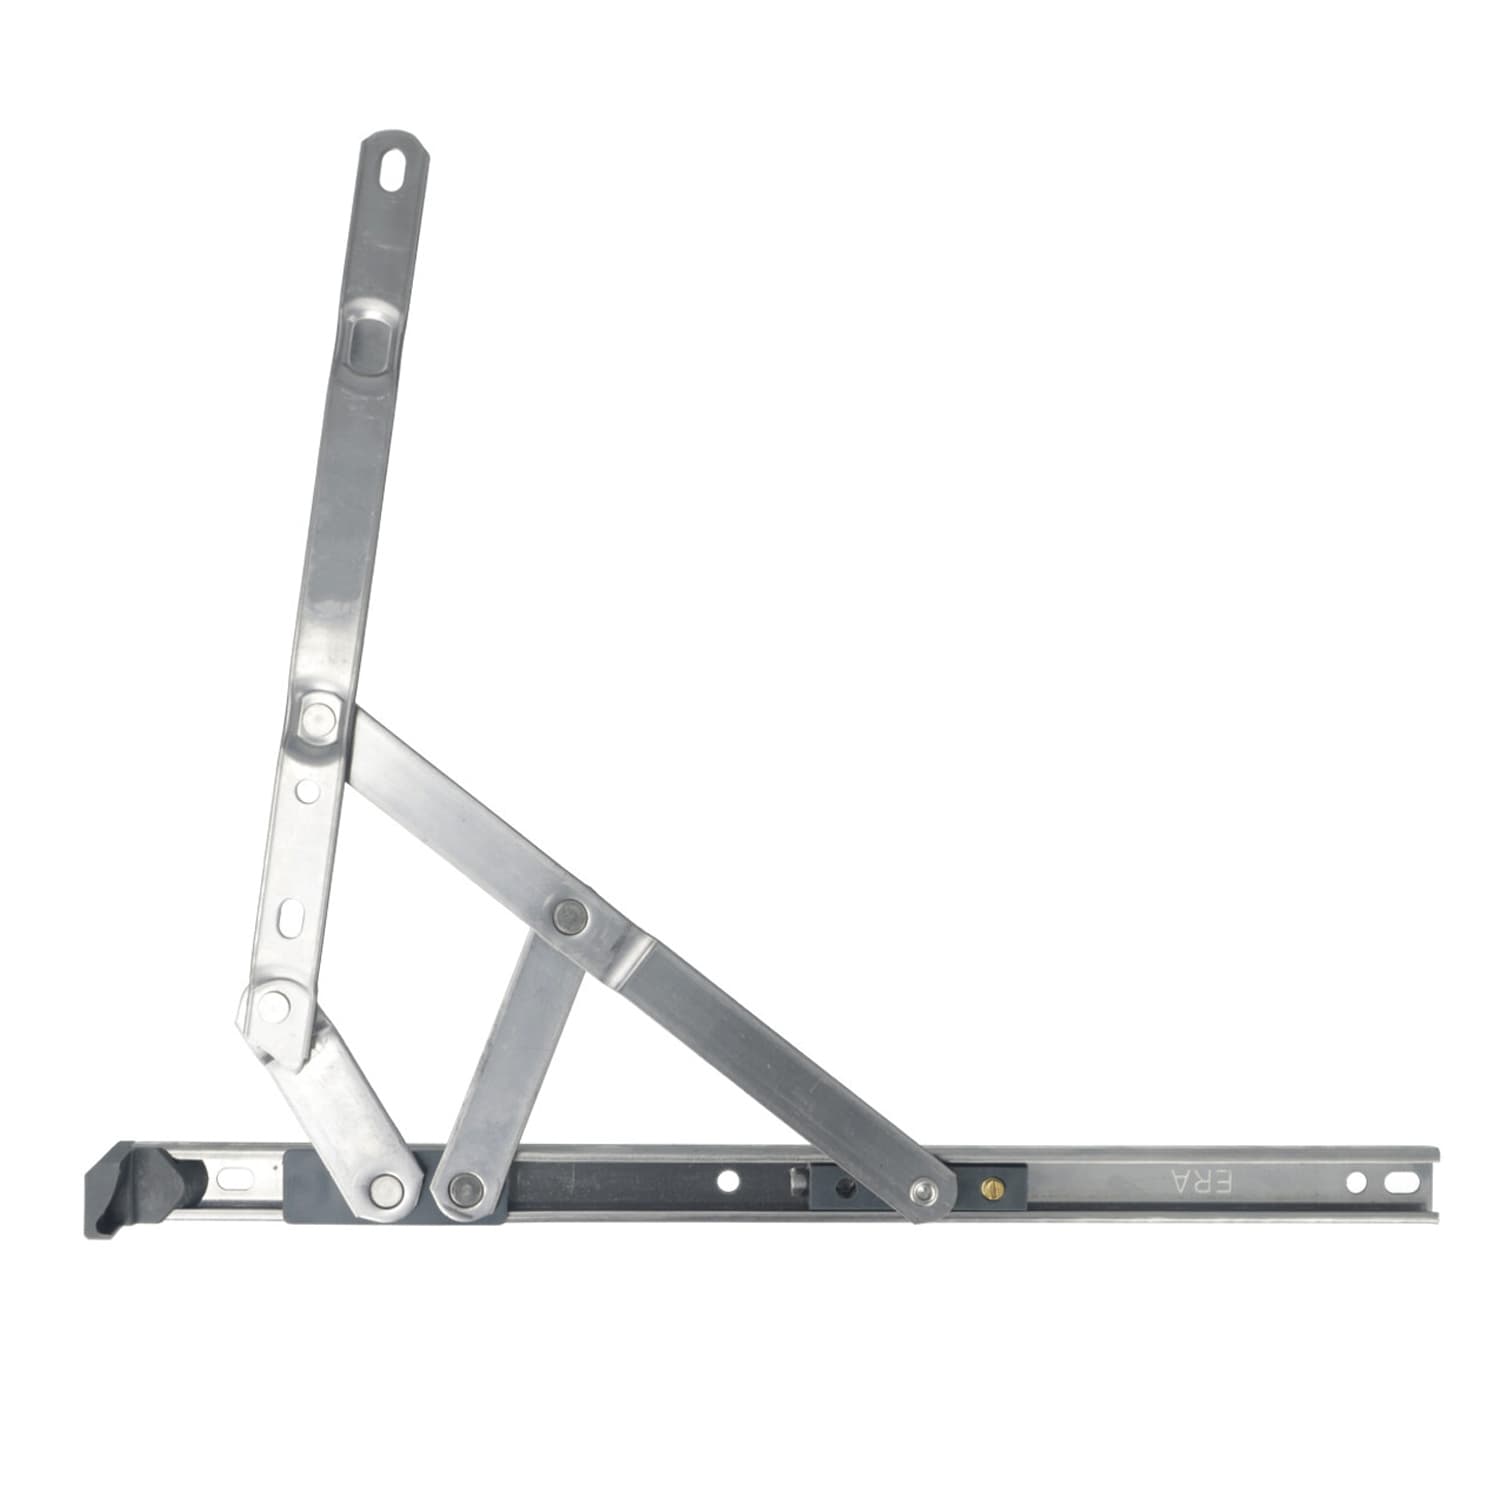
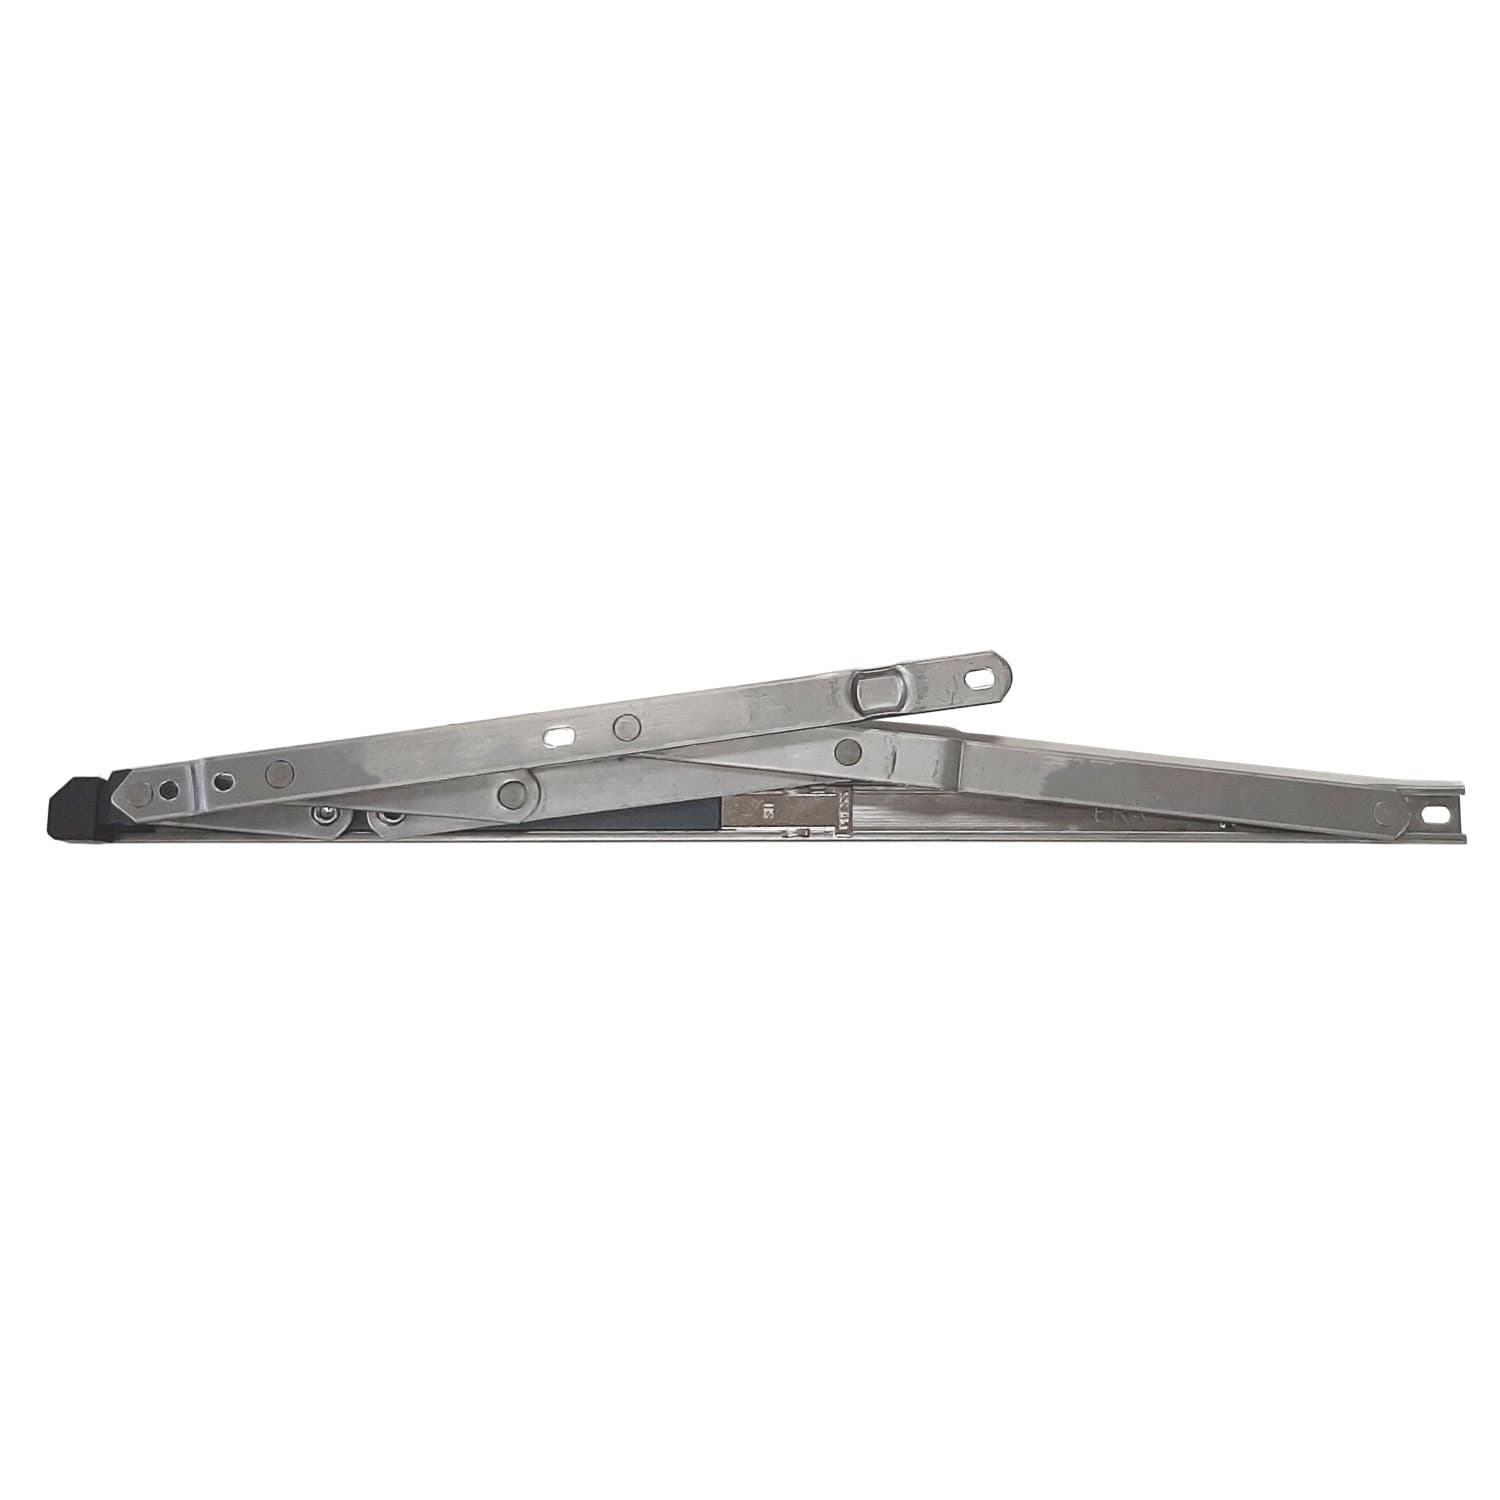
A window stay is the arm that holds a casement window open at fixed angles; it is different from a friction hinge, which controls the opening and closing action at any position. Knowing the type you have will determine the correct replacement:
- Traditional notched stay (peg-and-notch): a bar with a series of notches into which a peg locks; common on older timber windows.
- Monkey-tail and lever stays: decorative versions of the notched stay, often brass or bronze for period properties.
- Telescopic stay: compact, internal stays used where limited projection is required.
- Adjustable or friction stay: metal hinge-style stays, often used on modern uPVC and aluminium windows; these provide controlled opening and can act as restrictors.
- Face-fix and reveal-fix versions: depending on whether the stay mounts to the face of the frame or inside the reveal.
How to identify what you need
Before ordering, confirm these details so you purchase an exact match or a compatible upgrade:
- Type: notched stay, telescopic, or friction stay; check whether it is face-fix or reveal-fix.
- Handing: left-hand or right-hand (which side the stay is fixed to when viewed from inside).
- Material and finish: brass, steel, stainless steel, galvanised steel or powder-coated finishes to match existing hardware.
- Number and position of fixing holes: helps match the existing hole centres and avoids unnecessary new holes in the frame.
- Length and hole centres: measure accurately to ensure the same opening angle and correct sash clearance.
Measuring for a replacement stay
Accurate measurement avoids mis-opening and cosmetic repairs. Use a steel rule or vernier calliper and record both overall and centre-to-centre dimensions:
- Overall length: measure the stay from the pivot point or boss centre to the tip in its closed position.
- Fixing hole centres: measure from the centre of one fixing hole to the next; note the position of any elongated slots.
- Boss diameter and boss-to-first-hole distance: some stays secure into a round boss; matching the boss diameter is essential for a snug fit.
- Opening angle: open the window fully and note how far it projects; for like-for-like replacement the new stay should give the same clearance.
Photograph the existing stay and take a clear image of the boss and the underside. Suppliers often request these images to confirm compatibility.
Materials and site considerations
Choose materials according to environment and frame type:
- Stainless steel or galvanised steel: recommended for coastal properties and exposed locations; resist corrosion.
- Brass or bronze: suits period properties and offers a traditional look; check for lacquered finishes to reduce tarnishing.
- Powder-coated finishes: used to match modern window colours; ensure paint compatibility and UV resistance.
- uPVC and aluminium: often use different fixings. For uPVC choose T-head screws or compatible fixtures; for aluminium use self-tapping or rivets as specified by the manufacturer.
Step-by-step replacement procedure (trade and DIY)
These are practical steps for safe removal and fitting. If you are unsure about structural repairs or security upgrades, consult a qualified tradesperson.
- Tools and materials: screwdriver set, cordless drill with appropriate bits, replacement screws, replacement stay, replacement boss/peg if needed, pencil, spirit level, slip-joint pliers, protective gloves and safety glasses.
- Support the sash: prop the sash with a wedge or have an assistant hold it. Do not rely on a single failing stay to support the sash.
- Remove the old stay: unscrew the fixing screws from the frame and sash. If screws are seized, apply penetrating oil and allow time to work; use an appropriate driver to avoid stripping heads.
- Inspect fixings and frame: check the timber for rot, uPVC for cracking around screw holes, and aluminium for worn threads. Repair or strengthen the frame if necessary before refitting.
- Match hole centres: position the new stay to align with existing holes where possible to avoid enlarging holes. If you must make new holes, mark carefully and pre-drill pilot holes.
- Fit new boss or peg if required: ensure it sits plumb and secure; use a new peg of the correct material and diameter.
- Screw in the stay: tighten fixings firmly but avoid over-torquing in uPVC; check operation and adjust if the stay has an adjustable slot.
- Test operation: open the sash to each notched position or operate the friction stay; check that it holds securely and that there is no binding with the frame or hardware.
- Finish: touch up paint or lacquer if necessary and replace or match any decorative screw caps for a neat finish.
Upgrading options and security
Consider upgrading to a friction stay or restrictor if the original stay offered insufficient control or security. Friction stays provide controlled opening and can incorporate child-safety restrictors. For enhanced security, choose stays with integral restrictors or fit independent limiter devices. Ensure any upgrade complies with relevant standards: look for hardware tested to BS EN 13126 for performance and durability; installers should be familiar with BS 6375 requirements for installation and air/water resistance where relevant.
Trade tips and common pitfalls
- Always replace both stays on a sash when one has failed; uneven stress can lead to premature failure of the new unit.
- Keep spare pegs and bosses for older properties; many manufacturers supply individual components for repairs.
- Match the fixing type to the frame: wood screws for timber, stainless or coated screws for aluminium, and the correct uPVC fasteners to prevent cracking.
- For listed buildings or period homes, match the finish and style of the original hardware; many suppliers offer replica monkey-tail stays in brass.
- Record measurements and part numbers for future maintenance; this saves time on repeat visits and ensures consistency across a project.
Recommended Products
Based on this article, you may find these products helpful:
- Top Hung Friction Stay - 12"
- ERA Egress (Fire escape) Friction Stay
- TSS Standard Friction Stays – 13mm & 17mm Stack Height
- Restricted Friction Stay Hinges
- Top-Hung Window Hinge - Standard
Conclusion and next steps
Replacing an old window stay is a straightforward job with the right preparation: identify the type, measure precisely, choose the correct material and fixings, and follow safe removal and fitting procedures. For trade professionals, keeping a reference pack of common sizes and suppliers speeds up on-site repairs. For homeowners, photographs and careful measurements will allow an accurate order from a supplier.
Next steps: photograph the existing stay, take the measurements listed above and compare finishes. If you want to consider hinge-based upgrades, see our related page on window hinges: /guides/window-hinges. For complex or structural problems, contact a qualified installer or your local glazing specialist.

Related articles
Period Window Stays: Heritage Options for Older Properties
Period Window Stays: Heritage Options for Older Properties Older properties often require hardware that respects traditional appearance while providing mod...
How to Replace Friction Hinges on uPVC Windows
How to Replace Friction Hinges on uPVC Windows Overview Friction hinges are the most common operating mechanism on uPVC casement windows in the UK. They al...
Friction Hinge Sizes Explained: Stack Heights and Lengths
Friction Hinge Sizes Explained: Stack Heights and Lengths Choosing the correct friction hinge for a window or door is more than matching a product code; it...