How to Fit a Lever Door Handle: Professional Tips
Introduction Fitting a lever door handle is a common trade task that many homeowners also want to tackle themselves. Whether you are a joiner, a locksmith, or an enthusiastic DIYer, getting the job ri...
Introduction
Fitting a lever door handle is a common trade task that many homeowners also want to tackle themselves. Whether you are a joiner, a locksmith, or an enthusiastic DIYer, getting the job right saves time and avoids call-backs. This guide covers practical, professional tips for choosing, preparing and installing a lever door handle. It focuses on internal and external doors, different lock types, and best-practice techniques to achieve a secure, long-lasting fit.
Choosing the right lever door handle
Start by selecting the correct lever door handle for the application. Consider these factors:
- Operation: latch only, mortice lock, or euro cylinder. Choose a lever door handle compatible with the mechanism you have or plan to install.
- Backset and spindle size: measure the backset distance from the door edge to the centre of the keyhole or spindle; common backsets are 44mm, 57mm and 70mm.
- Bearing type: sprung levers suit self-returning operation; unsprung levers are used where spring mechanisms are inside the lock.
- Durability and finish: for high-traffic commercial doors choose heavy-duty lever door handle sets with high cycle ratings and hardy finishes such as satin stainless or PVD brass.
- Fire and escape requirements: for escape routes and fire doors ensure the lever door handle meets relevant building regulations and has the correct latch and intumescent properties.
Tools and materials you will need
Having the right tools makes fitting a lever door handle straightforward. Collect the following before you start:
- Screwdrivers: pozidriv and flat-head as required
- Drill with wood and metal bits
- Chisel and mallet for morticing the lock faceplate
- Mortice gauge or marking tools
- Tape measure and combination square
- Spindle, screws and possibly new latch or lock case
- File for minor adjustments and sandpaper
Step-by-step installation process
Follow these steps for a professional fit of a lever door handle. This process assumes you already have a prepared door; where new mortices are needed, mark and cut to the lock manufacturer’s template.
- Prepare the door: check the door thickness; most lever door handle sets are adjustable for 35mm to 45mm doors. If the door is thicker or thinner, select a set rated for that thickness.
- Fit the latch or lock case: insert the latch into the edge of the door; scribe round the faceplate and chisel a shallow mortice so the faceplate sits flush. Secure the case with the correct length screws.
- Fit the spindle: insert the spindle through the latch mechanism. Ensure the spindle engages the mechanism fully; if the spindle is too long, cut it down to allow a small clearance either side for handle rotation.
- Attach the external and internal lever door handle plates: align them so the spindle slots fit; keep the rose faces flush to the door. Tighten mounting screws evenly; avoid overtightening as this can distort roses and bind levers.
- Test and adjust: operate the lever several times to check smooth action and full latch retraction. If the lever feels stiff, check the spindle alignment and whether the rose screws are causing misalignment; loosen and reposition if required.
- Fit the strike plate: close the door and mark the latch position on the jamb. Mortice the strike plate to sit flush; use longer screws into the frame where security is required, for example 75mm screws into the jamb to resist forced entry.
- Final check: ensure the lever door handle operates freely; test any locking function; check that the handle returns to horizontal if sprung, and that finishes are unmarked.
Common issues and how to avoid them
Experienced fitters avoid these pitfalls:
- Wrong spindle alignment: this causes stiff movement. Ensure the spindle is square and fully engaged into the mechanism before fixing screws.
- Incorrect screw length: screws too long can hit the opposite side; screws too short will not secure the roses properly. Use the screw lengths recommended by the manufacturer.
- Misplaced backset: fit the latch to the correct backset; fitting a 57mm latch into a 44mm position will mean incorrect lever placement and cosmetic issues.
- Poor faceplate mortice: a faceplate not fully flush causes the latch to sit proud and can result in the door not closing correctly. Take care when chiselling the mortice.
- Overtightening trims: overtightened roses can bind the lever; use a snug fit and check operation before final torque.
Special considerations for external doors and security
When fitting a lever door handle to an external door, security is a priority. Consider the following professional tips:
- Use a lever door handle set designed for external doors with a robust lock case and anti-snap euro cylinder protection where applicable.
- Fit long screws through the strike plate into the jamb to reinforce the latch area; eight-inch screws are often overkill; industry standard is 75mm to 100mm for reinforcement.
- Ensure weather seals and thresholds are compatible with the lever lever travel; a lever hitting a seal will cause damage over time.
- If fitting to a fire door, verify the handle and lockset are fire-rated and maintain intumescent clearances; consult the door and hardware certification documents.
Recommended Products
Based on this article, you may find these products helpful:
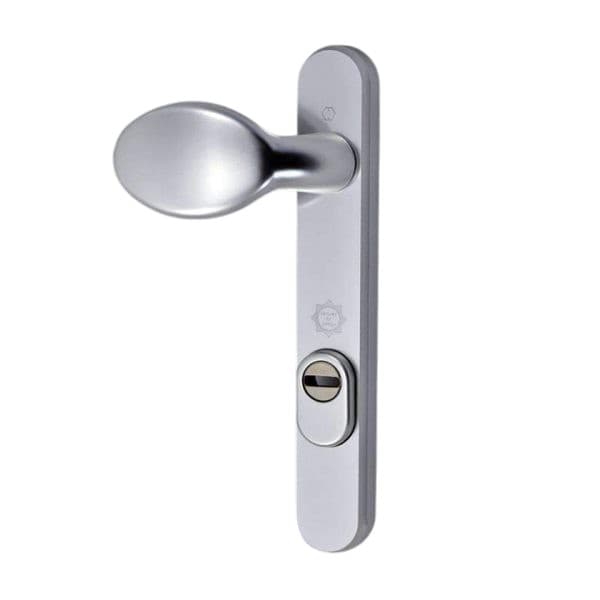
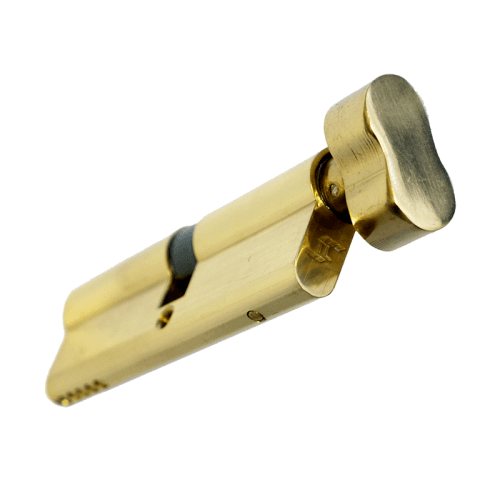
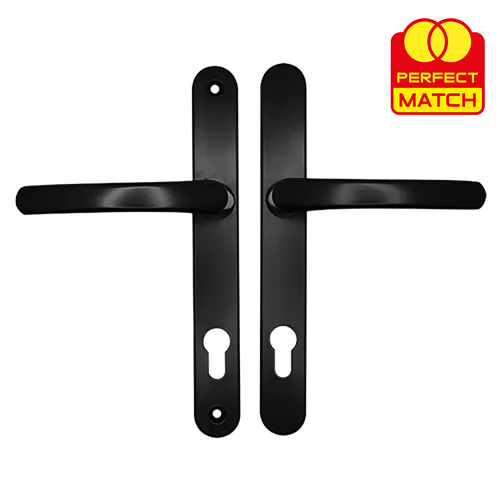
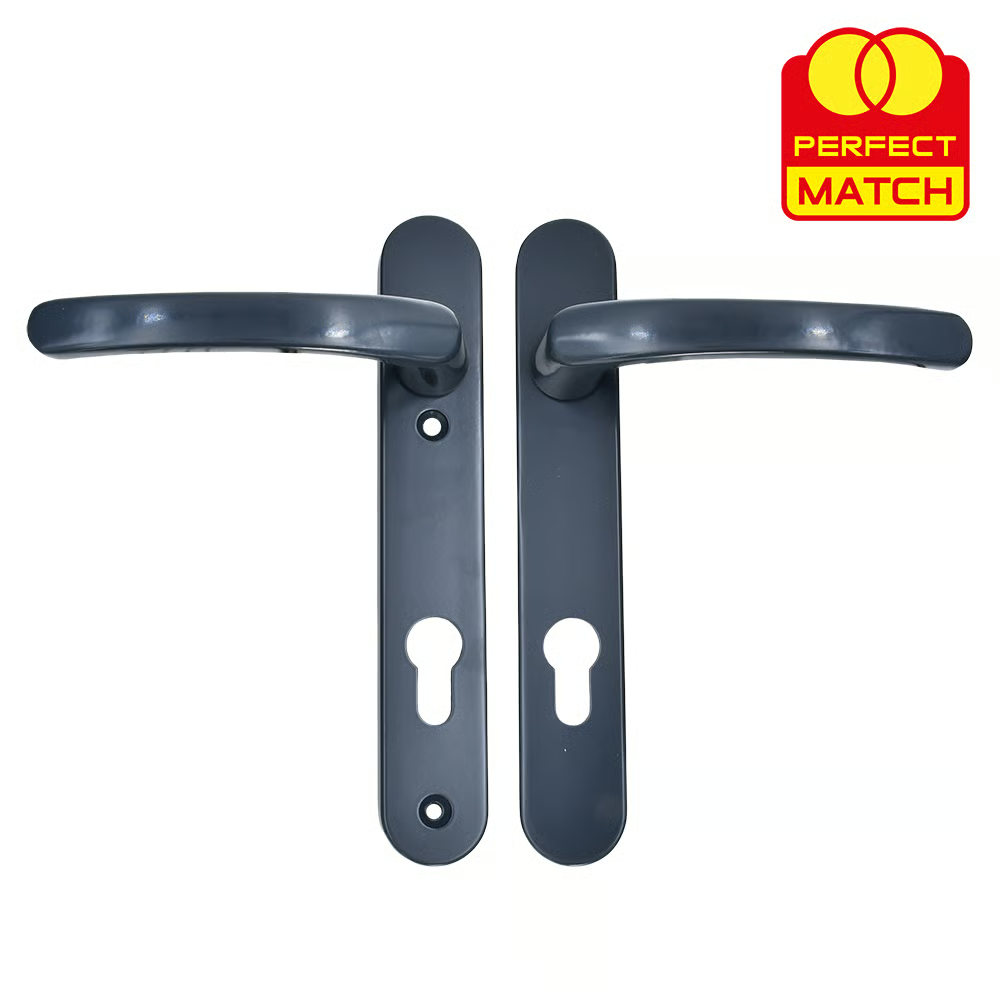
- TL Thumb Turn Euro Cylinder
- Ultion Plus TS007 3* Kitemarked Euro Key & Turn Cylinder
- TSS Door Handle Lever
- TSS Door Handle Lever Short
- Affinity Security Door Handle
Conclusion
Fitting a lever door handle is a straightforward job when you select the correct product, prepare properly and follow a methodical installation process. Tradespeople should focus on accurate measurement, correct spindle and backset selection, and solid fixing methods for security. DIYers can achieve professional results by planning ahead, using the right tools and testing operation thoroughly. With these tips, you will install a lever door handle that is secure, reliable and looks right for the door.
Part of our guide:
Complete Guide to Door Handles