How to Replace a Door Handle: Step-by-Step DIY Guide
Replacing a door handle is a common task for tradespeople and keen DIYers. Whether updating aesthetics, fixing wear, or upgrading security, a correct replacement improves performance and longevity. Th...
Replacing a door handle is a common task for tradespeople and keen DIYers. Whether updating aesthetics, fixing wear, or upgrading security, a correct replacement improves performance and longevity. This guide explains how to choose the right door handle, remove the old fitting, install a new handle and test the result. It is written for UK professionals and homeowners who prefer practical, trade-focused advice.
What to consider before you start
Before you touch tools, assess the existing setup and the replacement requirements. Key points to check:
- Type of door: internal or external, timber or composite. External doors often require more secure multi-point or mortice locks with a compatible door handle.
- Backset and spindle size: measure from the door edge to the centre of the spindle hole; common backsets are 35mm or 45mm. Spindle lengths vary; note the thickness of the door and handle design.
- Fixing method: surface-sprung roses, through-screws or concealed fixings. Choose a replacement with compatible fixings or plan to adapt.
- Handing: some lever designs are reversible, others are handed. Verify whether the handle is suitable for left or right hung doors.
- Finish and compliance: for external doors choose corrosion-resistant finishes and check any fire door certification or accessibility requirements.
Tools and materials you will need
Prepare these common tools and materials for a smooth installation. Most trade vans will carry them, and DIYers can source the basics easily.
- Screwdrivers: Pozidriv and flat-blade of appropriate sizes
- Allen keys: for grub screws on lever handles
- Tape measure and ruler
- Pencil or marker for alignment
- Spirit level for lever alignment
- Replacement door handle set and screws; matching spindle
- Chisel and hammer: only if you must adjust the mortice or strike plate
- Lubricant: graphite or specialist lock lubricant for smooth operation
- Protective goggles and gloves
Step-by-step: Removing the old door handle
Removing the old door handle correctly avoids damaging the door and simplifies the new installation. Follow these steps:
- Open the door and use a pencil to mark the top and bottom of the handle position; this helps align the new handle.
- Locate and remove visible screws on the rose or backplate. Many handles have hidden fixings: look for a small hole or recess which reveals a grub screw, often under the lever or behind a cover plate.
- If the handle has a faceplate or escutcheon fixed with through-screws, open the door and remove screws from both sides before separating the plates.
- Once fixings are removed, withdraw the spindle and separate the two halves of the handle. Keep screws and small parts together in a container for reuse or reference.
- Inspect the lock or latch: clean any debris and check for wear. If the latch is stiff, lubricate before fitting the new handle.
Step-by-step: Installing the new door handle
Installing the replacement handle is straightforward if you match the new hardware to the existing cut-outs and spindle. Use the following steps:
- Confirm the spindle length and cut to size if necessary; use a hacksaw and file the end square. Many handles use a 7mm or 8mm square spindle; verify the new set.
- Position the new backplate or rose on the door, using the pencil marks made earlier. Check that the spindle aligns with the latch mechanism and that the handle height is correct.
- Feed the spindle through the latch and fit the outer and inner plates together. Insert screws loosely at first so you can make slight adjustments.
- Check lever alignment: operate the handle to ensure it moves freely without binding. Use a spirit level to ensure horizontal alignment if desired.
- Tighten all fixings securely; for through-screws tighten gradually and evenly so the plates sit flush. Fit any grub screws or set screws to lock the lever to the spindle.
- Fit the strike plate on the door frame if you replaced it; chisel out a neat recess for a flush fit. Check the latch engages smoothly into the strike plate when the door is closed.
Common issues and troubleshooting
Even experienced tradespeople encounter problems. Here are common issues with practical fixes:
- Handle wobbles after installation: check the grub screw on the lever; tighten to the manufacturer’s torque recommendations and ensure the spindle is fully engaged.
- Latch binding or not engaging: measure the backset and ensure the spindle is central; adjust the strike plate position or deepen the mortice slightly with a chisel.
- Wrong handing: if the lever is not reversible, swap to a reversible model or order the correct handed handle to avoid poor ergonomics or security problems.
- Handles feel stiff: apply a small amount of graphite or silicone lock lubricant to the latch and operating spindle; avoid oil-based lubricants that attract dust.
Testing and finishing touches
Once fitted, perform a series of checks to ensure the new door handle functions and meets standards:
- Open and close the door repeatedly to test smooth operation and check for sticking points.
- Lock and unlock any integrated locking mechanism to confirm keys engage and turn freely; check deadbolts fully extend if present.
- Inspect aesthetic fit: ensure screw heads are seated, paint or finish has not been scratched, and any gap between roses and door surface is minimal.
- For external doors verify weatherproofing around the backplate; apply sealant if recommended by the handle manufacturer.
Replacing a door handle is a straightforward task for any competent trade operative or confident DIYer when following a disciplined approach: choose the right hardware, measure carefully, and follow correct fitting and testing procedures. With the right tools and these practical steps you will achieve a secure, durable installation and improve both the function and appearance of the door.
If you need specific parts or specialist handles for commercial installations, consult the product guides on our pillar page for door handles: /guides/door-handles for recommended ranges, technical datasheets and fitting templates.
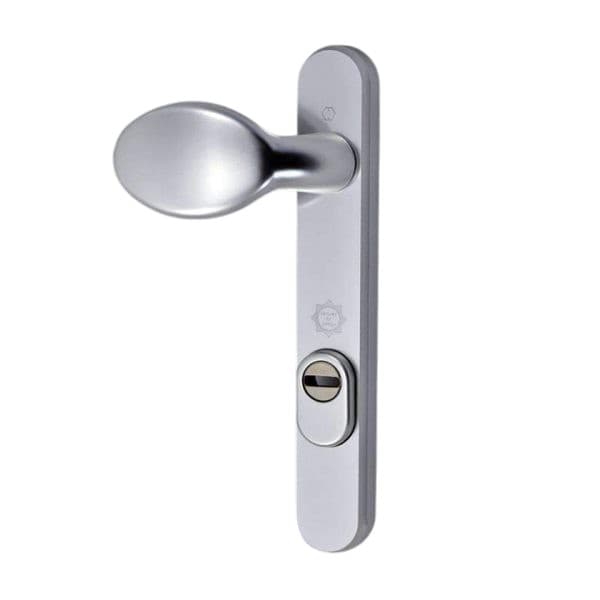
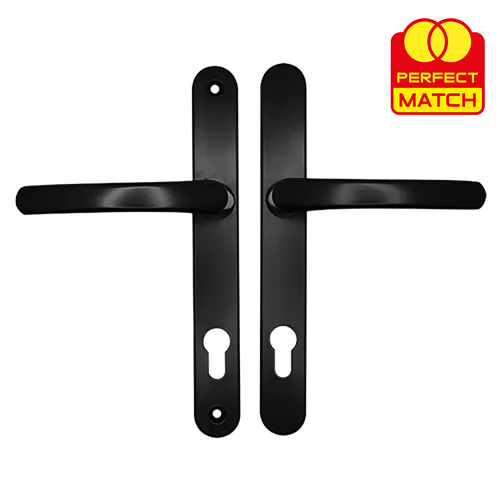
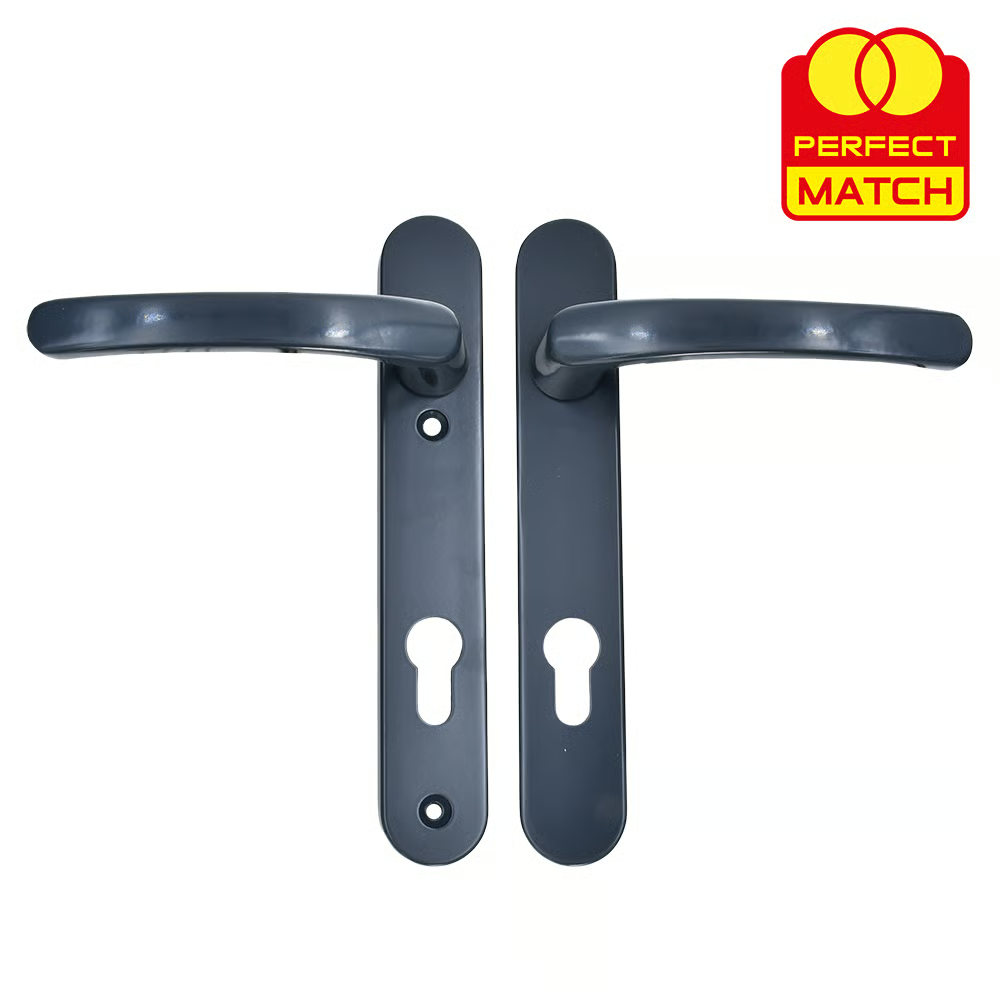
Recommended Products
Based on this article, you may find these products helpful:
Part of our guide:
Complete Guide to Door Handles