How to Replace a Patio Door Handle: Step-by-Step Guide
Replacing a patio door handle is a common task for tradespeople and competent DIYers. Whether you are upgrading hardware for security, replacing worn parts, or fitting a new style for a client, the pr...
Replacing a patio door handle is a common task for tradespeople and competent DIYers. Whether you are upgrading hardware for security, replacing worn parts, or fitting a new style for a client, the process is straightforward when you know the steps. This guide explains how to replace a patio door handle: from choosing the right replacement to final adjustments after installation. Practical tips and tradesman-level detail are included to make the job quick and reliable.
Tools, parts and preparation
Before you start, gather the right tools and the correct replacement. A good preparation phase saves time on site and avoids returns.
- Basic tools: Phillips and flat screwdrivers, Allen keys, torque screwdriver, tape measure, pencil, and spirit level.
- Additional tools: torque wrench or torque screwdriver for multipoint locking handles; pliers and a thin chisel for stubborn covers.
- Consumables: grease or silicone lubricant, threadlocker (if recommended), replacement screws if original are corroded.
- Part identification: confirm the spindle length, screw centres and whether the handle is for left or right opening. Measure backset and handle projection.
- Replacement selection: choose a patio door handle that matches the lock type – espagnolette, mortice or multipoint lock – and the door material: uPVC, aluminium or timber.
Remove the old patio door handle
Careful removal avoids damage to the door and trim. Follow these steps:
- Open the door and locate the fixing screws on the handle. These are often under a plastic cover; gently prize off the cover using a flat screwdriver or remove with your fingernail.
- Undo the fixing screws but support the handle so it does not drop and damage the spindle or door face.
- Pull the exterior and interior handles apart; some designs have a clip or grub screw securing the spindle. Remove any securing grub screw with the correct Allen key.
- Remove the spindle and check it for wear; if the spindle is damaged you should replace it along with the patio door handle.
- If the handle operates a multipoint lock, move the handle into the neutral position to release the mechanism before removal; this avoids bending linkage.
Inspect the mechanism and prepare for fitting
Once the old handle is off, inspect the lock and door furniture. This step prevents fitting a handle that won’t operate correctly.
- Check for corrosion, loose fixing screws or damaged threads in the door face.
- Clean the area and apply light grease to moving parts if they are dry; this extends life and improves operation.
- Test the lock operation without the handle: turn the key or operate the lock case to check for smooth movement.
- Confirm the replacement patio door handle’s spindle length and shape; cut or replace the spindle if too long or the wrong profile.
Fit the new patio door handle
Follow manufacturer instructions, but the general fitting sequence is:
- Insert the spindle through the lock case ensuring it engages the follower squarely; if the handle has a reversible operation, check orientation for left or right hand door.
- Offer the exterior handle into position and align it to the screw centres; fit the interior handle but do not fully tighten screws yet.
- With both handles fitted loosely, cycle the handle and lock to check for smooth movement; adjust spindle position or handle alignment as needed.
- Tighten screws progressively and evenly to avoid distorting the backplate; if supplied, fit the screw covers.
- If required, apply a small amount of threadlocker to the fixings; avoid excess which can make future removal difficult.
Adjustment, testing and troubleshooting
Proper adjustment ensures long-term performance of the new patio door handle. Check and rectify these common issues:
- Stiff operation: check spindle alignment and ensure lock follower is fully engaged; lubricate moving parts with a dry silicone spray or light grease suitable for door hardware.
- Loose handle: remove and replace stripped screws or use thread repair inserts; ensure backplate is seated flush to the door.
- Handle won’t return to neutral: inspect return springs in the handle or lock case; some handles have replaceable springs or require a different spindle length.
- Lock won’t engage: ensure multipoint hooks or rollers align with keeps; adjust keeps or striker plates if necessary.
Trade tips and best practice
Use these practical tips on site to save time and maintain quality:
- Carry a small kit of common spindle sizes, screws and spare handles; you can complete many jobs on first visit.
- Label handles on site when replacing multiple doors to avoid mismatches; note handedness and finish for reordering.
- When fitting security handles, fit anti-drill plates or reinforced screws where specified by insurance guidelines.
- Always check warranty conditions; some manufacturers require specific fixings or torque settings to keep the warranty valid.
Replacing a patio door handle is a routine but important task. With the right measurements, correct replacement parts and careful alignment, you can complete the job efficiently while ensuring secure and smooth operation. Tradespeople will appreciate the quick checks and spares to keep a job flowing; DIYers will gain confidence by following the step-by-step method above. If you need more detailed specifications or recommended hardware for different door materials, consult the manufacturer data sheets or professional suppliers.
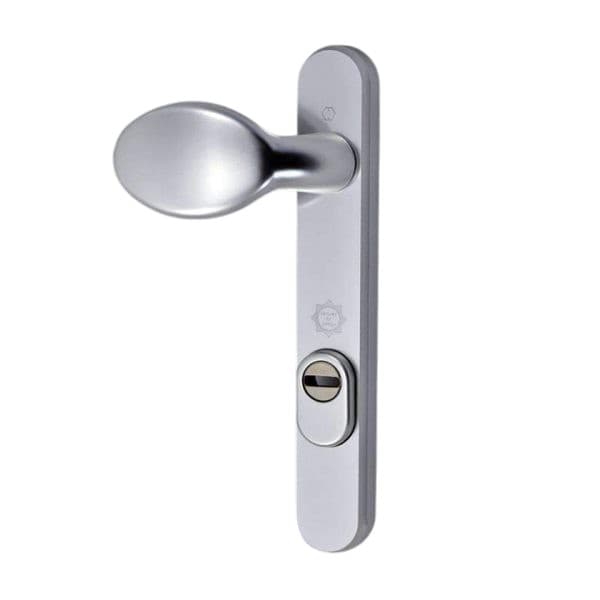
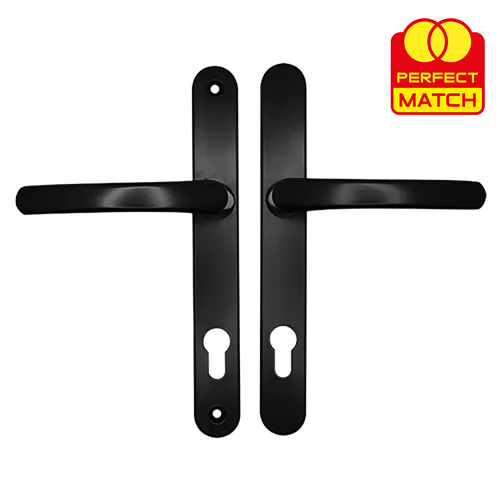
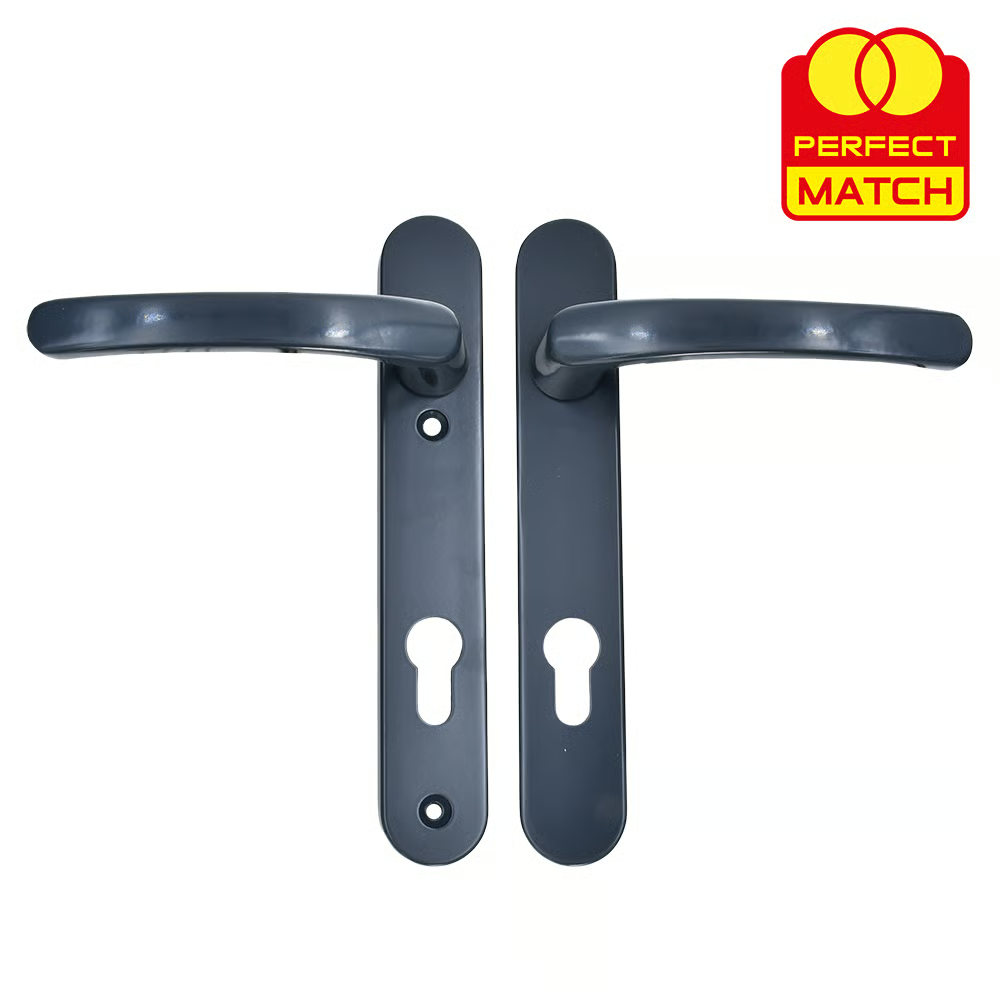
Recommended Products
Based on this article, you may find these products helpful:
Part of our guide:
Complete Guide to Door Handles