How to Fit a Telescopic Letterbox: Installation Tips
How to Fit a Telescopic Letterbox: Installation Tips Fitting a telescopic letterbox is a common job for trade professionals and an achievable project for c...
How to Fit a Telescopic Letterbox: Installation Tips
Fitting a telescopic letterbox is a common job for trade professionals and an achievable project for competent DIYers. A telescopic unit allows the letter plate to suit variable door thicknesses and is ideal for composite, timber, uPVC and aluminium entrance doors. This post covers practical steps, tools, fixing methods and security considerations to get a neat, weatherproof and secure installation.
Planning and preparation
Begin by confirming the door type and measuring thickness at the location where the letterbox will sit. Telescopic letterbox units are chosen by their adjustable length range; select a model that covers your door thickness plus any seals or backing plates. Check the door construction: some composite or metal doors have internal reinforcements that affect cutting method and fastenings.
Gather the manufacturer template and instructions before cutting. If you are a professional, prepare client-facing paperwork: product spec, finish, lead time, and guarantee terms. For homeowners, ensure you have a conservative backup plan such as removing the door and practicing on scrap material.
Tools and materials
- Pencil, tape measure and spirit level
- Masking tape and the paper template supplied with the letterbox
- Powers tools: drill with brad and twist bits, jigsaw with clean wood/metal blades, router or hole saw where appropriate
- Chisel and wood block for timber doors; files and deburring tools for metal doors
- Fixings: stainless steel screws supplied with the unit or appropriate alternatives for aluminium; through-bolts and washers for thick composite doors
- Neutral cure silicone sealant or proprietary butyl gasket tape; closed-cell foam for extra sealing where required
- PPE: safety glasses, hearing protection, dust mask and work gloves
Measuring and marking out
Accurate marking prevents costly mistakes. Use the letterbox template to mark the slot position on the door face. Confirm vertical and horizontal alignment; typical practice is to position the letterplate at a comfortable height for post but not adjacent to multipoint lock cylinders. Transfer the template to both faces if the door is not flat on one side; this helps when cutting through thicker doors.
If working on an exterior door, protect the finish with masking tape; for veneered or painted doors, place tape over the cut lines to reduce splintering. Measure thickness at several points because some modern doors taper or have uneven skins.
Cutting the aperture
Cut from the face least likely to splinter; for timber and composite, cut from the front face towards the back to keep the external appearance clean. Drill pilot holes at the rectangle corners of the template to accept a jigsaw blade; use a slow, steady feed to avoid burn marks. For metal doors, use hole saws or nibbler tools and finish with a file to remove burrs.
Where a router is available, use it with the template for the cleanest edge. Trade installers often remove the door from its hinges and position it on a workbench; this provides better control and cleaner results. If the door contains internal reinforcements, confirm with the manufacturer whether cutting is permitted and where to avoid structural members.
Fitting the telescopic tube and letterplate
Dry-fit the telescopic tube assembly before sealing. The outer section normally fits from the exterior and the inner section from the interior; they lock together to suit the door thickness. Ensure the weather brush and flap operate freely; test the flap clearance against multipoint locking gear to avoid contact.
Use the recommended screws or bolts; for uPVC use thread-forming screws sized to the outer frame, and for composite doors fit through-bolts with backing plates to spread the load. For aluminium doors consider rivets plus silicone seal for longevity. Always use stainless steel fixings on external doors to prevent corrosion.
Sealing and draught-proofing
Apply a continuous bead of neutral cure silicone or a butyl gasket between the telescopic tube and the door faces; this prevents water ingress and reduces draughts. Closed-cell foam strips can be used inside the inner tube where gaps remain. Avoid solvent-based sealants on painted finishes; they can cause staining or paint failure.
On the external face, fit the outer letterplate flush and seal around its perimeter. On the interior face, fit any internal trim plate supplied and seal lightly to create a neat finish. Ensure excess sealant is removed and surfaces wiped clean before it skins.
Security and weather performance
Consider anti-fishing measures: internal letter cages or baffles prevent hands reaching through to locks. If the letterbox is directly opposite the lock, install a letterbox restrictor or reinforce the door around the cylinder. Some manufacturers supply internal security plates; these are recommended on doors with multipoint locks.
For weather protection use a brush gasket on the outer tube and check that the flap seals neatly. If heavy rain or driving wind is likely, add an external drip hood above the letter plate or fit additional seals under the outer flange.
Final checks and commissioning
- Operate the flap several times and inspect from inside while the flap is closed to ensure no light or drafts pass through.
- Check that the flap does not touch or snag on locking hardware when the door is closed.
- Confirm all fixings are tight but not overdriven; over-tightening can distort the trim and compromise the seal.
- Wipe away surplus sealant and touch up any paint or finish damaged during cutting if necessary.
- For trade installations, leave the product literature and guarantees with the client and record the part numbers for future spare parts ordering.
Troubleshooting common issues
If the flap rubs or binds: check for misalignment in the telescopic tube and ensure the inner section is fully engaged. If there is excessive draught: add foam or improve sealant coverage inside the tube. If water is entering: ensure the external flange is correctly sealed and consider adding a drip hood or external sealant bead.
Recommended Products
Based on this article, you may find these products helpful:
- Multipoint Gearbox GU Old Style
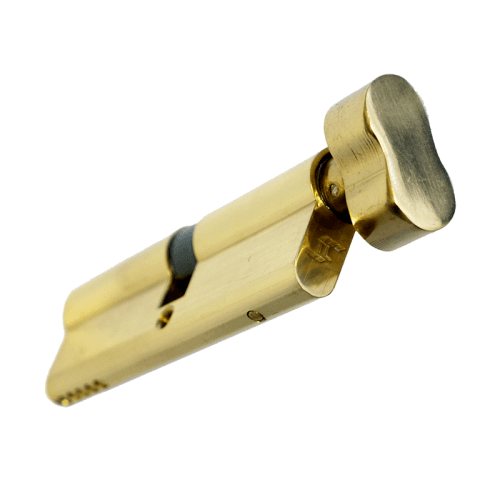
- TL Thumb Turn Euro Cylinder
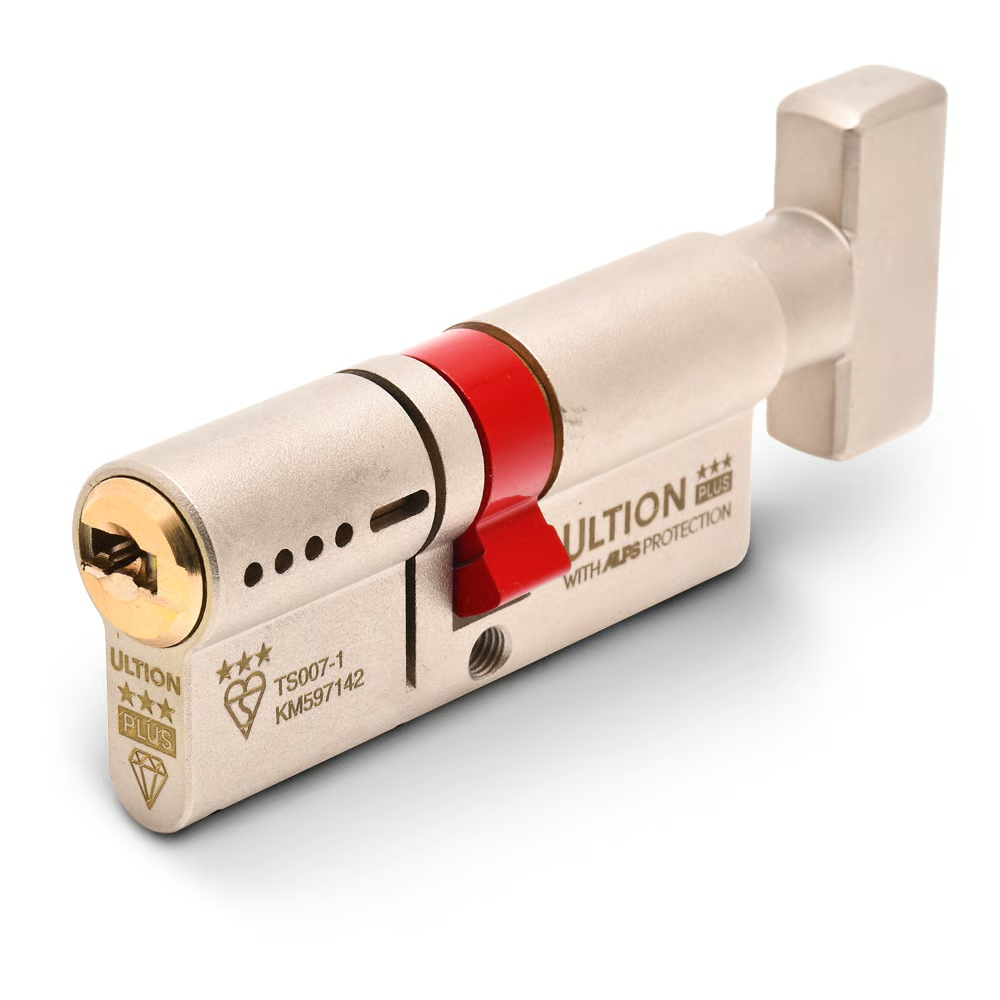
- Ultion Plus TS007 3* Kitemarked Euro Key & Turn Cylinder
- E-Type Gasket - Black 5m Roll
- E-Type Gasket - Black (Per Metre)
Conclusion and next steps
Fitting a telescopic letterbox correctly improves security, weather resistance and the finished appearance of an external door. Careful measurement, the right tools and appropriate fixings are essential; when in doubt, follow the manufacturer recommendations or consult a professional. For related fittings and product options see our pillar page: Letterbox guides and products. If you are installing several doors or working on a specialist material such as aluminium or reinforced composite, contact the supplier for technical support or on-site advice.
Products mentioned in this article

Related articles
Internal vs External Letterbox Draught Excluders: Which Works Better?
Internal vs External Letterbox Draught Excluders: Which Works Better? A letterbox is a small opening that can let in a disproportionate amount of cold air,...
How to Retrofit an Anti Arson Letterbox to an Existing Door
How to Retrofit an Anti Arson Letterbox to an Existing Door What is an anti arson letterbox and why retrofit one? An anti arson letterbox is a specialist l...
Letterbox Draught Excluder for Security: Added Protection
Letterbox Draught Excluder for Security: Added Protection A well-chosen letterbox draught excluder reduces heat loss and noise while contributing to a stro...