How to Fit a Window Stay: Installation Instructions
How to Fit a Window Stay: Installation Instructions A correctly fitted window stay keeps casement windows secure, controls opening angle and prevents damag...
How to Fit a Window Stay: Installation Instructions
A correctly fitted window stay keeps casement windows secure, controls opening angle and prevents damage from wind or misuse. This post covers the common types of window stay used in the UK and gives step-by-step installation and adjustment tips for both trade professionals and competent DIYers. Read the manufacturer instructions for proprietary hardware and follow required safety practices.
Types of window stay and when to use them
Choose the stay to suit the window construction and function required:
- Traditional peg stays: simple cast or steel stays that seat onto pegs or a keep; normally used on timber casement windows.
- Restrictor stays: similar to peg stays but with a built-in stop for child safety and ventilation control.
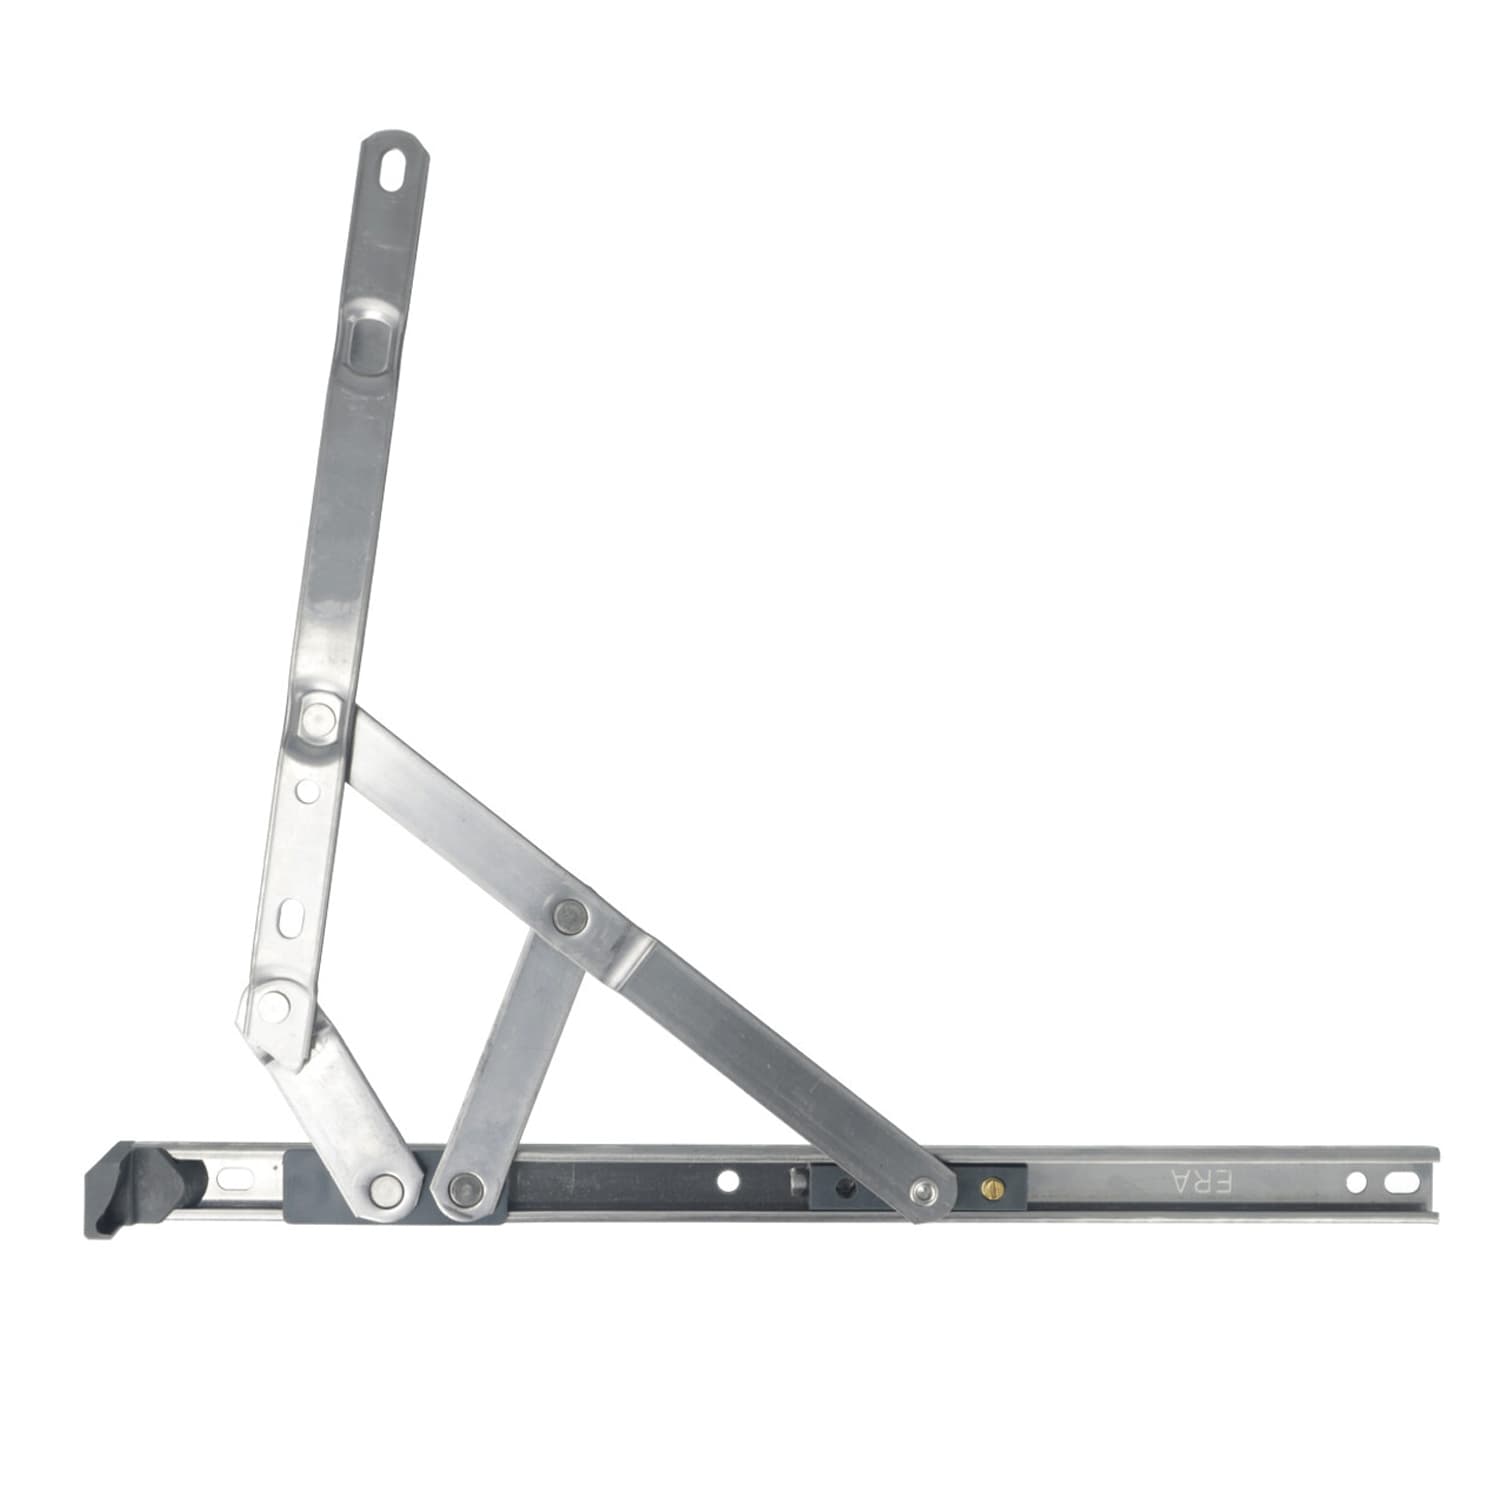
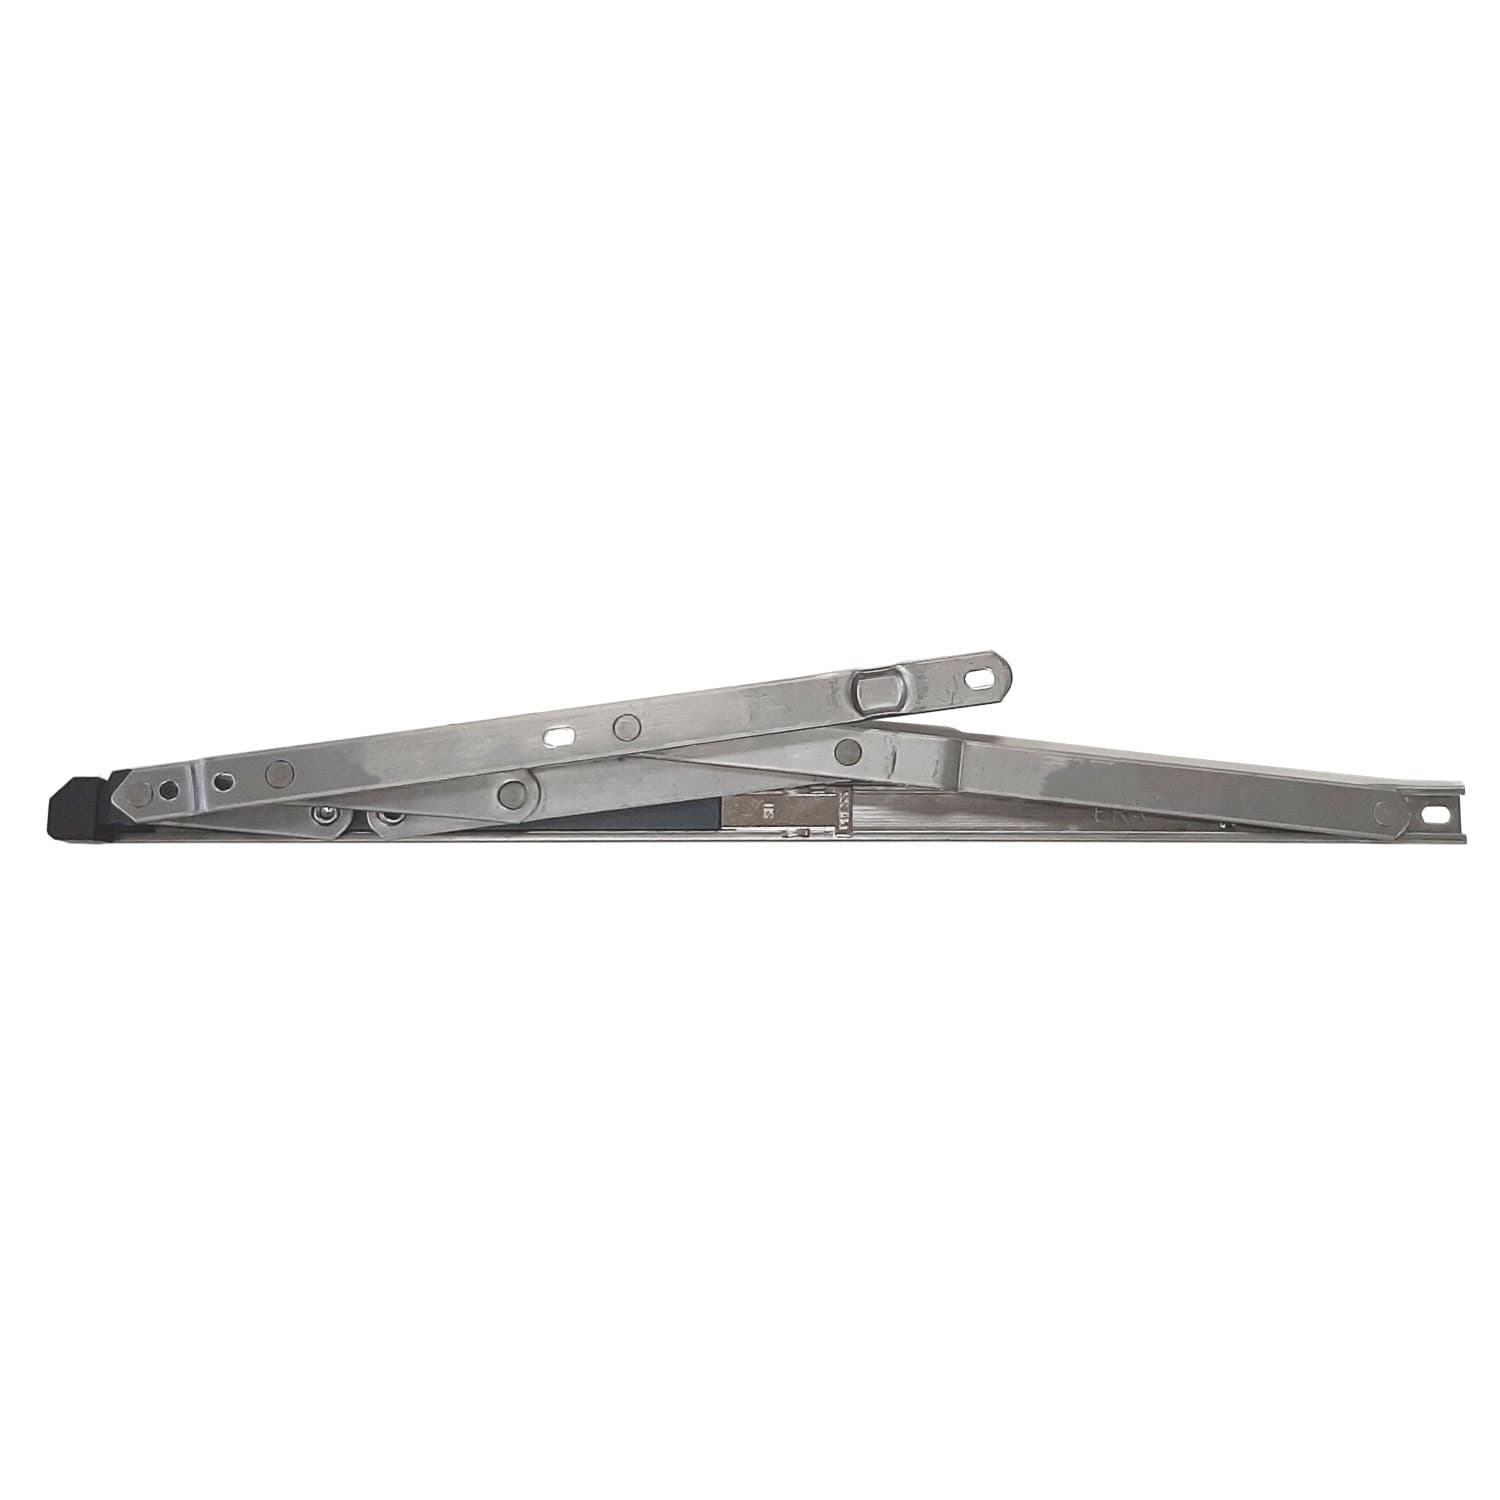
- Friction stays: used on uPVC, aluminium and modern timber windows; these provide smooth opening, hold the sash at any angle and often include friction adjustment.
- Multi-point stays and telescopic arms: for larger or heavier sashes that require greater support and controlled opening width.
Tools and materials
- Tools: tape measure, pencil, spirit level or set square, centre punch, cordless drill with appropriate bits, countersink bit, screwdriver or impact driver, pop-rivet gun (if required), ladder or stable step.
- Materials: the correct window stay and keeps; manufacturer-recommended screws; A2 stainless steel screws for coastal locations; wood screws for timber; self-tapping screws or rivets for metal; silicone sealant for external fixings if required.
- Safety equipment: eye protection, gloves, dust mask where cutting or drilling into old frames.
Preparation and measurement
Accurate measurement and correct selection reduce callbacks. Check the type and width of the sash and confirm the hinge configuration before ordering stays:
- Measure sash width and height and weight if possible; friction stays are rated by sash width and weight so select the correct length and strength.
- Position the stay so the fulcrum aligns with the hinge line; for peg stays the peg plate should sit close to the hinge edge but not so near that the stay interferes with the hinge movement.
- For outward-opening windows, ensure the stay can clear reveal mouldings and casings when fully opened.
Step-by-step installation: peg or restrictor stays (timber)
- Mark positions: Open the sash to the desired maximum opening. Position the stay on the sash where it will lie naturally when closed. Mark the screw holes for the stay body on the sash and the keep or peg plate on the frame.
- Pilot holes: Use a centre punch to prevent bit wander; drill pilot holes sized for the screws. For hardwood use a slightly smaller pilot than the screw core diameter to prevent splitting.
- Fix the stay to the sash: Countersink if using countersunk screws so the stay sits flush. Tighten screws securely but avoid over-torquing which can distort thin metal stays.
- Fix the peg/keep to the frame: Fit the peg plate or keep at the correct angle so the stay locates properly; check alignment by moving the sash into the closed position and seating the stay onto the peg or into the keep.
- Test operation: Open and close the window several times; check the restrictor or stop engages where required. Adjust plate position if the stay binds or the sash does not close squarely.
Step-by-step installation: friction stays (uPVC and metal)
- Remove old sash or secure it: For a safe fit remove the sash where necessary; for small repairs you may work with the sash in place using an assistant or prop to support it.
- Position the stay: Align the stay so the long arm sits against the sash and the shorter arm aligns with the frame; the stay pivot should sit on the hinge line. Many friction stays have a left and right handed version; ensure you have the correct side.
- Mark screw holes and drill pilot holes: For uPVC, use the manufacturer-recommended screw length and make sure screws engage any steel reinforcement within the profile; do not overtighten in uPVC as it can split the profile.
- Fit screws in the correct sequence: Start with the centre pivot fixings, then fit the frame and sash fixings. This prevents misalignment and allows the stay mechanism to sit correctly.
- Adjust friction: Many friction stays have an adjustment screw or cam; set friction so the sash opens smoothly and stays at the chosen position without slamming in windy conditions.
- Seal external fixings: If any screws penetrate to the outside face, apply a small bead of neutral cure silicone to prevent water ingress.
Practical trade tips
- Use the correct fixings: Manufacturer-recommended screws give warranty compliance and correct pull-out resistance. For long-term durability use A2 stainless steel screws in coastal installations.
- Templates save time: Marking templates or jig blocks speed up repeat installations on multiple windows and keep alignment consistent.
- Check sash squareness: If a sash is twisted or out of square fitting a stay will not cure poor alignment; correct hinge geometry first.
- Protect finishes: For new paintwork or stained frames use paper or thin packing under the stay while positioning to avoid scuffs; re-touch paint where screws were fitted.
- Record settings: For friction stays note the torque setting used; this helps when replacing like-for-like to restore original operation.
Troubleshooting common issues
Stiff operation: Check for debris in the pivot; apply a light specialist lubricant to the pivot points. Avoid heavy oils that attract dust. Sash drops or sags: Check hinge fixings and verify the stay size and rating; consider replacing with a stronger stay if the sash is heavy. Rattling or loose stays: Tighten screws and replace any stripped holes with larger screws or use suitable insert anchors; for uPVC, fit to reinforcement or use approved rivets.
Maintenance and safety
Maintain window stays with periodic checks every 12 months: tighten fixings, clean mechanisms and reapply a light lubricant to friction components. Install child-safe restrictors where regulations or household needs require them. Always use a stable ladder or platform for high windows and have a second person assist with large or heavy sashes.
Recommended Products
Based on this article, you may find these products helpful:
- Top Hung Friction Stay - 12"
- ERA Egress (Fire escape) Friction Stay
- TSS Standard Friction Stays – 13mm & 17mm Stack Height
- Restricted Friction Stay Hinges
- Top-Hung Window Hinge - Standard
Conclusion and next steps
Fitting a window stay correctly ensures safety, ease of use and longevity of the window. Choose the correct stay for the material and weight of the sash, use manufacturer-recommended fixings and follow accurate marking and pilot drilling techniques. For trade-quality materials and a wide range of stays visit our pillar page on window hinges and related hardware: /guides/window-hinges.
If you need help selecting the right stay or require technical data sheets, contact our technical team or request a datasheet for the proposed product before ordering. For installations beyond basic DIY scope engage a competent glazing or joinery professional.

Related articles
Period Window Stays: Heritage Options for Older Properties
Period Window Stays: Heritage Options for Older Properties Older properties often require hardware that respects traditional appearance while providing mod...
Replacing Old Window Stays: Finding Matching Hardware
Replacing an old window stay can restore functionality, security and appearance to a worn casement. Whether you are a joiner, a glazing contractor or a dil...
How to Replace Friction Hinges on uPVC Windows
How to Replace Friction Hinges on uPVC Windows Overview Friction hinges are the most common operating mechanism on uPVC casement windows in the UK. They al...