How to Identify Your Flag Hinge Brand and Size
How to Identify Your Flag Hinge Brand and Size Flag hinges are a common component on many casement windows and some doors: compact, often adjustable, and c...
How to Identify Your Flag Hinge Brand and Size
Flag hinges are a common component on many casement windows and some doors: compact, often adjustable, and crucial for smooth opening and closing. Whether you are a UK homeowner replacing a worn hinge or a trade professional matching a part on site, correctly identifying the hinge brand and size prevents costly errors. This post explains how to recognise flag hinges, the measurements to take, brand cues to look for, and practical tips for sourcing the correct replacement.
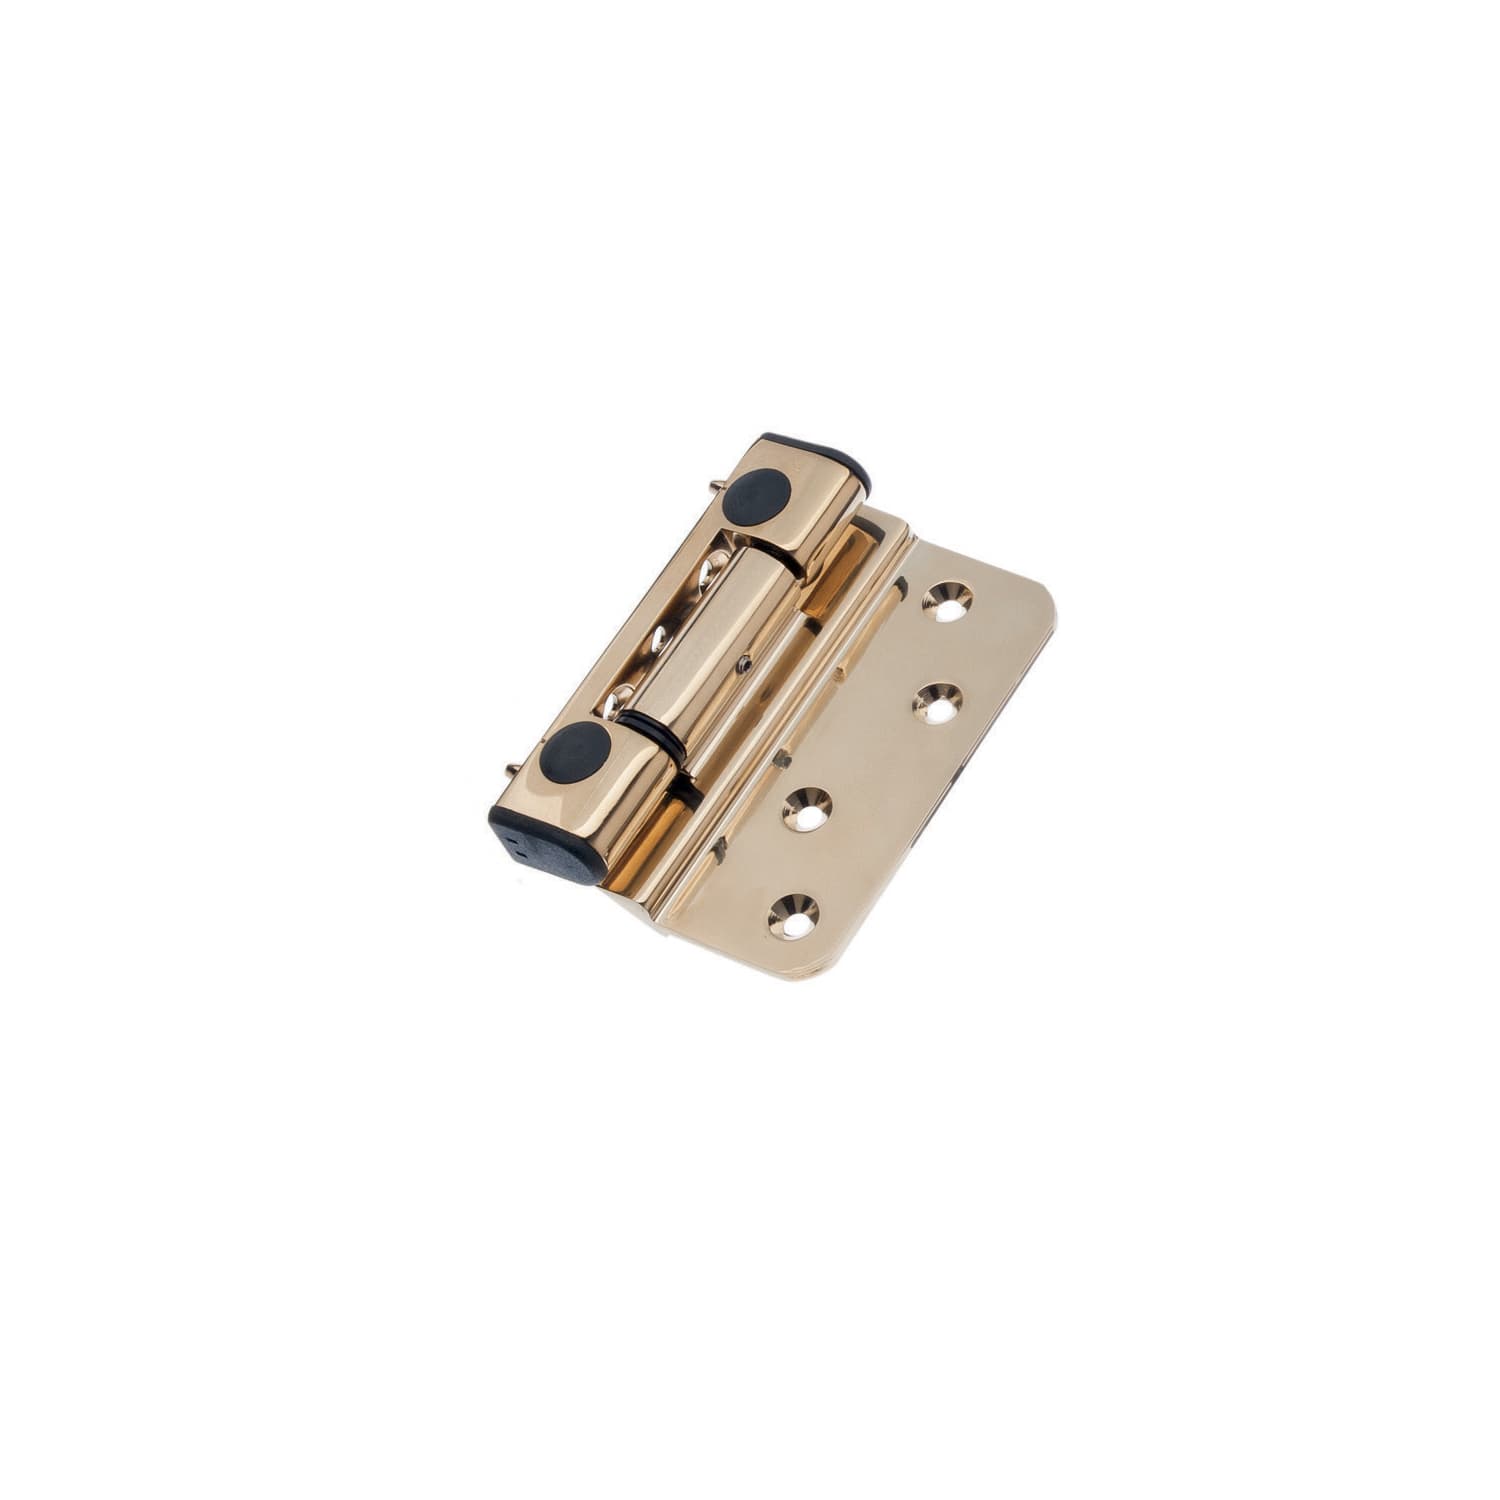
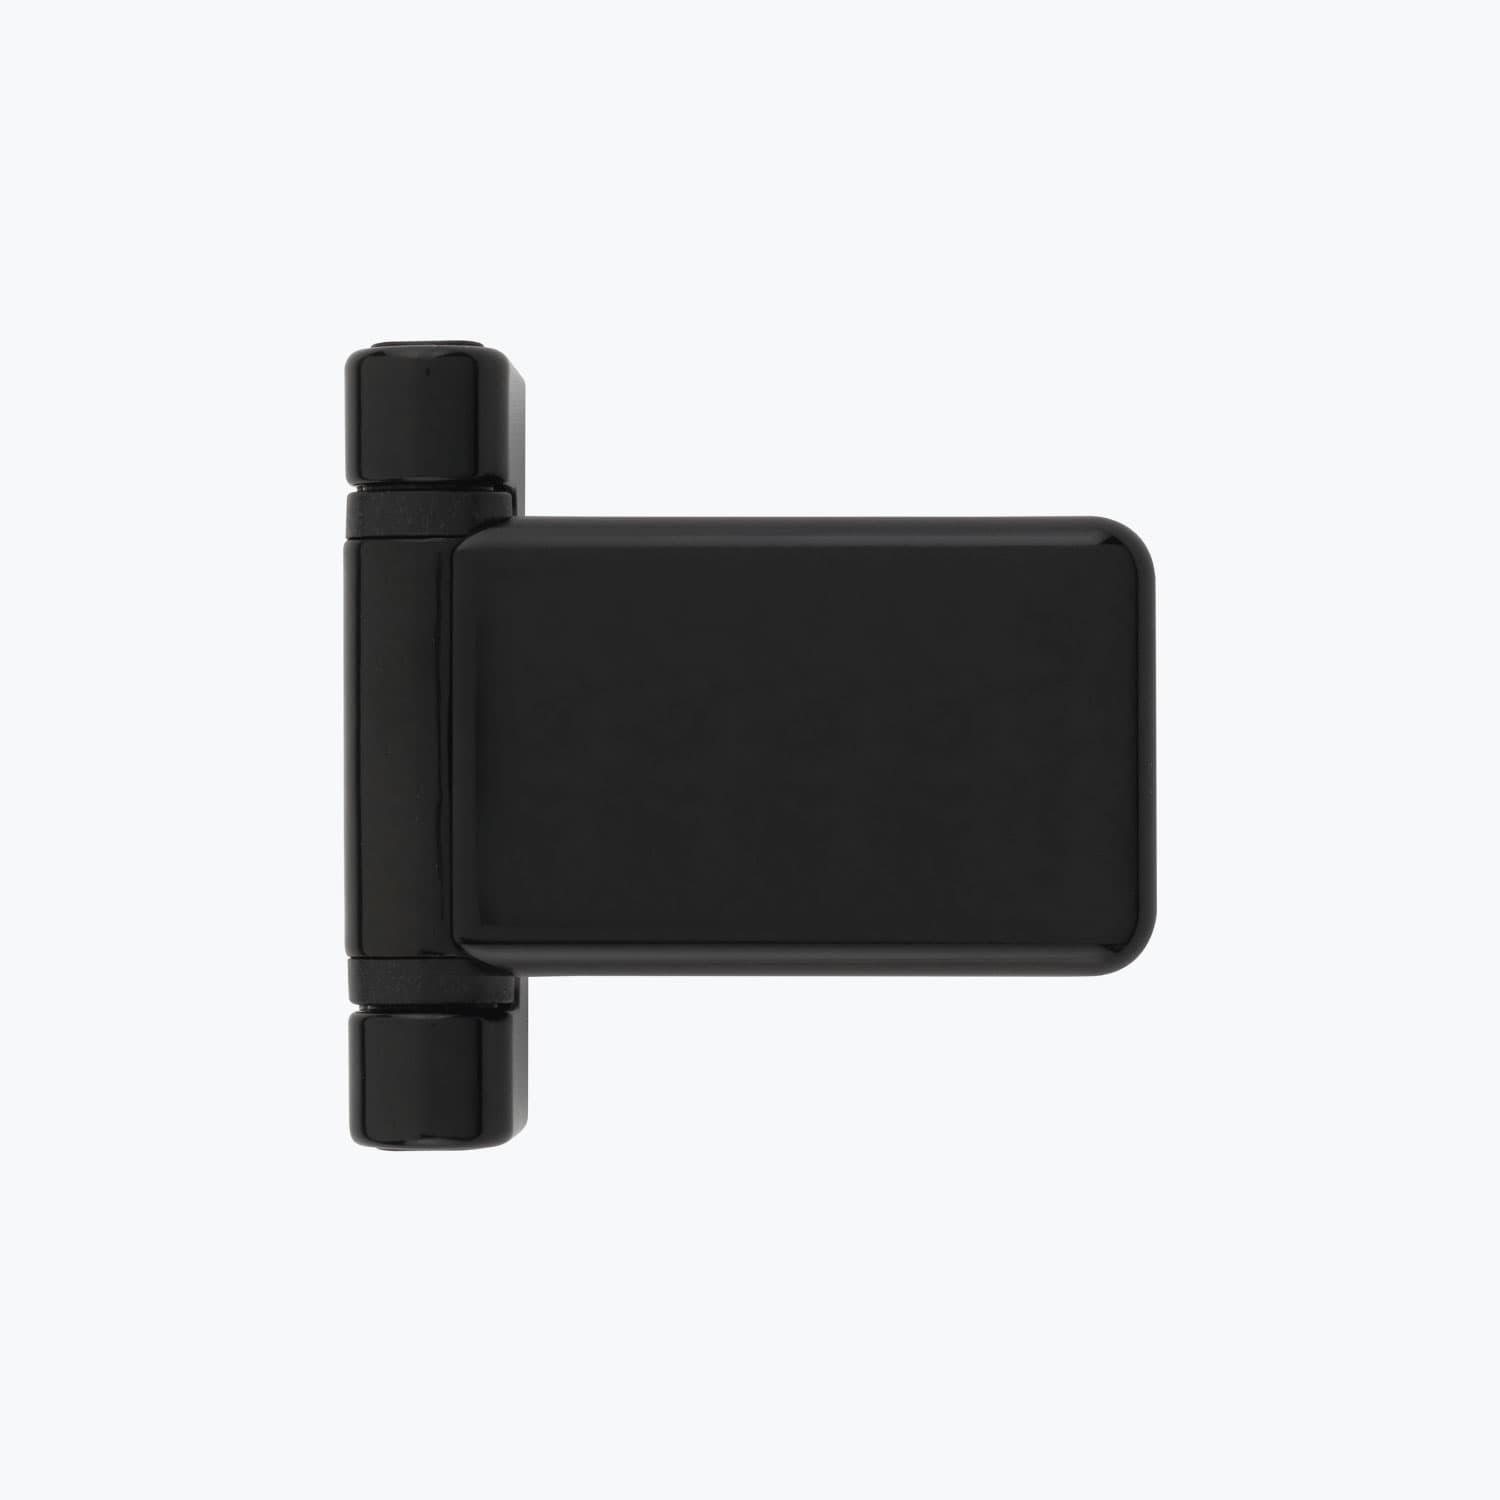
What is a flag hinge and where it is used
A flag hinge is a two-piece hinge where one plate (the flag) is fixed to the window sash or door leaf and the other plate is fixed to the frame. The design often allows the flag plate to be removed without taking the frame plate off: useful for sash removal. Flag hinges are commonly found on aluminium and UPVC casement windows, and on some lightweight doors and external access panels. They are available in various fixing configurations and with adjustability for vertical and lateral alignment.
Why accurate identification matters
Mismatching hinge size, pivot position or fixing pattern can cause alignment issues, poor sealing, premature wear, and security weaknesses. Trade professionals will want the correct load rating and adjustment range; DIYers need a straightforward replacement that fits without altering the sash or frame. Correct identification saves time on site and avoids repeat orders.
Visual checks and brand cues
Before measuring, look closely for identifying marks and distinctive features. Many manufacturers stamp a logo, part number or country of origin onto the hinge body. Common brand markers include:
- Stamped or embossed logos and numbers on the arm or flag plate: photograph these.
- Unique fixing patterns: the number and arrangement of screw holes can be characteristic.
- Adjustment mechanisms: eccentric cams, slotted screw heads, or separate adjustment screws can point to Roto, MACO, GU or SFS style designs.
- Finish and material: zinc plated, stainless steel or powder coated finishes are useful clues.
Keep in mind that many components are unbranded or relabelled by fabricators; measurement is the ultimate verifier.
Essential measurements to take
Use a tape measure and, if available, calipers. Record all measurements in millimetres and photograph each view with a ruler in frame for supplier reference. Key dimensions are:
- Overall length: distance from the top of the flag plate to the bottom of the frame plate when assembled.
- Flag plate height and width: measure the visible plate that sits on the sash; note the distance between the extreme screw centres.
- Frame plate height and width: measure the plate fixed to the frame in the same way.
- Pin diameter: measure the central pivot pin or barrel diameter; this determines compatible pivot housings.
- Pivot offset (backset): distance from the face of the sash to the pivot centre; important for maintaining the correct reveal and weatherseal engagement.
- Screw hole centres and pattern: measure centre-to-centre distances both vertically and horizontally; note countersunk or raised holes.
- Plate thickness: overall thickness can affect cover caps and clearance in rebate profiles.
For adjustable flag hinges, also measure the adjustment range and note the type of adjustment screws: slotted, hex, Torx or Allen.
Left or right hand: determining orientation
Flag hinges are handed: left or right. Determine handedness while looking at the hinged window or door from outside facing the room or the property exterior. If the hinge is on the left side and the window opens towards you, it is a left-hand hinge; if on the right, it is a right-hand hinge. Photograph the opening direction and label parts when removing them; this avoids fitting the wrong-handed replacement.
Practical trade and DIY tips for safe removal and measurement
- Support the sash before removing the hinge: use a second person or temporary props; glass and sash weight can be hazardous.
- Mark each hinge and its position with a permanent marker or masking tape; record which hinge was top or bottom.
- Where possible, remove one hinge at a time to maintain alignment and avoid dropping the sash.
- Protect surrounding finishes: place cardboard or cloth under the working area to prevent scratches when setting the hinge down.
- Use quality fasteners when refitting: coarse thread screws for timber, appropriate wall anchors for masonry frames, and the correct screw length to avoid punching through thin profiles.
- If unsure about structural load: for heavy sashes or doors use a trade supplier to confirm hinge load rating and select ball-bearing type hinges for smoother operation under load.
How to match an unknown hinge to a supplier part
After photographing and measuring, search supplier catalogues using key dimensions and distinctive features. If the hinge is stamped with a part number, provide that to the supplier. When speaking with a sales representative give the following:
- Photographs from three angles with a ruler visible.
- All measured dimensions in millimetres.
- Handing: left or right.
- Number of adjustments and type of adjustment screws.
- Required finish and whether stainless steel is needed for coastal locations.
If an exact match is not available, ask for an adjustable replacement that matches pivot centres and screw pattern; a minor rebating job by a fabricator can often accommodate a close alternative.
Common pitfalls to avoid
- Assuming an identical-looking hinge will be dimensionally compatible; visual similarity can be misleading.
- Not checking pivot offset: wrong offset will alter weatherseal compression and can prevent proper closure.
- Using the wrong screw type or length: this can strip the frame or fail to secure the hinge adequately.
- Failing to note handedness before removal; this can result in ordering the wrong part.
Recommended Products
Based on this article, you may find these products helpful:
- Flag Door Hinge - Stainless Steel
- Adjustable Flag Hinge - 100mm
- Fab&Fix Classic Flag Hinge
- ERA Composite Door Flag Hinge
- In-Line Window Mechanism
Conclusion and next steps
Identifying a flag hinge brand and size is a straightforward process when you combine clear photographs, accurate millimetre measurements and notes on handing and adjustment type. For homeowners, take careful photos and measurements and contact your supplier or a local installer if you are unsure. For trade professionals: keep a kit of calipers, labels and a camera for efficient on-site identification.
Next steps: measure the hinge dimensions listed above, photograph the part with a ruler included, and consult the Window Hardware Store catalogue or contact our technical team with your details for an exact match or recommended replacement. Correct identification ensures durable operation and reliable sealing for your windows and doors.