How to Replace a Composite Door Handle: DIY Instructions
Replacing a composite door handle is a common, straightforward task for tradespeople and competent DIY enthusiasts. Whether you are upgrading to a more secure or contemporary finish, or replacing a wo...
Replacing a composite door handle is a common, straightforward task for tradespeople and competent DIY enthusiasts. Whether you are upgrading to a more secure or contemporary finish, or replacing a worn handle on a job, knowing how to remove and fit a composite door handle correctly saves time and avoids damage to the door face and glazing. This guide explains the tools, measurements, step-by-step removal and installation, and finishing checks to help you complete the project like a pro.
Tools, materials and safety
Before you start work, gather the right tools and materials. Having everything to hand minimises delays and reduces the risk of mistakes when working with composite doors and multipoint locks.
- Cross-head and flat-head screwdrivers (various sizes)
- Torx set (commonly T20 or T30 for handles and fixings)
- Allen keys (for grub screws on certain handle types)
- Measuring tape and spirit level
- Punch and hammer (for removing stubborn pins)
- Replacement composite door handle set (spindle, roses/escutcheons, screws)
- Silicone or door sealant (if moving components cause minor gaps)
- Protective gloves and safety glasses
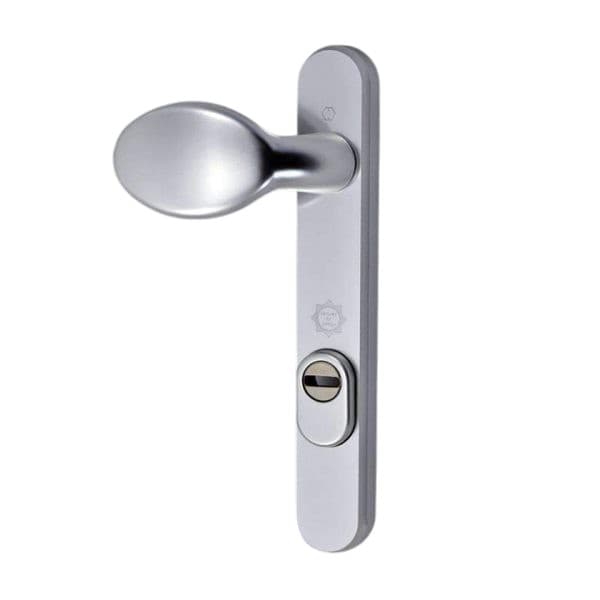
How to choose the right composite door handle
Selecting the correct composite door handle is crucial for function, security and appearance. Consider these trade-focused factors when specifying or buying handles for composite doors.
- Backset and spindle length: Match the handle spindle and backset to the existing multipoint mechanism to ensure smooth operation.
- Fixing type: Some handles use through-bolts via the door; others fit to roses or concealed fixings. Check whether fixings will contact glass or internal door cores.
- Security features: For trade installations choose handles that complement the lock’s security rating; consider options with reinforced spindles and anti-snap features.
- Finish and durability: Stainless steel or aluminium finishes resist corrosion better than plated alternatives in coastal areas.
- Compatibility: Confirm compatibility with the door thickness and the multipoint lock – composite doors vary in core construction and cut-outs.
Remove the old composite door handle: step-by-step
Follow these steps to remove an existing composite door handle without damaging the door or lock mechanism. Work with the door open on a secure stand if possible.
- Secure the door: Open the door and use a prop or second person to prevent movement while you work; this avoids stress on the multipoint lock.
- Locate fixings: Identify visible screws on the rose or backplate. Some handles have concealed grub screws under decorative caps; gently prise off caps with a flat-head screwdriver.
- Remove screws: Undo screws holding the handle and backplate. Keep screws in a labelled container if you plan to reuse them.
- Withdraw spindle: Once external fixings are released, pull the exterior handle slightly away and slide the spindle out of the mechanism. If the spindle is stuck, tap gently with a punch; avoid forcing, which can damage the lock.
- Remove internal escutcheon or rose: Unscrew internal fixings and carefully withdraw the rose; beware of spring washers or shims that may fall out.
- Inspect the lock and cut-out: With the handle removed, check the condition of the multipoint lock faceplate, screw threads and the internal spindle hole for wear or debris.
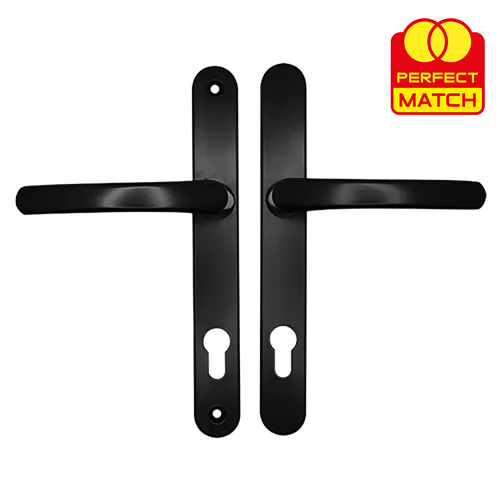
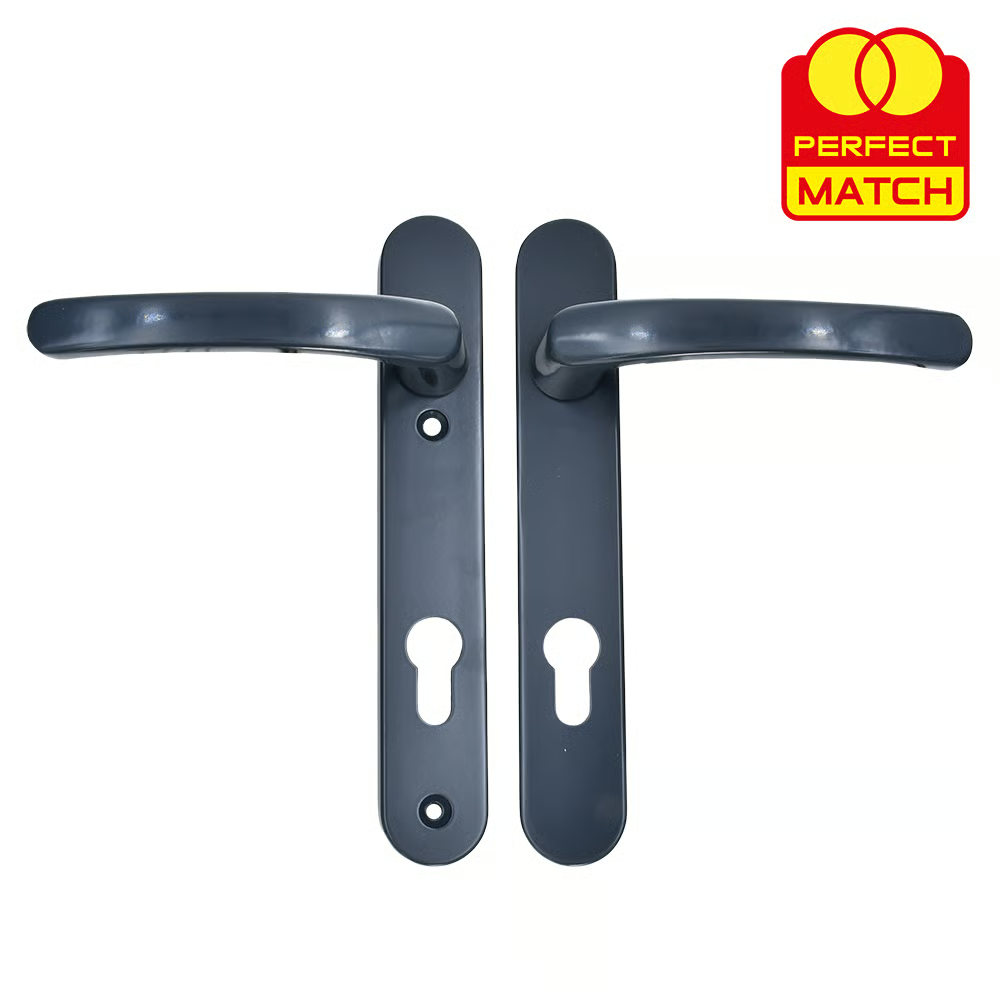
Fit the new composite door handle: step-by-step
Fitting a new composite door handle is often faster than removal. These steps ensure correct alignment and secure fixing.
- Check components: Confirm the new handle kit includes the correct length spindle, screws and any washers or spacers for your door thickness.
- Set spindle and backset: Insert the spindle through the lock from the side with the handle that will receive the external fitting. Ensure the spindle engages the lock squarely.
- Attach exterior handle: Position the exterior handle or lever over the spindle; hold it in place while you bring the internal side up to align.
- Mount internal rose/escutcheon: Fit the internal rose or backplate, aligning screw holes. Use any supplied shims to make the roses sit flush against the composite door surface.
- Tighten fixings: Clamp the handle set together and tighten screws progressively; avoid overtightening, which can distort roses or crack the composite outer layer.
- Fit decorative caps and test: Replace any decorative caps or grub screws. Operate the handle and engage the lock several times to verify smooth action and correct latch retraction.
Common problems and troubleshooting
Tradespeople will encounter a few recurring issues when working with composite door handles; these tips address the most frequent ones.
- Loose handles after fitting: Check spindle engagement and screw torque; insert a longer spindle or additional spacer if the handle cannot clamp securely.
- Handle binding: Verify spindle length and backset; a spindle that is too long or too short can bind against the lock body. Remove and re-measure if necessary.
- Misaligned roses: Use thin shims or adjust screw positions to get roses flush; if the composite surface is uneven, a small bead of silicone around the rose edge hides gaps and stops movement.
- Stripped screw threads: Replace damaged screws with slightly larger or self-tapping alternatives; if the internal timber core is damaged, consider resin-injected thread repair or fitting coach bolts through the door.
Finishing checks and maintenance
Complete the job by checking operation, security and finish. Regular maintenance keeps composite door handles operating for years.
- Operate lock and latch several times to confirm smooth action and full engagement of the multipoint locks.
- Check alignment with door frame keeps; adjust keeps if required to prevent premature wear on the handle mechanism.
- Tighten all fixings after 24 hours to allow any settling; check again at three months on frequently used doors.
- Lubricate the spindle and lock mechanism with a dry graphite or small amount of specialist lock lubricant; avoid oil-based lubricants that attract dust.
Replacing a composite door handle is a routine task that, with the right tools and measurements, can be completed quickly and reliably. Whether you are a tradesperson fitting multiple doors or a homeowner upgrading a single entrance, following these practical steps ensures a secure, neat result and prolongs the life of both handle and lock.
Recommended Products
Based on this article, you may find these products helpful:
Part of our guide:
Complete Guide to Door Handles