PAS24 Door Handle Installation: What You Need to Know
Installing a PAS24 door handle correctly is essential for security, compliance and long-term performance. Whether you are a trade installer fitting multiple new doors on a project or a confident DIYer...
Installing a PAS24 door handle correctly is essential for security, compliance and long-term performance. Whether you are a trade installer fitting multiple new doors on a project or a confident DIYer upgrading an existing entrance, knowing the standards, tools, measurements and testing methods will save time and avoid costly rework. This guide explains what a PAS24 door handle is, how to choose the right product, step-by-step installation guidance and practical troubleshooting tips.
What is a PAS24 door handle and why it matters
PAS24 is a UK security standard that covers doorsets and components for residential and low-rise commercial buildings. A PAS24 door handle is designed to work with compliant locks and doors to meet the standard's requirements for attack resistance, durability and performance. That means the handle and its fixings must be robust, fitted with the correct screws and used with an appropriate lock to achieve the intended level of security.
Key reasons to specify a PAS24 door handle:
- Meets building regulations and insurance expectations for enhanced security;
- Designed for use with PAS24-rated locks and doorsets to resist forced entry;
- Durable components and tested fixings reduce maintenance and call-backs.
Choosing the right PAS24 door handle
Selecting the correct pas24 door handle involves matching hardware to the door type, lock type and projected use. Consider these factors when specifying:
- Handle style: lever on backplate, lever on rose, pull handles or pad handles — ensure the style is compatible with the lock and keeps required clearances;
- Material and finish: stainless steel or hardened alloys offer better corrosion resistance and strength; choose finishes rated for exterior use;
- Fixings and spindle: the product should include security fixings and the correct spindle length; some PAS24 handles use anti-drill or anti-shear fixings;
- Compatibility with multipoint locks: confirm the handle's spindle diameter and backset match the multipoint lock manufacturer’s requirements;
- Certificate and documentation: insist on test certificates or manufacturer declarations confirming the handle is suitable for PAS24 installations.
Tools, materials and pre-install checks
Prepare thoroughly before starting any installation. Typical tools and materials for fitting a pas24 door handle include:
- Screwdrivers and torque-bit set;
- Drill with security bits and depth stop;
- Tape measure, pencil and spirit level;
- Appropriate screws and security spacers supplied by the manufacturer;
- Replacement spindle of correct length if required;
- Lock manufacturer’s instructions and PAS24 documentation.
Pre-install checks:
- Confirm the door leaf, frame and lock are PAS24 compliant where required;
- Check door thickness, backset and centre distance to ensure the handle will operate the lock correctly;
- Inspect the door edge and face for damage or rot; repair where necessary before fitting;
- Mark out handle height and alignment referencing building regulations and site-specific requirements.
Step-by-step installation of a PAS24 door handle
Follow these steps to fit a pas24 door handle correctly and securely:
- Remove any existing hardware and clean the mounting area. Verify the spindle and lock mechanism are functioning smoothly.
- Position the handle backplate or rose against the door face. Use a spirit level to ensure the handle lever will sit horizontally; mark screw positions.
- Pre-drill pilot holes with an appropriate security drill bit; use the correct depth stop to avoid damaging the lock casing. PAS24 installations often require specific screw depths and spacers to maintain security performance.
- Fit the spindle into the lock; some handles require a captive spindle or grub-screw fixing. Ensure the spindle engages squarely with the lock follower.
- Offer the handle to the door and hand-tighten the fixing screws. Use the manufacturer’s torque recommendation where provided; over-tightening can distort plates and under-tightening reduces security.
- Install any security fixings supplied: anti-tamper screws, locking washers or collars. These elements contribute to the PAS24 performance by preventing removal from the outside.
- Operate the handle and lock repeatedly to check for smooth action and full engagement of the latch and deadbolt. Adjust spindle length or backset with spacers if necessary.
- Complete a final torque check on all fixings and record the installation details and certificate numbers for the client or site file.
Testing, certification and common issues
After installation, testing and documentation are vital to demonstrate compliance. Tradespeople should:
- Carry out a functional test: cycle the handle and lock at least 50 times to check durability and smooth operation;
- Perform a basic forced-entry check: ensure there are no easy leverage points around fixings or the plate edge;
- Record product batch numbers, certificates and installation details in the handover pack.
Common installation issues and fixes:
- Loose fixings: replace with manufacturer-specified security screws and use threadlocker where recommended;
- Handle droop or misalignment: check spindle square, tighten grub screws and ensure backplate is not sprung;
- Binding on the latch: verify correct backset and that the strike plate is aligned; adjust strike plate or re-align door to frame.
Maintenance and long-term considerations
A PAS24 door handle will perform best with routine maintenance. Recommend these actions to clients:
- Regularly lubricate the lock mechanism with a dry PTFE spray; avoid oil-based lubricants that attract dust;
- Check fixings annually and re-torque if necessary; inspect for corrosion and wear;
- Report any deformation, excessive wear or failed operation immediately so components can be replaced to maintain PAS24 integrity;
- Keep records of maintenance and any replacement parts to demonstrate ongoing compliance for warranty and insurance purposes.
Installing a pas24 door handle correctly is as much about preparation and documentation as it is about fitting. Use compatible components, follow manufacturer instructions and carry out appropriate testing to ensure the installation meets PAS24 requirements. Doing so protects occupants, satisfies clients and reduces the likelihood of future call-outs.
For more guides on door hardware and specification advice, visit our pillar page: /guides/door-handles
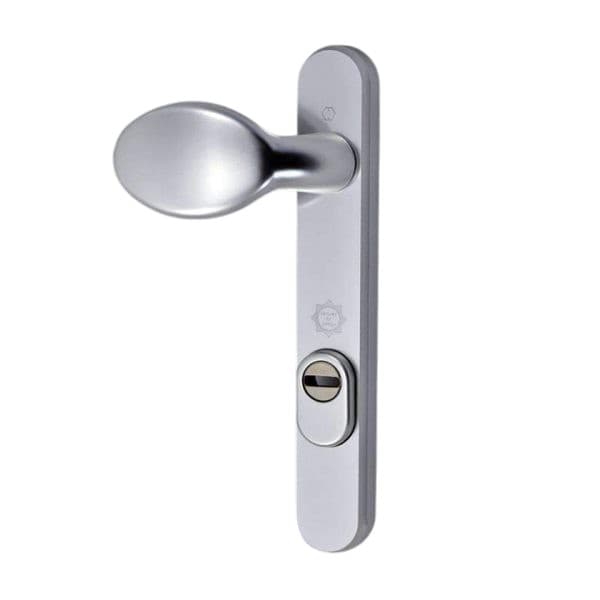
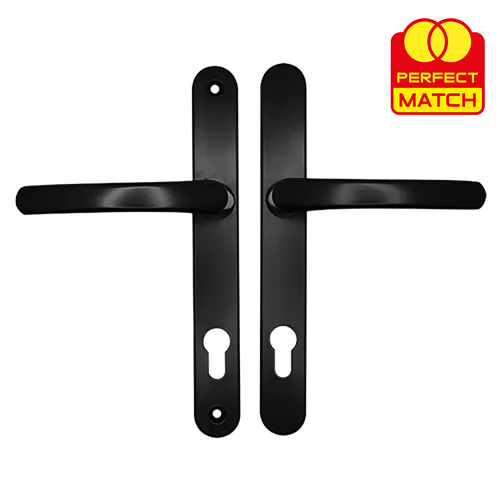
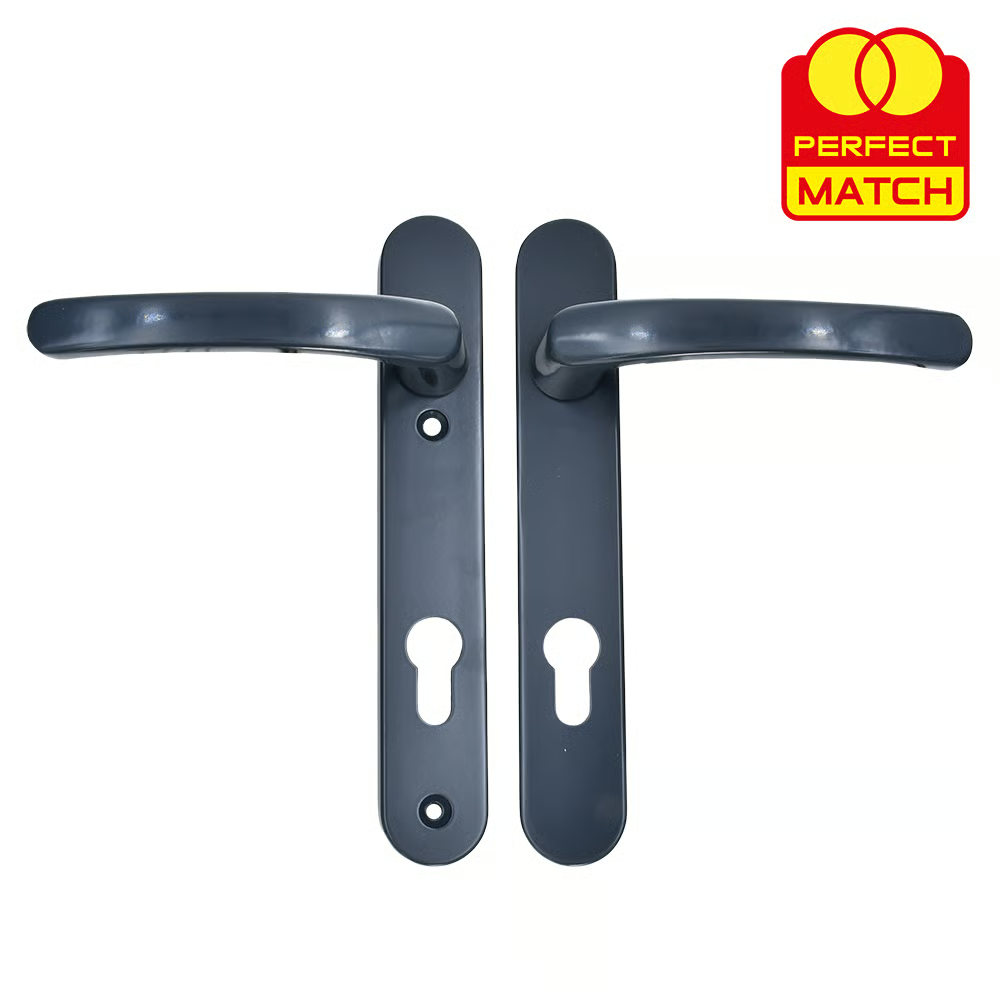
Recommended Products
Based on this article, you may find these products helpful:
Part of our guide:
Complete Guide to Door Handles