Replacing a Door Handle Backplate: Step-by-Step Guide
Replacing a door handle backplate is a common job for trade fitters and confident DIY enthusiasts. Whether upgrading aesthetics, rectifying damage, or changing handedness, fitting a new door handle ba...
Replacing a door handle backplate is a common job for trade fitters and confident DIY enthusiasts. Whether upgrading aesthetics, rectifying damage, or changing handedness, fitting a new door handle backplate can be a quick, cost-effective way to refresh a door. This guide explains preparation, tools, measurement, removal and installation of a new door handle backplate; it also covers common issues and finishing tips to ensure a professional result.
Tools, materials and choosing the right backplate
Before you start, gather the right tools and pick the correct door handle backplate for the job. Choosing the right backplate saves time on site and prevents poorly aligned handles that wear quickly.
- Basic tools: screwdriver set (Philips and slotted), Allen keys, tape measure, pencil, chisel and hammer, spirit level.
- Additional items: wood filler or touch-up paint, threadlocker, new screws if required, masking tape.
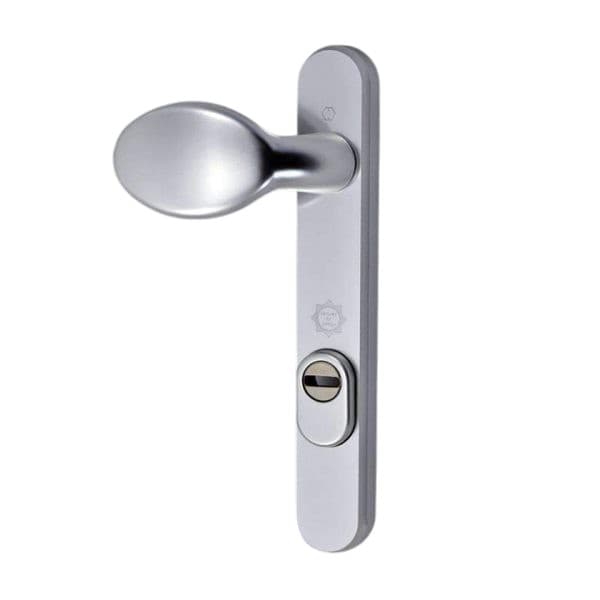
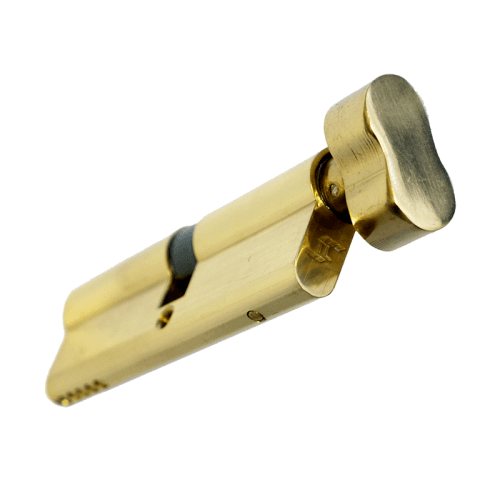
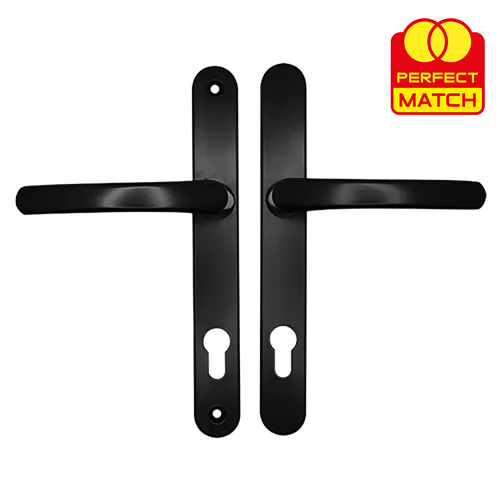
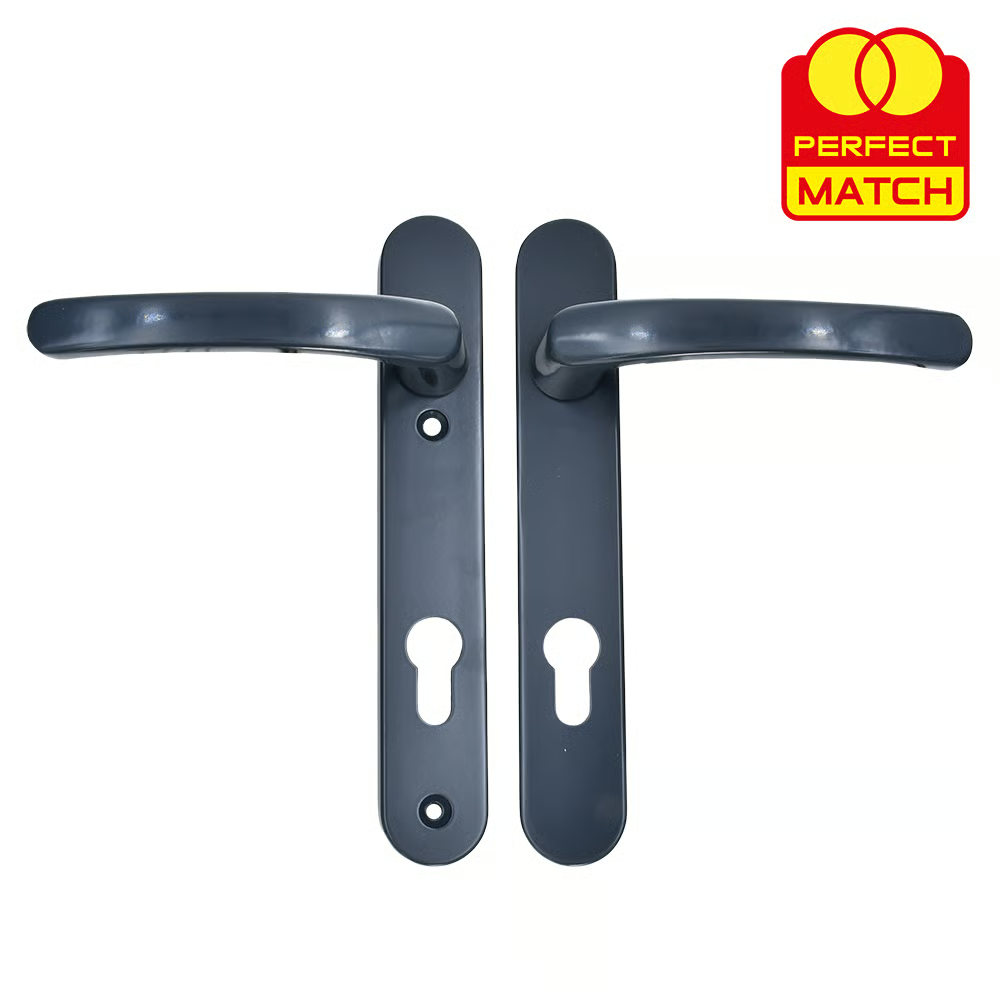
- Selecting the backplate: check material (brass, stainless steel, zinc alloy), finish (polished, satin, antique), and size: backplate height, width and the distance between spindle and keyhole or euro cylinder.
- Compatibility: confirm backset and spindle length; confirm whether the backplate is for a bathroom, lever/lever, lever/knob, or keyed entry application.
When ordering, note handedness if applicable and ensure fixings match the door thickness and frame. A correctly matched door handle backplate reduces the need for modification on site.
Preparing the door: measurements and marking
Accurate measurement is critical when replacing a door handle backplate. Small errors cause misalignment, poor operation and an unprofessional finish.
- Measure the existing backplate: height, width and screw centres. Record the distance between the spindle centre and the keyhole or cylinder centre.
- Check the existing holes in the door: are they clean and round, or elongated and damaged? Note whether you need to fill and re-drill.
- Mark new screw and spindle positions on the door with a pencil; use masking tape over painted surfaces to avoid chipping the finish when marking.
- For painted doors, use a spirit level to ensure the backplate will sit straight; permanently fix only after a dry fit.
Removing the old backplate
Removing an existing backplate is straightforward if you follow a methodical sequence. Keep all removed screws and components in a labelled bag for re-use or reference.
- Isolate any latch mechanism by removing the spindle and any retaining screws from the handle. Note how the handle and spindle are assembled for reassembly.
- Remove screws securing the backplate. If screws are painted over, score the paint with a knife to avoid stripping the screw head.
- Gently prise the backplate off; if it is stuck due to paint, use a thin chisel or putty knife at the edge to avoid damaging the door surface.
- Inspect the mortice and latch area; clean out debris and examine whether the new backplate will require additional chiselling or filler.
Fitting the new backplate: step-by-step
Follow these steps to fit a new door handle backplate accurately and securely. Dry-fitting first prevents costly mistakes.
- Dry-fit the new backplate over the spindle and check that the spindle aligns with the mechanism; ensure the keyhole lines up if applicable.
- Mark screw positions through the backplate; remove the backplate and pre-drill pilot holes to the correct depth and diameter for the screws supplied.
- Apply a small amount of threadlocker to the screws if the door is subject to heavy use; this prevents loosening over time.
- Re-fit the backplate and loosely fit screws until all are in place; then tighten progressively to avoid distortion, checking that the handle operates freely.
- If the backplate sits proud on an uneven surface, use thin washers behind the plate or carefully plane the door surface for a flush fit.
Common problems and troubleshooting
Even simple jobs can present problems. Here are common issues when replacing a door handle backplate and how to resolve them.
- Misaligned handle: check spindle length and ensure the backplate screw centres match the door; re-drill if necessary and use filler where holes are oversized.
- Loose backplate: confirm screw length; use appropriate fixings for the door material and apply threadlocker if vibration is an issue.
- Painted-on backplate: heat gently with a hairdryer to soften paint before removal; score around screws to avoid chipping.
- Backplate too small or large: if slightly small, use matching escutcheon or filler; if too large, replace with a correctly sized backplate to avoid covering decorative moulding.
Finishing touches and maintenance
Finishing well gives a professional appearance and extends the life of the replacement backplate. Tidy any filler, touch up paint, and check operation after 24 hours.
- Touch-up: fill gaps with matching wood filler and sand lightly; touch up paint or finish to match the door.
- Lubrication: apply graphite or a light machine oil to the spindle and latch for smooth operation.
- Inspection: re-check screw tightness after a few days and again after a few weeks; heavy use can cause settling.
Replacing a door handle backplate is a straightforward task when approached with the correct measurements, tools and attention to detail. For tradespeople, carrying a selection of common sizes and finishes reduces call-backs; for DIY enthusiasts, careful preparation ensures a neat, lasting result. If you need help choosing the right door handle backplate or specialist fixings, contact a supplier who can advise on compatibility and finishes.
Recommended Products
Based on this article, you may find these products helpful:
Part of our guide:
Complete Guide to Door Handles