Window Stay Maintenance: Keeping Your Hardware Working
Window Stay Maintenance: Keeping Your Hardware Working A well-maintained window stay keeps a casement window safe, secure and simple to operate. Whether yo...
Window Stay Maintenance: Keeping Your Hardware Working
A well-maintained window stay keeps a casement window safe, secure and simple to operate. Whether you are a homeowner keeping a property in good order or a trade professional carrying out servicing, routine attention to window stays prevents failures, reduces draughts and prolongs the life of the frame and ironmongery. This post explains practical checks, lubrication, adjustment and replacement tactics for common stays used across the UK.
What is a window stay and common types
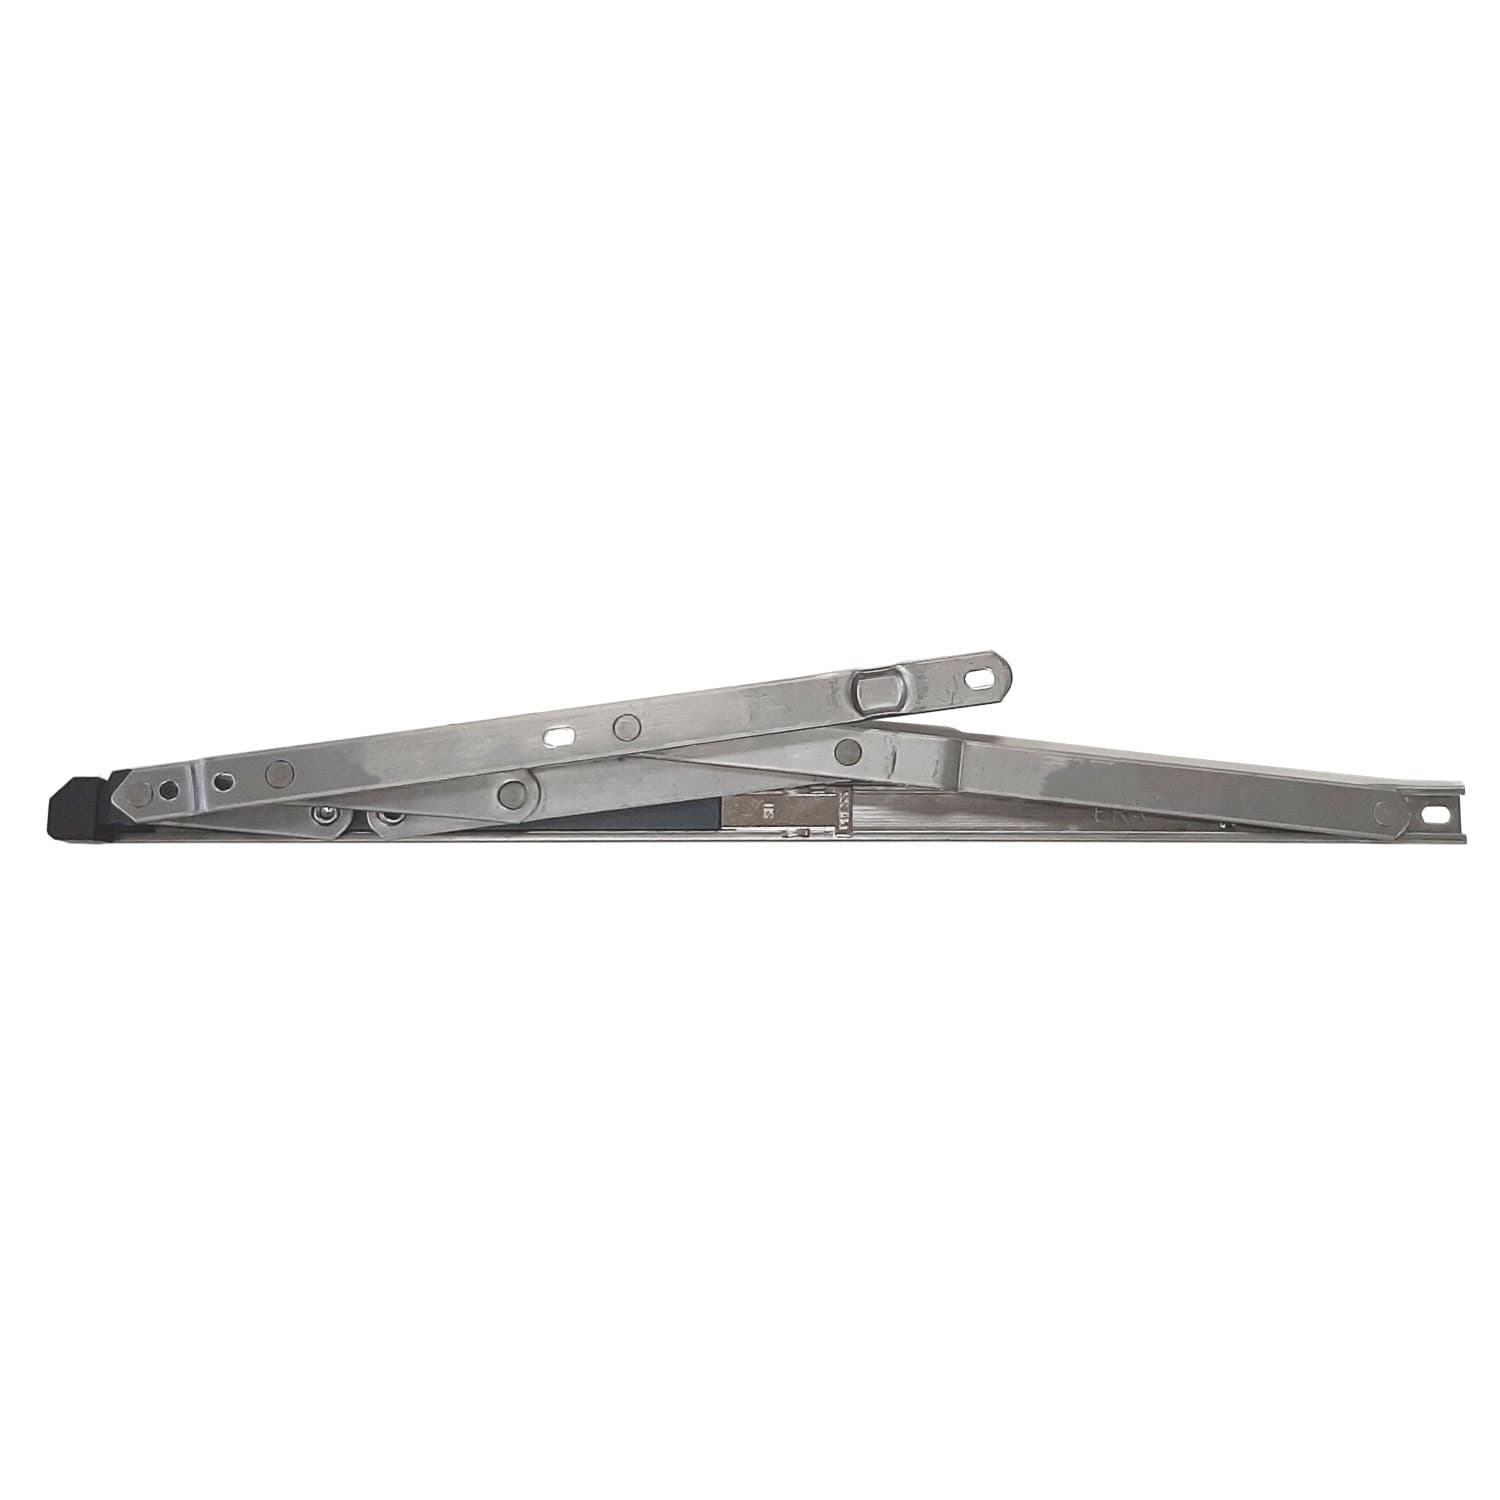
A window stay is the arm or bar that holds a casement sash at a fixed opening position. It is distinct from a friction stay, which is the hinged arm often used on uPVC and aluminium windows. Typical stay types you will encounter include:
- Peg or ratchet stays: a bar with notches or holes that engages with a keeper or peg to hold the sash open.
- Telescopic stays: extendable arms often used where clearance is limited; they can be spring-assisted or fixed.
- Chain stays: a simple metal chain and bracket; often seen on older timber windows.
- Lockable stays: stays with an integrated lock or latch for added security.
- Friction stays: hinge-like arms for top-hung and side-hung casements; these rely on friction or adjustable tension rather than notches.
Routine inspection checklist
Carry out these checks annually or when called out for a service visit. For coastal or heavily polluted areas check every six months:
- Visual condition: look for corrosion, cracking, bending or missing parts.
- Operation: open and close the window through its full travel; note sticking points or excessive play.
- Fixings: ensure screws and bolts are secure; check for wood rot or loose frame fixings.
- Keepers and fastenings: confirm the stay engages cleanly with keepers or pegs and that locking mechanisms operate.
- Seals and sashes: check that the stay is not impeding weather seals; adjust if the sash is pulling away or seating unevenly.
Cleaning and lubrication: what to use
Clean moving parts before lubricating; grit and old grease cause more wear if left in place. Use a soft brush and a mild detergent solution for general dirt. For heavily corroded parts use a wire brush carefully to remove loose rust; do not reduce critical section thickness.
Lubricants to use:
- Light machine oil (Singer or similar) for brass and steel stays: apply sparingly to pivots and ratchets.
- Silicone spray for uPVC and painted surfaces: lubricates without staining or attacking seals.
- Light PTFE spray for friction stays: gives a longer-lasting, clean film.
Avoid heavy grease on ratchet teeth; it attracts dust and blocks engagement. Wipe excess lubricant and operate the stay several times to distribute the film.
Adjustment and minor repairs
Many operational problems are cured by simple adjustments. Practical steps:
- Tighten mounting screws until the stay is secure; do not overtighten as this can deform the stay or prevent movement. Use a screwdriver appropriate to the screw head and ensure correct slot engagement to avoid cam-out.
- If the stay is loose due to stripped screw holes in timber, remove the screw and either pack with a wooden dowel and re-drill, or use a longer screw engaging new timber below the rot; match screw material to the stay to prevent corrosion.
- For ratchet stays that do not hold: check for worn or damaged teeth; light cleaning and a drop of oil can help, but if teeth are rounded replace the stay.
- For friction stays: use the tensioning screw (often an Allen key) to increase or decrease resistance; follow manufacturer settings and support the sash while adjusting.
When to replace parts or the whole stay
Replace a window stay if you see any of the following:
- Severe corrosion with pitting that reduces cross-section or weakens fixings.
- Cracked or bent arms; bending back can weaken the metal and affect operation.
- Missing or sheared pivot pins and rivets; these are safety-critical.
- Worn ratchet teeth or pegs that no longer engage securely.
For coastal properties specify stainless steel A4 for maximum corrosion resistance; A2 stainless is acceptable inland. For traditional or heritage projects use correct finishes and patinated brass to match existing fittings.
Practical fitting tips for trade and DIY
- Always support the sash before removing stays; use a wedge or have an assistant hold the window to prevent sudden movement.
- Mark the location of keepers before removing; this ensures replacements align and avoids unnecessary frame drilling.
- Match screw material to the stay: stainless screws with stainless stays; brass screws with brass stays. This reduces galvanic corrosion and staining.
- For timber frames use countersunk screws of suitable length so the head pulls the stay tight without passing through the frame.
- When fitting new stays choose the correct length: measure from the pivot point to the keeper location at the required open angle; common lengths are 75mm, 100mm, 150mm and 200mm on peg stays but verify on-site.
Troubleshooting common issues
- Window will not stay open: check ratchet teeth and keeper engagement; replace worn pegs or reposition the keeper slightly to improve engagement.
- Window sash droops or slams shut: check the pivot pins and mounting screws; worn pivots often cause sag and require replacement.
- Stiff operation: clean grit from pivot areas and lubricate with recommended lubricant; if stiffness persists investigate for bent arms or paint build-up in painted timber windows.
Trade tips and maintenance schedule
For property maintenance contracts set a clear schedule: light service every six months in coastal or industrial areas; annual service inland. Keep a log of replacement parts and finish specifications for future matching. Tradespeople should carry a small kit: replacement screws, stainless pegs, lightweight oil, small wire brush and a range of stays in common finishes and lengths.
Related Reading
Explore more guides on related topics:
Recommended Products
Based on this article, you may find these products helpful:
- Top Hung Friction Stay - 12"
- ERA Egress (Fire escape) Friction Stay
- TSS Standard Friction Stays – 13mm & 17mm Stack Height
- Restricted Friction Stay Hinges
- Top-Hung Window Hinge - Standard
Conclusion and next steps
Regular inspection, correct lubrication and prompt replacement of damaged parts will keep window stays working smoothly and safely. For homeowners: start with a visual check and simple cleaning then move to lubrication and minor screw-tightening. For trades: carry spares, note materials for corrosion resistance and use the correct tension settings on friction stays.
Need more detailed information on hinges and related fittings? See our pillar page on window hinges: /guides/window-hinges. If you require replacement parts or professional assistance contact your usual supplier or a qualified joiner or window engineer.
Part of our guide:
Complete Guide to Window Hinges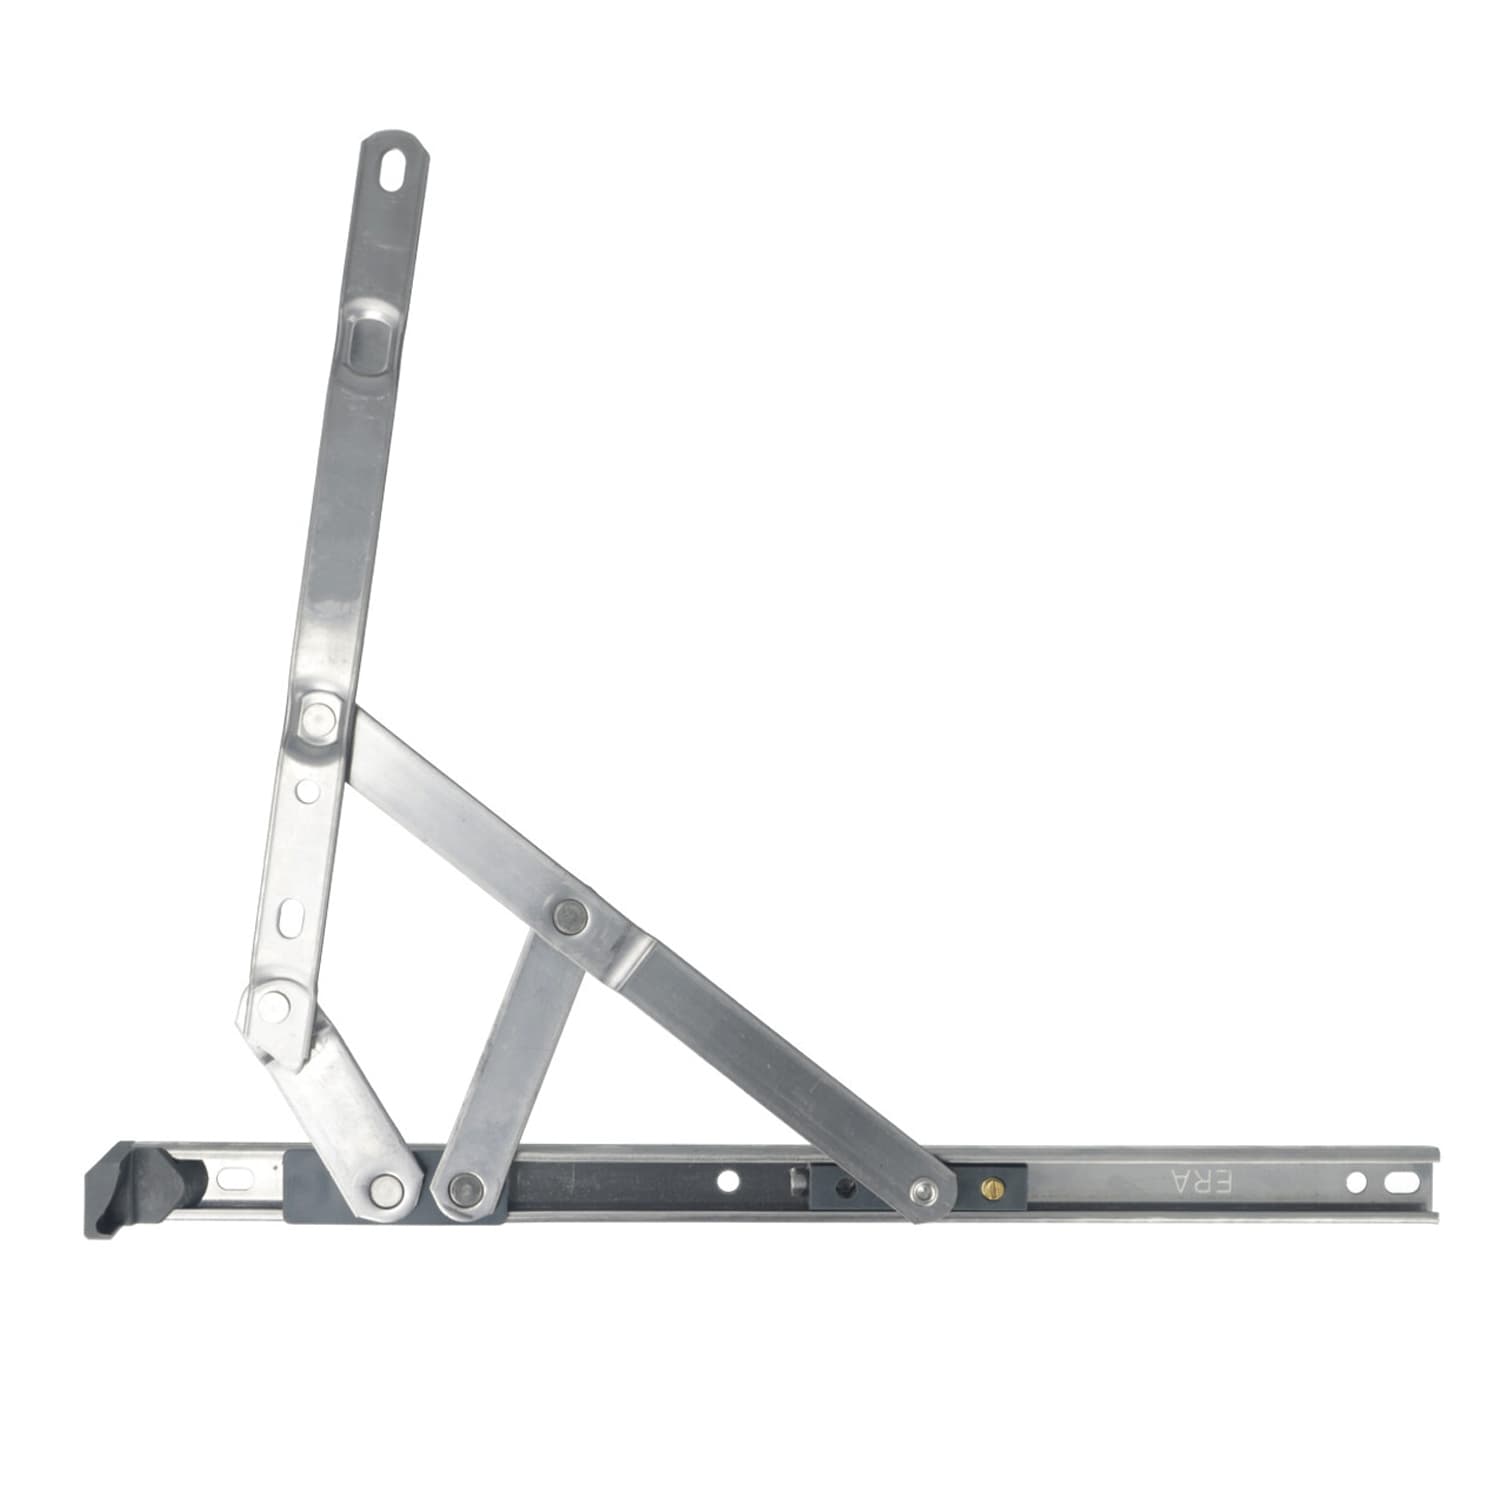

Related articles
Period Window Stays: Heritage Options for Older Properties
Period Window Stays: Heritage Options for Older Properties Older properties often require hardware that respects traditional appearance while providing mod...
Replacing Old Window Stays: Finding Matching Hardware
Replacing an old window stay can restore functionality, security and appearance to a worn casement. Whether you are a joiner, a glazing contractor or a dil...
How to Replace Friction Hinges on uPVC Windows
How to Replace Friction Hinges on uPVC Windows Overview Friction hinges are the most common operating mechanism on uPVC casement windows in the UK. They al...