Flag Hinge Installation Tips for Trade Fitters
Flag Hinge Installation Tips for Trade Fitters Flag hinges are a practical solution for removable sashes and lightweight doors where quick removal or lift-...
Flag Hinge Installation Tips for Trade Fitters
Flag hinges are a practical solution for removable sashes and lightweight doors where quick removal or lift-off access is required. They are commonly used on timber and metal casements, cupboard doors, access panels and secondary doors where frequent hinge disengagement is needed for decoration, maintenance or transport. This article gives trade-fitters and competent DIYers practical, technically accurate advice on selection, installation and maintenance of flag hinges for reliable performance.
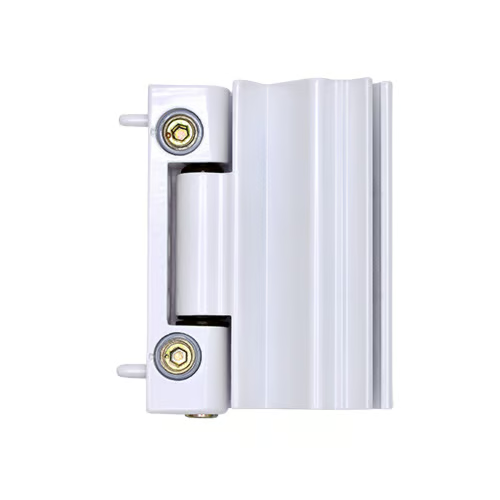
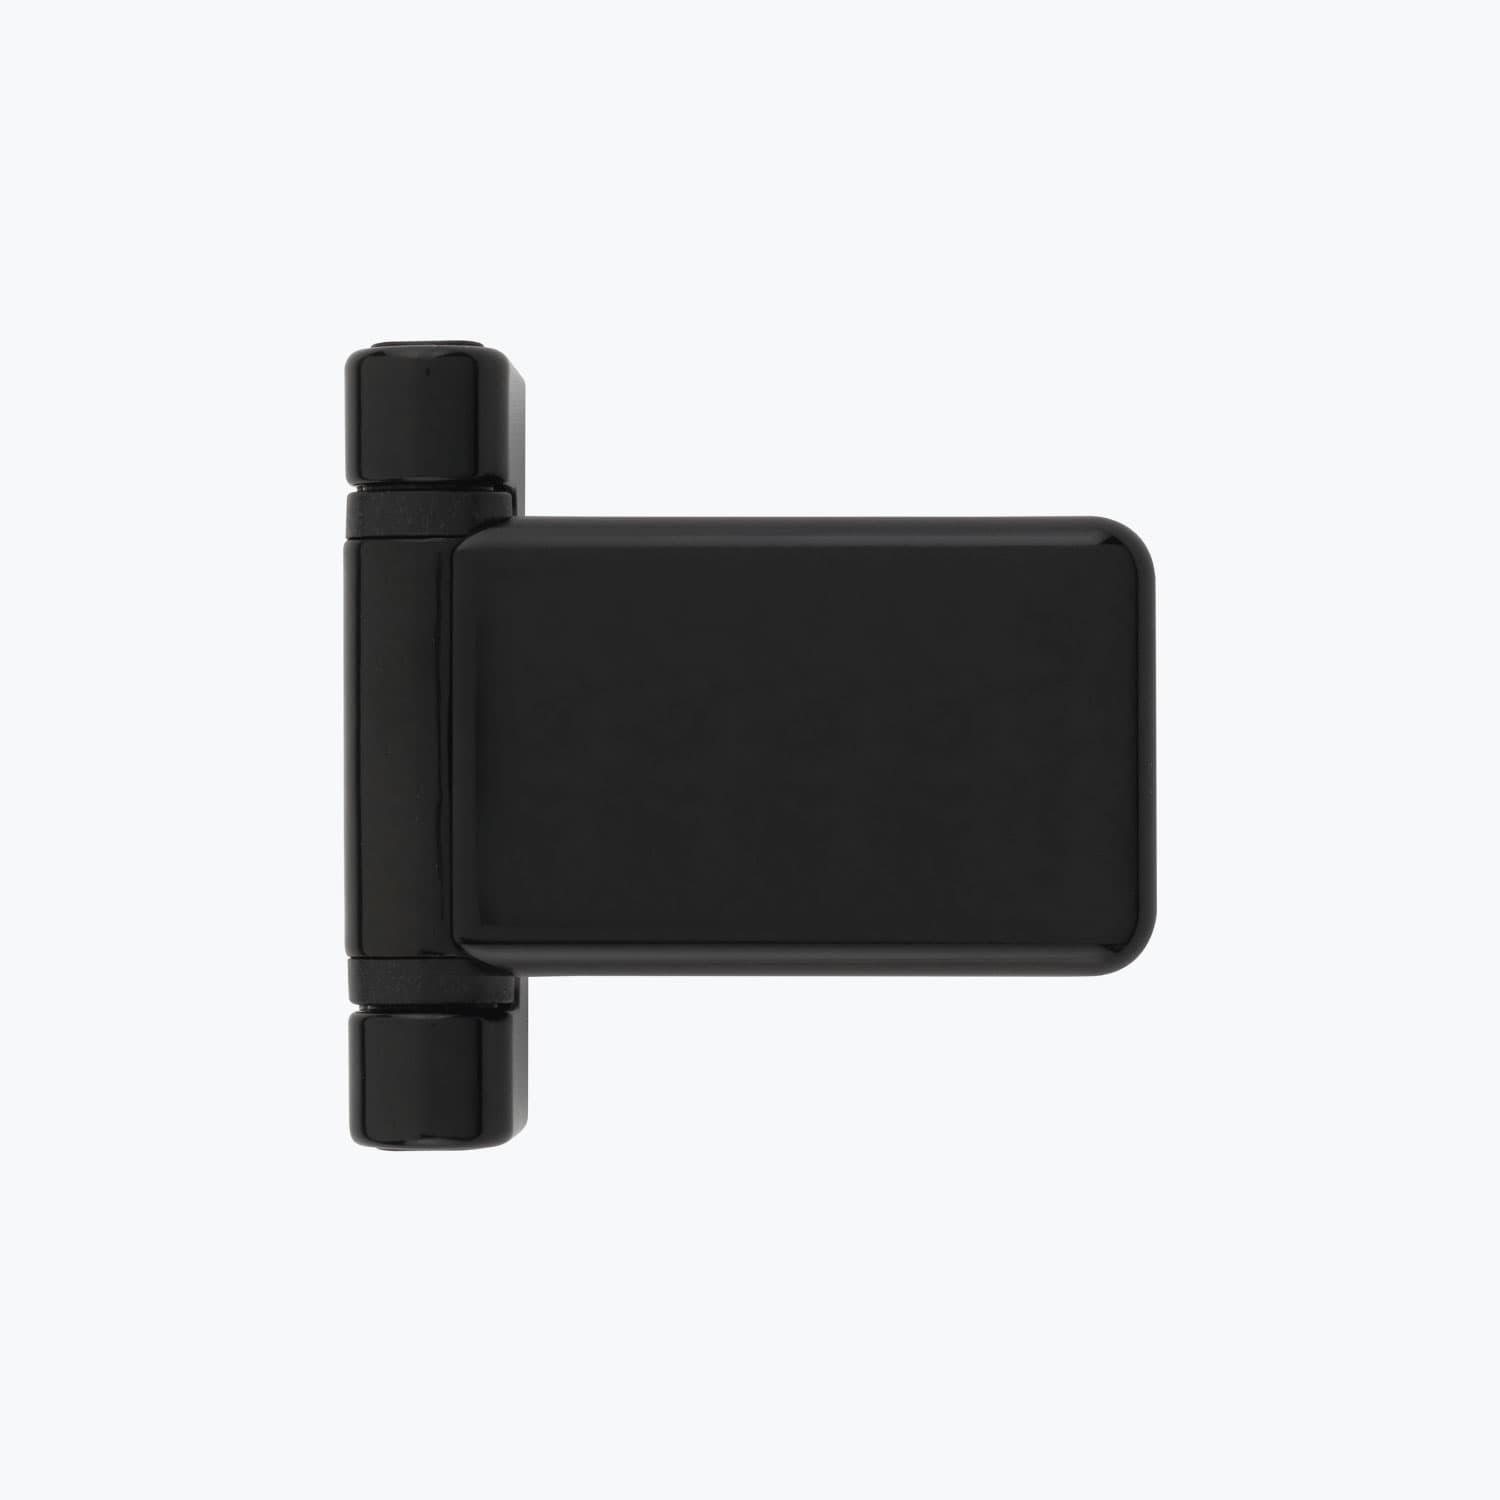
Choose the right flag hinge for the job
Not all flag hinges are the same: sizes, materials and load ratings vary. Key points to check before you order or fit:
- Manufacturer load rating: match hinge to door or sash weight and height; for heavier doors consider additional hinges or a heavy-duty flag hinge.
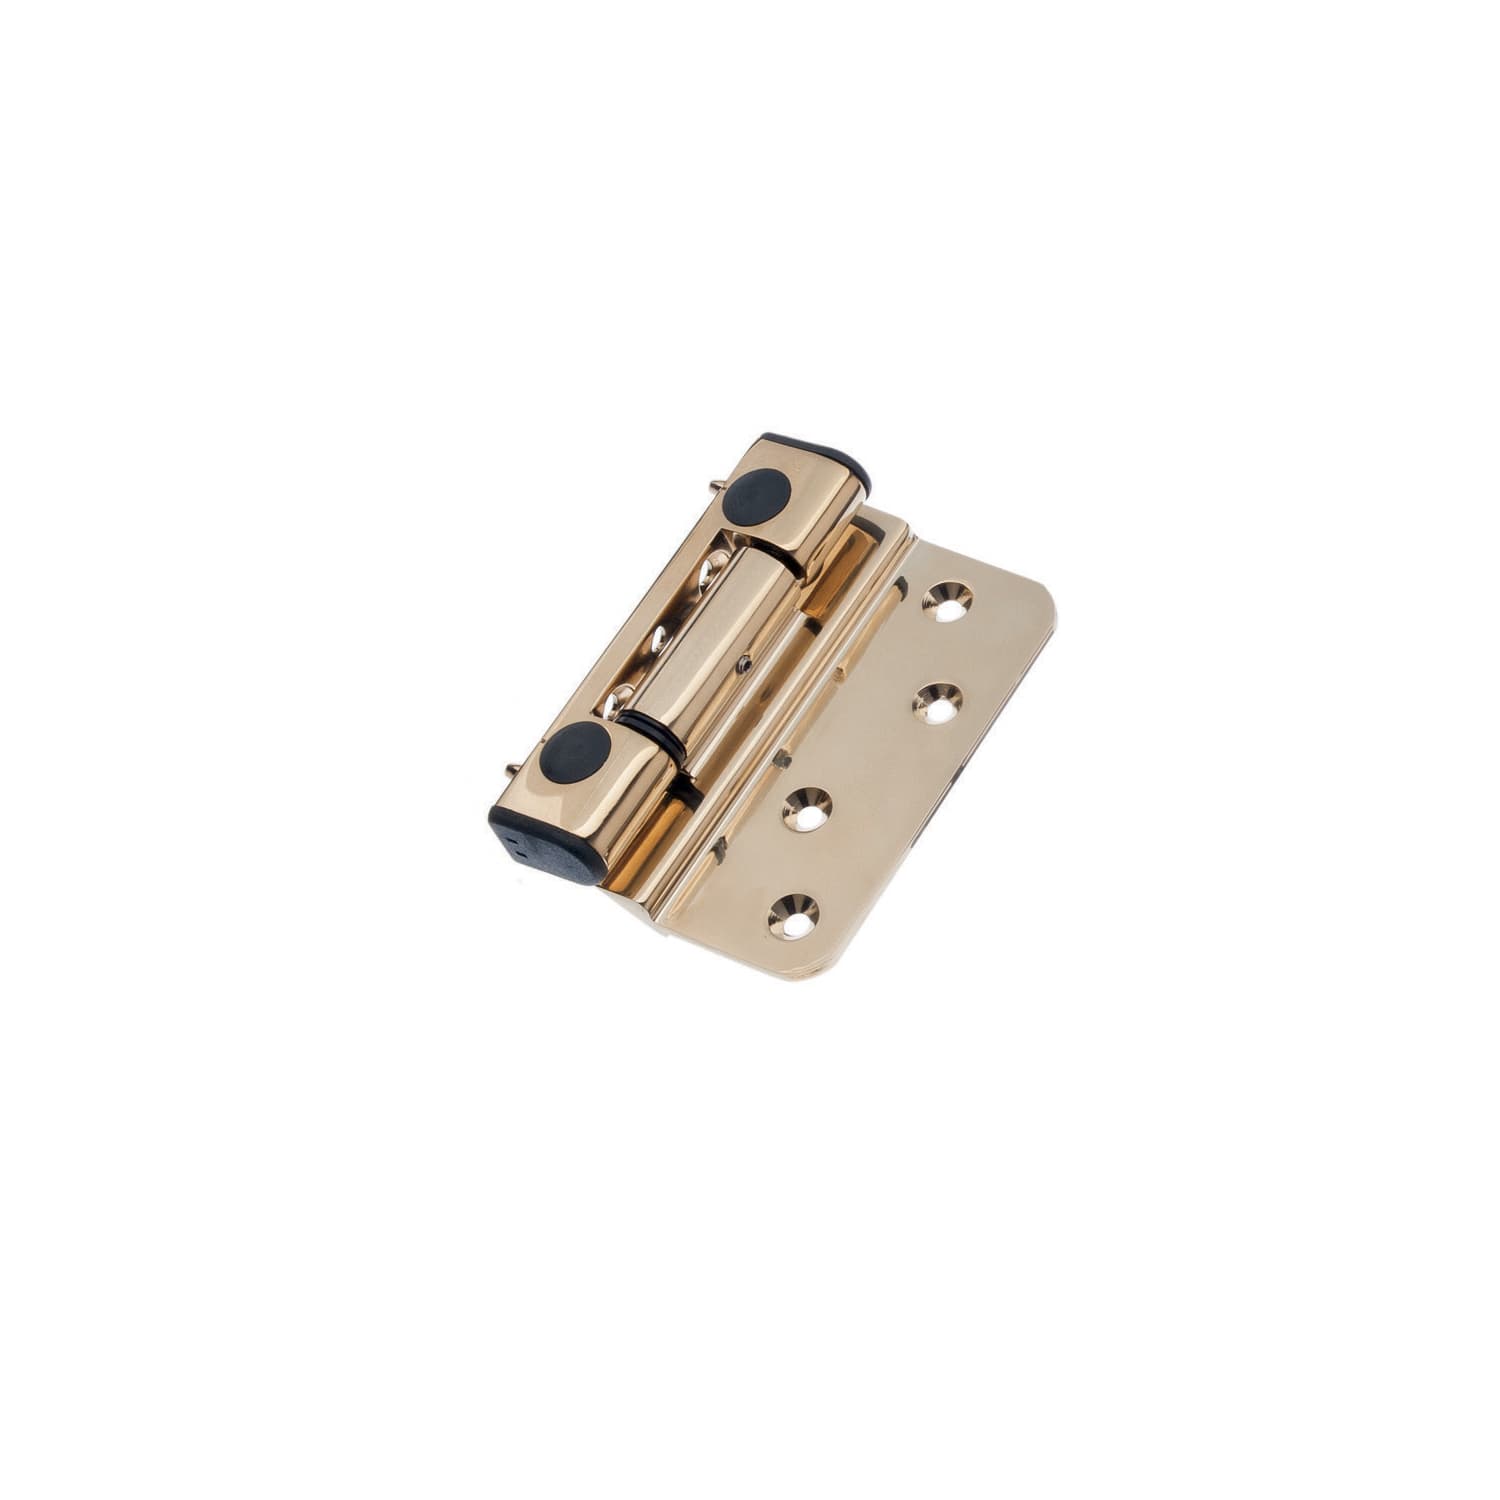
- Material and finish: use stainless steel or galvanised steel for external applications to resist corrosion; brass or plated hinges may suit internal use.
- Handing and swing: confirm whether the hinge is reversible; some flag hinges are handed and only suit left- or right-handed openings.
- Mounting type: surface-mounted flag hinges are common; ensure compatibility with the substrate: timber, softwood, hardwood, steel or aluminium.
- Certifications: flag hinges are generally not suitable for fire doors unless specifically tested and certified for that application.
Tools and materials you will need
Prepare the right tools and fixings to avoid delays on site:
- Pilot drill bits and countersink for screw heads
- Screwdriver or impact driver with torque control
- Setting blocks and packers to achieve correct gaps and sash alignment
- Spirit level and square for alignment
- Timber screws (stainless for exterior), appropriate length to penetrate at least 25–30mm of substrate
- Grease or PTFE lubricant and corrosion inhibitor for metal-to-metal contact
Pre-install checks and layout
Careful preparation saves time during fitting. Check frame squareness and surface flatness; a warped frame will cause binding even with correctly set hinges. Decide hinge positions using common practice: one hinge about 150–200mm from the top, one 150–200mm from the bottom, and a third hinge for taller or heavier doors. For removable sashes use the same spacing so the load is shared evenly.
Mark hinge positions on both frame and door/sash. Measure the reveal and any weather-seal rebate; the flag hinge plane must not interfere with seals when the door is closed. If the hinge sits proud of the rebate, adjust the packing or choose a slimmer hinge plate.
Installation step-by-step
Follow these steps to fit flag hinges efficiently:
- Pre-drill pilot holes using a drill stop to avoid splitting timber; for hardwood reduce pilot diameter slightly to prevent blowout when driving screws.
- Fasten the flag leaf to the frame first, using temporary screws that are not fully tightened; ensure the leaf is square with the frame and set at the correct distance from the face so the sash will sit flush.
- Support the sash with packers or a second pair of hands and engage the flag pin to check fit. If the hinge is of a lift-off type, ensure it lifts cleanly with the recommended angle or vertical movement.
- Adjust packing to obtain an even gap around the sash; common acceptable gaps are 3–5mm at sides and top, 5–8mm at the bottom depending on floor clearance and seals.
- Once alignment is correct, tighten all screws to manufacturer torque settings where provided. Avoid over-tightening; this can strip screw threads in softwood or crush hardwood fibres.
- Test the operation through the full range of motion several times, checking for binding, rubbing seals or paint catching the hinge leaf.
Trade tips for accurate, repeatable results
- Use a hinge jig for high-volume installations to mark pilot holes quickly and accurately.
- When fitting onto flimsy frames, back the hinge with an internal packer or hardwood block to spread the load and prevent screw tear-out.
- For external doors, set the hinge leaf slightly proud of the frame if a compressible weather-seal is used; this helps avoid crushing the seal and binding.
- On painted or varnished doors allow clearance for expansion: rubbing finish can lead to sticking during warm weather.
- Where two or more flag hinges are used, fit the top and bottom first and then the middle hinge; this ensures the sash hangs correctly during final alignment.
Maintenance and common troubleshooting
Flag hinges are low maintenance but periodic checks will extend life and performance. Lubricate pivot points with light grease or a PTFE spray once or twice a year; wipe away excess to avoid attracting grit. Tighten any loose screws and replace corroded screws immediately. If the sash is sagging, check screw fixings and packing; a slight sag can often be corrected by loosening screws, adjusting the packer under the hinge leaf and re-fastening.
If hinges stick or bind after painting, remove paint build-up from hinge knuckles or leaf edges; a deburring file works well. For metal-on-metal corrosion, clean contact areas and apply an anti-seize or corrosion inhibitor suitable for stainless or galvanised finishes.
Safety and compliance
Ensure the chosen hinge and installation method complies with any applicable building regulations, particularly where escape routes or secure external doors are concerned. Flag hinges are not typically suited to meeting secure high-load or fire performance requirements unless they are explicitly rated; consult manufacturer data sheets or our detailed resource page on door hinges at /guides/door-hinges.
Recommended Products
Based on this article, you may find these products helpful:
- Flag Door Hinge - Stainless Steel
- Adjustable Flag Hinge - 100mm
- Fab&Fix Classic Flag Hinge
- ERA Composite Door Flag Hinge
- ERA Challenger 3D Rebated Hinge
Conclusion and next steps
Flag hinges provide a simple, effective solution for removable sashes and doors when selected and fitted correctly. For trade fitters, attention to packing, pilot drilling and load-sharing will prevent common problems such as sagging and binding. DIYers should follow the same steps but consider practising on an offcut before working on a finished door.
Next steps: verify hinge load ratings for your specific door or sash, choose the correct material and finish for the environment, and order the right screws and packers. For technical datasheets, accessories and compatible hinges visit our product pages or contact our technical team for site-specific advice.