Friction Hinge Compatibility: Finding the Right Replacement
Friction Hinge Compatibility: Finding the Right Replacement When a window sash no longer stays open or the movement feels sloppy, the issue frequently lies...
Friction Hinge Compatibility: Finding the Right Replacement
When a window sash no longer stays open or the movement feels sloppy, the issue frequently lies with the friction hinge. Choosing the right replacement hinge is essential for safety, weather performance and longevity. This article helps homeowners and trade professionals identify compatible friction hinges, measure accurately, and fit replacements with confidence.
What is a friction hinge and why compatibility matters
A friction hinge is a type of window hinge that controls the opening and closing action by creating resistance between moving parts. They are commonly used on side-hung and top-hung casement windows and on some inward-opening designs. Compatibility matters because hinge geometry, load rating and fixing pattern must match the sash and frame; otherwise the window will not operate correctly, will put extra stress on the frame and may compromise security and weathersealing.
Key factors to check before ordering a replacement
- Hinge type: Confirm whether the window has side-hung, top-hung, or concealed friction hinges. Some hinges are reversible; others are handed.
- Fixing position: Identify face-fix versus reveal-fix variants and whether the hinge attaches to the frame or the jamb. The fixing plate shape and hole pattern must match the new hinge.
- Length and geometry: Measure the pivot centres and the overall hinge arm geometry; the new hinge must align the sash correctly when closed to maintain sightlines and weather performance.
- Weight rating and torque: Check the sash weight and match the hinge load rating and friction setting; an undersized hinge will sag, an oversized hinge can overstress the frame.
- Material and finish: For coastal locations choose stainless steel or corrosion-resistant finishes; for timber or aluminium coordinate screw types and colour-matched finishes.
- Standards and certification: Prefer hinges that comply with relevant standards, for example BS EN 13126 for window hardware, to ensure performance and durability.
How to measure and identify your existing hinge
Accurate measurement is the most common stumbling block. Follow these practical steps:
- Remove the sash or prop it open securely using a sash support; never rely on a single hinge during inspection.
- Photograph the existing hinge in situ from several angles; this helps match geometry and handing when ordering.
- Measure the distance between the pivot centres: this is the critical geometry that determines how the sash sits within the frame.
- Note the fixing hole positions and spacing on both the frame and sash plates; copy down hole diameters and countersink details.
- Weigh the sash if possible. If the sash can be removed safely, weigh it using a suitable scale; if not, record dimensions and material so a supplier can advise on load.
Trade tips for choosing the right specification
- Carry sample hinges or a hardware gauge in the van: many trade professionals keep common hinge styles and a template to verify fit on-site.
- Replace hinges in pairs: even if only one hinge has failed, fitting a matching pair reduces uneven wear and prevents future misalignment.
- Consider friction adjustability: choose hinges with adjustable torque so you can fine-tune resistance on site rather than swapping parts.
- Order corrosion-resistant components for buildings within 2 km of salt water; stainless steel or electroplated finishes extend service life in exposed locations.
- Check for integrated restrictors or child safety features when replacing hinges on ground-floor windows.
Step-by-step: replacing a friction hinge (practical DIY / trade procedure)
Follow these steps to replace a friction hinge safely and accurately:
- Support the sash: use a sash prop or third-hand support to take the weight before removing fixings; never remove all fixings without support.
- Mark orientation: before loosening screws, mark hinge orientation and note whether the hinge is handed; a quick photo will help during refit.
- Remove screws and old hinge: use the correct driver bit to avoid stripping heads; keep original screws to check sizes against new fixings.
- Compare new hinge geometry: align the new hinge against the sash and frame to confirm pivot centres and clearance; test-fit without tightening fully.
- Fit using correct fixings: use the manufacturer-recommended screw lengths and types; ensure screws engage into solid material and do not split timber or crush uPVC profiles.
- Adjust friction: set the hinge friction to support sash weight; check operation through full opening and closing cycles to confirm smooth movement and adequate hold.
- Seal fixings if required: where screws penetrate weathered surfaces, use a suitable sealant to prevent water ingress and timber rot.
Common pitfalls and how to avoid them
- Incorrect matching of pivot geometry: the sash may close out of square or rub against the frame; measure pivot centres precisely to avoid this.
- Undersized hinge rating: sash will sag over time; always verify weight ratings and select a hinge with an appropriate safety margin.
- Using wrong screw length or type: insufficient engagement reduces strength; too long a screw can damage reinforcements in modern frames.
- Ignoring handing: fitting a left-hand hinge on a right-hand sash will prevent operation; label hinges during removal.
Sourcing replacements and making informed purchases
Use specialist suppliers that list technical datasheets and offer customer support for hinge selection. Provide photos, pivot centre measurements and sash weight if possible; this allows suppliers to match product codes accurately. Where an exact OEM part is unavailable, look for compatible alternatives with the same pivot geometry, fixing pattern and load rating. For trade buyers, ordering from established hardware suppliers reduces the risk of receiving non-compliant components.
Maintenance and adjustments after fitting
Once fitted, check operation periodically: clean pivot areas, remove debris, and apply a light dry lubricant if movement becomes stiff. Re-check torque settings after a few months as new hinges bed in. For timber windows, inspect for rust staining or moisture ingress around fixings and re-seal as required.
Recommended Products
Based on this article, you may find these products helpful:
- Top-Hung Window Hinge - Standard
- Side-Hung Window Hinge - Standard
- Top Hung Friction Stay - 12"
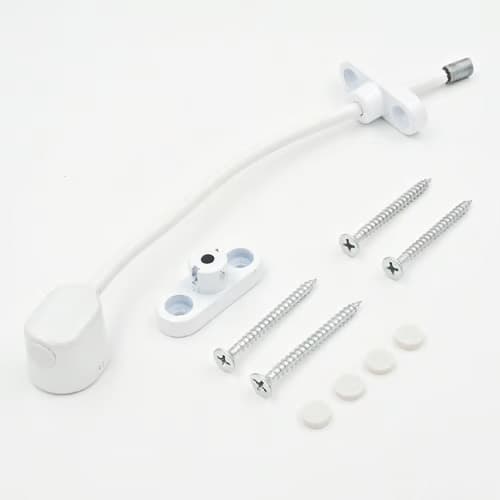
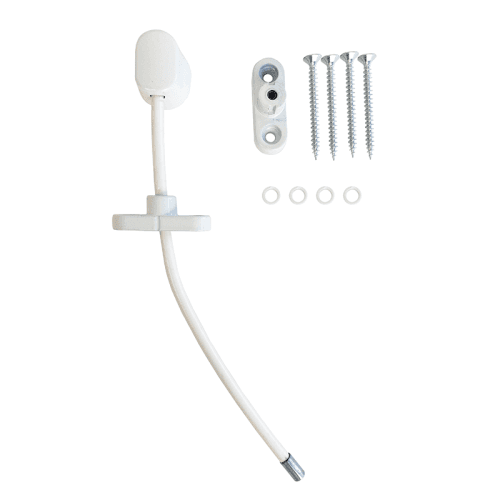
- UAP Keyless Window Restrictor
- TSS Keyless Cable Window Restrictor
Conclusion and next steps
Matching a replacement friction hinge requires careful measurement, correct specification and the right fixings. For homeowners, take clear photos and measurements and consult a specialist if unsure. Trade professionals should standardise on preferred hinge ranges, carry templates and replace hinges in matched sets. If you need further help, our pillar resource on window hinges is available at /guides/window-hinges; alternatively contact a Window Hardware Store advisor with your pivot measurements and sash details for tailored recommendations.
Products mentioned in this article
Related articles
Period Window Stays: Heritage Options for Older Properties
Period Window Stays: Heritage Options for Older Properties Older properties often require hardware that respects traditional appearance while providing mod...
Replacing Old Window Stays: Finding Matching Hardware
Replacing an old window stay can restore functionality, security and appearance to a worn casement. Whether you are a joiner, a glazing contractor or a dil...
How to Replace Friction Hinges on uPVC Windows
How to Replace Friction Hinges on uPVC Windows Overview Friction hinges are the most common operating mechanism on uPVC casement windows in the UK. They al...