
How to Draught-Proof Victorian Windows Without Replacing Them
Victorian sash windows are a defining feature of many UK homes; they also tend to be a major source of heat loss and cold draughts. Replacing them with new...
Victorian sash windows are a defining feature of many UK homes; they also tend to be a major source of heat loss and cold draughts. Replacing them with new units is expensive and often undesirable in conservation areas. A range of reversible, cost-effective interventions will significantly reduce heat loss and improve comfort. This post focuses on practical ways to fit a draught seal and related upgrades without wholesale replacement, for both DIYers and trade professionals.
Where the draughts come from
Before buying materials, identify the paths air is taking: sash meeting rails, perimeter gaps between sash and frame, staff bead gaps, letterboxes and keyholes, and degraded glazing putty. Victorian timber sash windows commonly have worn sash cords or weights, paint-filled rebates and ill-fitting sashes; these all reduce compression where a draught seal is needed. A quick inspection with a torch and a piece of tissue will show the worst leaks.
Principles for sympathetic draught-proofing
- Respect original fabric: use reversible methods where possible; avoid cutting historic mouldings unless necessary.
- Compression matters: a good draught seal must compress to bridge gaps but not bind the opening action.
- Durability and low maintenance: trade-grade EPDM, silicone bulb seals and aluminium sections last longer than foam tape for external sash use.
- Preserve ventilation: don’t seal moisture pathways entirely; allow trickle ventilation where required by Building Regulations.
Quick DIY fixes that work
For homeowners after immediate improvement without specialist tools:
- Adhesive-backed brush pile or pile weatherstrip for sash meeting rails and perimeters: cheap and simple to fit; works well where the gap is small and consistent.
- Self-adhesive closed-cell foam tape: useful for internal gaps and temporary fixes; not ideal for exposed external gaps long-term.
- Cork or felt pads: quick draught stoppers where compression points meet; best used as temporary or supplementary measures.
- Caulk small gaps around the frame with a good quality acrylic or flexible silicone sealant where paint is chipped; consider breathable products where timber moisture movement is likely.
Trade-level solutions and when to specify them
For professional installers or more permanent work, choose products by performance: compression seals in aluminium channels, EPDM bulb seals, and low-friction nylon or PTFE coated pile in robust carriers. Key items to consider:
- Aluminium profile with pile: rout or rebate the sash edge and screw-fix the profile; a tight mitred joint reduces leakage.
- Bulb seals at meeting rails: replace worn meeting stile seals with a bulb that compresses to give an airtight seal while allowing smooth operation.
- Perimeter compression seals: fitted into rebate or strike jambs to seal the casing against the sash.
- Secondary glazing: magnetic or screw-in retrofit panels provide a high-performance, reversible solution for single-glazed Victorian windows and help acoustic performance too.
Step-by-step: fitting a pile draught seal to a sash window
- Inspect and prepare: check paint build-up in rebates. Free the sash by carefully releasing any paint stuck between sash and frame with a sharp chisel or heat gun; take care with historic glass and lead paint.
- Measure gaps: with the window closed, measure consistent gap widths at rebate and meeting rails to select pile thickness and carrier size. Allow for paint and seasonal timber movement.
- Choose the right product: aluminium carrier with nylon pile for durability; adhesive-backed pile is acceptable for internal, low-use windows only.
- Cut the profiles: mitre corners at 45 degrees where they meet at the top and bottom of the sash or join with factory corners; clean cuts prevent leaks.
- Test fit and plane if necessary: try the sash closed; where binding occurs, reduce pile thickness slightly or plane back the sash edge by 0.5–1 mm at a time.
- Fixing: screw-fix aluminium carriers with countersunk screws, using packers to maintain alignment if the frame is twisted. Seal screw holes with a small dab of paint or silicone to avoid rusting.
- Final adjustments: fit the meeting rail seal so the sash lock pulls the two sashes into compression; upgrade locks where necessary to achieve sufficient compression.
Secondary glazing and other higher-performance options
Where heritage constraints or sound insulation are priorities, secondary glazing is an effective non-destructive option. Magnetic panels give a reversible, neat finish; slim-line fixed units are cheaper and still perform well. Secondary glazing also reduces condensation risk on single glazing by increasing internal surface temperature.
Tools, materials and health & safety
Typical tools: tape measure, combination square, hacksaw for aluminium profiles, mitre box, countersink, drill, chisel, plane, heat gun for paint removal, and a smoke pen or incense stick to detect leaks. Materials: EPDM or silicone bulb seals, aluminium carriers with pile, closed-cell foam tape, acrylic sealants and secondary glazing kits. When removing paint, assume it may contain lead in older properties; use appropriate PPE and disposal methods and consider hiring a specialist for extensive work.
Testing and maintenance
After installation, check operation over a few days for any sticking or excessive friction; adjust lock strike plates or shims as necessary. Test with a smoke pencil or lighted incense to locate stubborn leaks and treat them with local sealant or additional pile. Keep moving parts lubricated: use a dry PTFE spray on sash cords, weights and runners where appropriate; avoid oily lubricants that attract dust.
Recommended Products
Based on this article, you may find these products helpful:
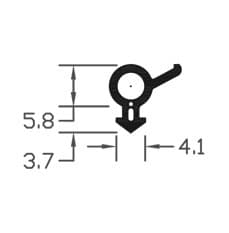
- E-Type Gasket - Black 5m Roll
- E-Type Gasket - Black (Per Metre)
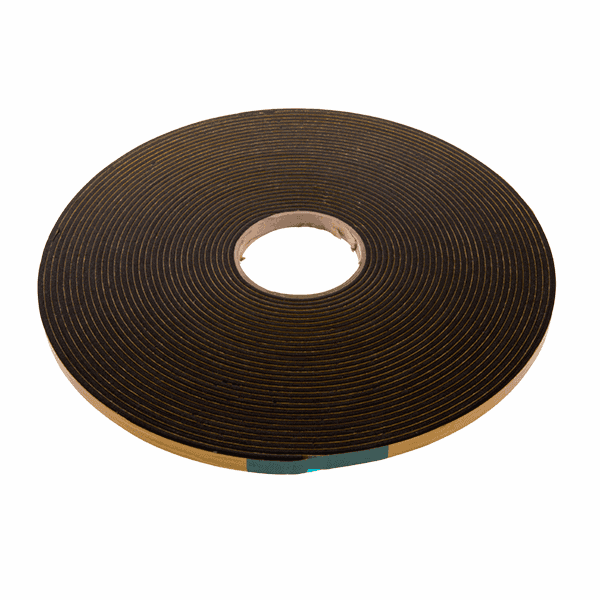
- Structural Glazing Tape - 20mm
- Security Glazing Tape
- B003 Bubble Gasket
Conclusion and next steps
Draught-proofing Victorian windows with a suitable draught seal and complementary measures can deliver major comfort improvements for a fraction of the cost of full replacement while retaining the character of the property. Next steps: survey each window to prioritise work, choose reversible options for significant historic features, and consider secondary glazing for rooms needing higher thermal or acoustic performance. For technical datasheets, product comparisons and trade advice on gasket and seal choices, visit our pillar resource at /guides/gaskets-seals or contact our trade team for sample strips and specification support.
Products mentioned in this article
Related articles
How to Prepare Surfaces for Draught Seal Installation: Getting Adhesion Right
How to Prepare Surfaces for Draught Seal Installation: Getting Adhesion Right Proper surface preparation is the single most important factor for long-lasti...
Draught Seal Types Compared: Foam, Rubber, Brush, and Compression
Draught Seal Types Compared: Foam, Rubber, Brush, and Compression Draught seal selection matters for energy efficiency, comfort, and the longevity of windo...
How to Fit Draught Seals Around Windows: Complete Installation Guide
How to Fit Draught Seals Around Windows: Complete Installation Guide Fitting a draught seal is one of the most cost-effective ways to reduce heat loss, eli...