
How to Fit Draught Seals Around Windows: Complete Installation Guide
How to Fit Draught Seals Around Windows: Complete Installation Guide Fitting a draught seal is one of the most cost-effective ways to reduce heat loss, eli...
How to Fit Draught Seals Around Windows: Complete Installation Guide
Fitting a draught seal is one of the most cost-effective ways to reduce heat loss, eliminate rattles and improve comfort in both homes and commercial properties. This guide covers the practical steps for trade professionals and confident DIYers, from choosing the correct profile to cutting, fitting and testing; technical tips are included for timber, uPVC, aluminium and sash windows.
Choose the right draught seal
Select a profile based on the window type and the gap you need to seal. Common options include:
- Brush (pile) seals: good for sliding or sash windows and where repeated rubbing occurs.
- Bulb or tubular seals: compressible rubber for casement windows and doors; good for larger gaps.
- Compression (edge) seals: often EPDM or silicone, fitted into rebates or onto frames for tight closures.
- Adhesive foam tapes: quick temporary or internal fixes for irregular gaps under 6 mm.
- Hinge or rebate seals: specialised profiles that fit into the existing groove or glazing bead.
Consider material durability: EPDM and silicone resist UV and ageing better than standard PVC; aluminium-backed piles are stronger for heavy use. For exterior-facing seals choose weatherproof materials; for internal use acoustic or thermal-specific seals can improve insulation.
Tools and materials
- Measuring tape and pencil
- Sharp utility knife, mitre block or miter saw for neat corners
- Scissors or fine-tooth saw for metal-backed profiles
- Cleaning materials: denatured alcohol or proprietary cleaner
- Contact adhesive or primer (especially for aluminium frames)
- Silicone sealant and backing rod for large gaps
- Cloths, gloves and safety glasses
- Heat gun (optional) to activate adhesives in cold weather
Preparation and inspection
Start by inspecting the window operation and existing hardware. Check multi-point locks, hinges and handles for wear; a new seal will place extra friction on poorly adjusted hardware. Adjust hinges so the window closes squarely; replace any warped or rotten timber before sealing. Remove old seals and adhesive residue carefully.
Clean the mounting surface thoroughly; dust, paint flakes and silicone all reduce adhesive performance. For aluminium frames, use a solvent cleaner and an appropriate primer if the new seal is self-adhesive.
Measuring and cutting
Measure each side of the frame separately and allow for neat joints at the corners. When fitting around a frame you usually mitre at 45 degrees for a flush corner on rigid profiles; for brush and tubular seals a butt joint can be acceptable and avoids bunching.
- Mark the length, cut accurately with a sharp blade or fine saw.
- If using an adhesive-backed seal, cut slightly under length and fit one side first; this allows tension-free corners.
- For timber frames consider pre-drilling fixing holes if using screw-fit trims.
Installation: adhesive-backed and slip-on seals
For self-adhesive seals: peel back a short length of the liner, position the profile and press firmly; progressively remove the liner and smooth the seal along the frame. Apply even pressure for good contact; use a roller for firm adhesion. In cold weather warm the adhesive with a heat gun for better tack.
When fitting slip-on or push-in seals into a groove: ensure the groove is clean and dry. Compress the seal slightly and work it into the rebate along the length; trim flush at corners. Do not overstretch seals as this can cause shrinkage and gaps over time.
Installation: compression seals and hardware considerations
Compression seals must allow the window or casement to close without excessive force. Choose a profile that will compress roughly 2 to 4 mm when the window is closed; this provides an effective airtight seal without binding locks or stressing hinges. Test fit a short length before committing to a full run.
If a new seal causes stiff operation, adjust the striker plates, hinge tension or locking points. In trade installations, check multi-point locks operate smoothly after sealing and tweak keeps as necessary.
Installation: sash and sliding windows
Sash windows typically use pile seals fitted into a groove or onto the stile. Remove the sash and clean the groove; feed the pile into the channel and trim ends. For sash restoration projects you may need to remove beads or part the sash; secure beads and glazing after fitting.
Sliding windows require a low-friction brush or pile to avoid drag. Use a dedicated sliding-window profile and test operation repeatedly during fitting; adjust or reposition to eliminate snags.
Finishing, testing and maintenance
Check all joints and corners for gaps. Use a small bead of neutral cure silicone for any gaps greater than 6 mm or where the surface is uneven; for very large gaps insert a foam backer rod first. Test with a smoke pencil, incense stick or simply feel for draughts on a windy day. Open and close each window at least 10 times to seat the seal and confirm reliable operation.
Routine maintenance: inspect seals annually, clean with mild detergent and lubricate moving hardware with a light machine oil or silicone lubricant. Replace any seals that have flattened or torn to maintain airtight performance.
Troubleshooting and trade tips
- If adhesive fails on aluminium, clean with solvent and apply a primer or use mechanical fixings.
- Avoid over-compressing seals which can deform the profile and reduce lifespan; trade-fitters should have several profile depths on the van for onsite trials.
- When fitting to painted surfaces, ensure paint is firmly adhered; loose paint will cause the seal to lift.
- For listed or heritage sash windows, use reversible fixing methods and choose historically sympathetic profiles such as traditional pile seals.
Recommended Products
Based on this article, you may find these products helpful:
- E-Type Gasket - Black 5m Roll
- E-Type Gasket - Black (Per Metre)
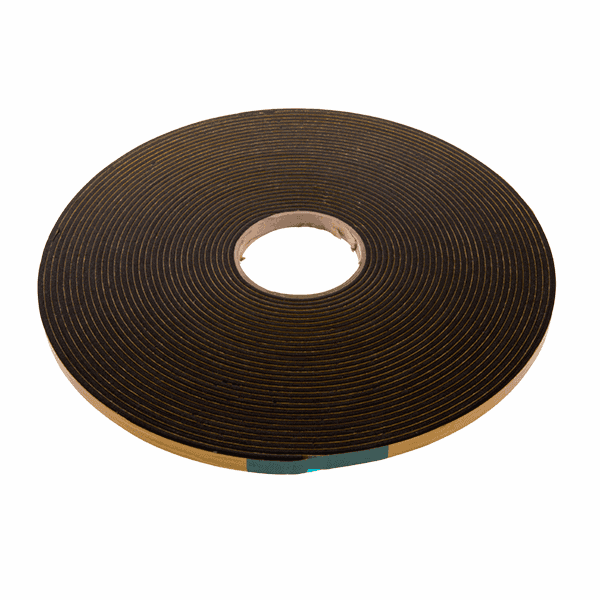
- Structural Glazing Tape - 20mm
- Security Glazing Tape
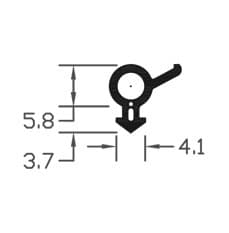
- B003 Bubble Gasket
Conclusion and next steps
Installing a draught seal is straightforward when the correct profile and preparation are used. Begin with a careful survey of the window, select materials appropriate to the frame material and exposure, and test operation throughout the process. For more specialised gasket and seal options, technical data and trade quantities visit our pillar page: /guides/gaskets-seals. If you would like, contact our technical team to match the right profile to your window type and order sample lengths before a full installation.
Products mentioned in this article
Related articles
How to Prepare Surfaces for Draught Seal Installation: Getting Adhesion Right
How to Prepare Surfaces for Draught Seal Installation: Getting Adhesion Right Proper surface preparation is the single most important factor for long-lasti...
Draught Seal Types Compared: Foam, Rubber, Brush, and Compression
Draught Seal Types Compared: Foam, Rubber, Brush, and Compression Draught seal selection matters for energy efficiency, comfort, and the longevity of windo...
How to Draught-Proof Victorian Windows Without Replacing Them
Victorian sash windows are a defining feature of many UK homes; they also tend to be a major source of heat loss and cold draughts. Replacing them with new...