How to Replace a Euro Cylinder: Step-by-Step Instructions
How to Replace a Euro Cylinder: Step-by-Step Instructions Why replace a euro cylinder lock? Euro cylinder locks are the most common locking mechanism on UK...
How to Replace a Euro Cylinder: Step-by-Step Instructions
Why replace a euro cylinder lock?
Euro cylinder locks are the most common locking mechanism on UK uPVC and composite doors. You may need to replace one because it is worn, the key has been lost, the cylinder has been snapped or drilled, or because you are upgrading to a higher security, TS007 rated cylinder. Replacing a cylinder is straightforward for a competent DIYer and quick for an experienced tradesperson. The key is to have the correct size and type of cylinder and to follow safe procedures.
Tools and materials
- Replacement euro cylinder: correct length and type (single, double, or thumbturn; consider anti-snap/TS007 3-star for external doors)
- Philips and flat screwdriver
- Torx or Allen key set if required by cylinder fixing screw
- Measuring tape or vernier calipers
- Pair of keys for the existing cylinder
- Light lubricant suitable for locks: silicone spray or graphite powder
- Rag for cleanup
- Optional: replacement fixing screw and escutcheon screws if corroded
Identify the type and measure the cylinder
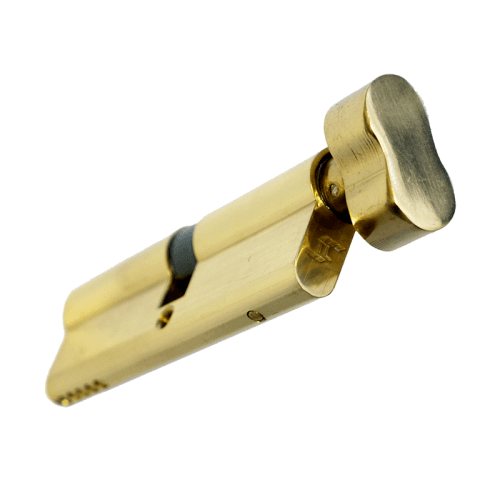
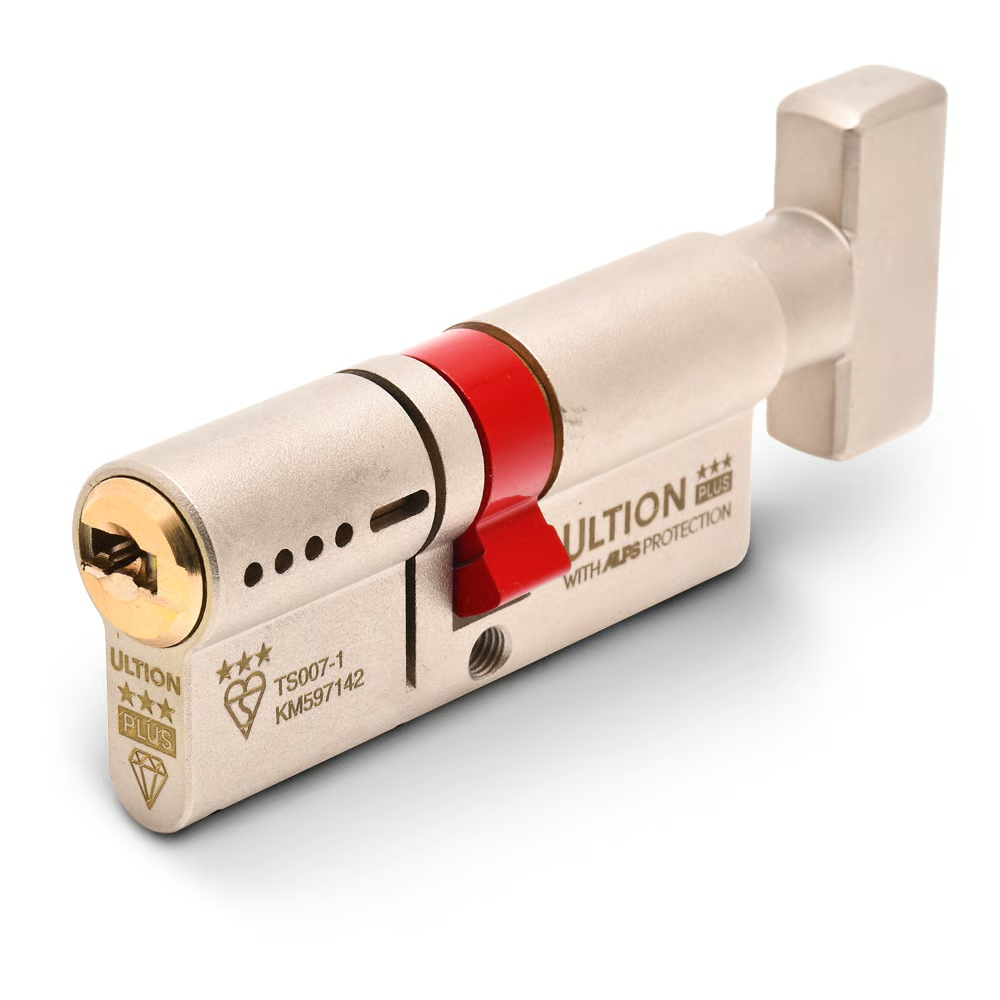
There are three common euro cylinder types: single (key on one side), double (key on both sides), and thumbturn (key outside, thumbturn inside). Measure from the centre of the fixing screw hole to each end of the cylinder to get the overall length. For example, a 35/35 cylinder measures 70mm overall. If you are unsure, remove the old cylinder and measure directly. When replacing an external door cylinder, consider a 3-star anti-snap cylinder that meets the TS007 standard; these significantly improve security against forced entry.
Precautions before you start
Ensure the door is supported and will not slam shut while the cylinder is out. If the cylinder has been snapped or damaged, do not attempt to force it out; this may leave the mechanism in a precarious state. If there has been a break-in, contact a locksmith for a full security assessment. Always test your replacement cylinder with the door open first; you do not want to be locked out if something is misaligned.
Step-by-step: Removing the old cylinder
- Open the door and unlock it fully.
- Locate the long fixing screw: this is in the edge of the door at the height of the euro cylinder. Remove it with the appropriate screwdriver or bit; keep the screw safe because you may reuse it if undamaged.
- Insert the key into the cylinder and turn it approximately 10 to 15 degrees to align the cam; you may need to jiggle the key while gently pulling the cylinder out. The aim is to put the cam in the neutral position so the cylinder can slide out. For thumbturn or double cylinders use the same method; insert a key on one side if needed.
- If the cylinder does not slide out, open the door very slightly and try turning the handle to relieve tension from the multi-point lock. Some uPVC doors require the handle to be in the horizontal position to release the cylinder.
- Once the cam is aligned, pull the cylinder straight out. If it is seized, try turning the key slightly while pulling; avoid excessive force to prevent damage to the lock case.
Step-by-step: Fitting the new cylinder
- Before fitting, check the new cylinder's cam is free and the cylinder operates smoothly with the supplied keys.
- Insert the key and turn the cam to the neutral position, then slide the cylinder into the door from the outside. Ensure the cam engages correctly with the locking mechanism inside the door. You may need to turn the key slightly while pushing in to find the slot.
- Replace the fixing screw in the edge of the door and tighten until it is firm. Do not overtighten; the screw secures the cylinder but excessive torque can distort the cylinder body or door frame.
- Test the cylinder operation: with the door open, turn the key both ways to ensure smooth locking and unlocking. Operate the handle to check the multi-point mechanism engages correctly.
- If you installed a thumbturn cylinder, test both the interior thumbturn and the external key operation.
- Apply a light spray of silicone lubricant into the keyway and work the key in and out to distribute it. Avoid oil-based lubricants that can attract dirt.
Practical trade tips
- Carry a stock of common sizes: 35/35, 40/35 and 45/35 are frequent for UK doors. Having several lengths reduces return trips to site.
- For external doors always recommend a TS007 3-star rated, anti-snap cylinder for better security and insurance compliance; mention this to customers as a selling point.
- When replacing multiple cylinders on a property, key alike the new locks where appropriate to reduce the number of keys for the homeowner. Many suppliers offer keying services.
- If the old fixing screw is corroded, replace it. A seized or stripped screw can cause problems during future maintenance.
- Avoid using power tools to tighten the fixing screw; manual tightening gives better control and reduces the risk of damaging the cylinder or door.
Troubleshooting common problems
- Cylinder will not slide out: ensure the key is in and the cam is rotated to neutral; slightly open the door or operate the handle to relieve internal tension.
- New cylinder key does not turn smoothly: check alignment and that the cylinder is the correct length; try lubricating the keyway and re-testing.
- Door will not lock after fitting: confirm the cam engages the lock mechanism; check that the fixing screw is not over-tightened and that the lock case has not moved.
- Snapped cylinder remains in door: do not attempt to extract fragments unless you have specialist tools; call an emergency locksmith to prevent further damage and secure the property.
Further reading and standards
For technical details about euro cylinder types and security ratings consult our pillar resource at /c/locks-security. For external doors recommend products that comply with TS007 and British Standards where appropriate; this helps meet insurance and safety requirements.
Recommended Products
Based on this article, you may find these products helpful:
- TL Thumb Turn Euro Cylinder
- Ultion Plus TS007 3* Kitemarked Euro Key & Turn Cylinder
- In-Line Window Mechanism
- Offset Window Mechanism
Conclusion: next steps
Replacing a euro cylinder lock is a routine job for most homeowners and tradespeople when you have the right size and tools. After fitting, check the cylinder operation several times and ensure the door fits and locks correctly. If you have any doubts about the condition of the lock case, or if the cylinder was damaged by forced entry, contact a professional locksmith. To source cylinders, keys and anti-snap options visit our product pages or contact Window Hardware Store for advice tailored to your door type and security needs.


Related articles
What Is a Thumb Turn Cylinder? Convenience vs Security
What Is a Thumb Turn Cylinder? Convenience vs Security What is a thumb turn cylinder? A thumb turn cylinder is a type of euro-profile lock cylinder that ha...
Thumb Turn Cylinder vs Panic Bar: Exit Options Compared
Thumb Turn Cylinder vs Panic Bar: Exit Options Compared examines two very different approaches to door egress and security. The thumb turn cylinder is a co...
Thumb Turn Cylinder Sizes: Finding the Right Length
Thumb Turn Cylinder Sizes: Finding the Right Length Choosing the correct thumb turn cylinder is vital for security, smooth operation and a neat finish on d...