How to Replace Flag Hinges on uPVC Doors: DIY Guide
A faulty or worn flag hinge can make a uPVC door stiff, misaligned, draughty or unsafe. Replacing a flag hinge is a straightforward task for a competent DI...
A faulty or worn flag hinge can make a uPVC door stiff, misaligned, draughty or unsafe. Replacing a flag hinge is a straightforward task for a competent DIYer or trade professional provided the correct tools and precautions are used. This article explains when a flag hinge needs replacing, what tools and parts you will need, step-by-step replacement and testing, plus trade tips to ensure a long-lasting repair.
When to replace a flag hinge
Look for these signs that a flag hinge needs replacement:
- Door drops at the latch side when opened: this indicates vertical movement or worn hinge bearings.
- Difficulty operating the multipoint lock: misalignment from hinge wear can stop the hook and deadbolt engaging correctly.
- Visible corrosion, cracked plastic covers or loose rivets/screws at the hinge.
- Excessive play or knocking when the door is opened; visible metal wear on the hinge flag or knuckle.
- Repeated need to tighten hinge screws: stripped screw holes in the uPVC or frame may require a new hinge with longer screws or repair inserts.
Tools and materials
Prepare the right tools and replacement parts before you begin. Using incorrect fixings or cheap hinges will shorten the repair life.
- Replacement flag hinge(s) that match the door make and hand; check whether you need top, middle or bottom hinge versions.
- Assorted stainless steel screws suitable for uPVC frames; use countersunk where required.
- Torx drivers or bits; many uPVC hinges use T20 or T25 screws.
- Hex keys (2.5mm, 3mm) for hinge adjustment screws.
- Socket set or spanners if hinge has bolts; screwdriver set for cover trims.
- Prop or door support, plus a second person for safety when lifting heavy doors.
- Penetrating oil, cleaning cloth, silicone spray or light grease for lubrication.
- Threadlocker (medium strength) for hinge bolts if recommended by the manufacturer.
Step-by-step replacement of a flag hinge
There are two common approaches: replace the hinge with the door in-situ or remove the door first. Removing the door reduces risk and gives easier access; it is the recommended method for heavier doors.
Option A: Remove the door first (recommended)
- Fully open the door and disengage the multipoint lock: turn the handle to the unlocked position so locking points retract.
- Support the door with a prop or have an assistant hold it; place a second support under the door at the opposite end to balance weight.
- Remove the hinge caps or cover trims to expose fixings.
- Unscrew the hinge fixings that attach the hinge to the frame. For some designs you may need to remove the hinge plate from the door first; check the hinge type.
- Lift the door off the remaining hinges carefully; keep the door upright and supported.
- With the door removed, unscrew the hinge from the door leaf and from the frame and replace with the new flag hinge; ensure the hinge is the correct handed version and that the flag orientation matches the original.
- Fit the new hinge using stainless steel screws and, if supplied, the manufacturer's packings or washers to reproduce the original spacing.
- Re-hang the door onto the new hinge plates; start with the top hinge, then middle, then bottom. Tighten screws progressively to avoid distorting the frame.
Option B: Replace hinge with door in place (for lighter doors or single hinge)
- Open door to a workable angle and support it directly beneath the hinge being replaced using a prop or block of wood.
- Remove hinge cover caps and undo the screws attaching the hinge to the frame. Keep the door supported at all times.
- Slide the hinge blade out of the flag and fit the new hinge flag or complete hinge assembly.
- Refit screws, ensuring they bite into solid uPVC or use rawl inserts where holes are stripped.
- Check alignment and tighten securely; do not overtighten as this can strip uPVC.
Adjustment and testing
Once the new flag hinge is fitted, adjustment is essential to achieve correct sealing and reliable operation:
- Vertical adjustment: use the vertical adjuster on the hinge to raise or lower the door until the latch engages without rubbing. Small increments are best.
- Lateral adjustment: this moves the door in or out relative to the frame and affects the compression of the weatherseal. Use the lateral adjuster to achieve a uniform gap along the jamb.
- Compression adjustment: where available, alter compression to ensure the weatherseal is compressed evenly without making the handle hard to operate.
- Tighten all fixings and check the multipoint lock operates smoothly through the full cycle; the handle should move without catching, and all locking points should engage.
- Test the door under real conditions: open and close several times, test in cold draughts if possible, and recheck after 24 hours as uPVC can settle slightly.
Trade tips and common issues
- Always match the hinge to the door manufacturer when possible: branded hinges usually guarantee correct fit and adjustment ranges.
- Use stainless steel screws sized to engage full depth of the frame; avoid short screws that only bite into the hollow uPVC skin.
- If screw holes are stripped, repair with plastic anchors suitable for uPVC or use longer screws that reach solid substrate behind the frame.
- For external doors, consider hinges with corrosion-resistant coatings and stainless fixings to avoid future rust staining.
- Keep hinge adjustment tools in a small pouch with the door’s maintenance record; this helps trades and future homeowners when adjustments are required.
- If the hinge replacement does not rectify sagging, check the threshold and subframe for movement; a sagging door can be caused by the frame sitting on an uneven surface, not just hinge wear.
- When replacing multiple hinges, replace all at once if wear is similar: mixing old and new hinges can lead to uneven loading and early failure.
Recommended Products
Based on this article, you may find these products helpful:
- Multipoint Gearbox GU Old Style
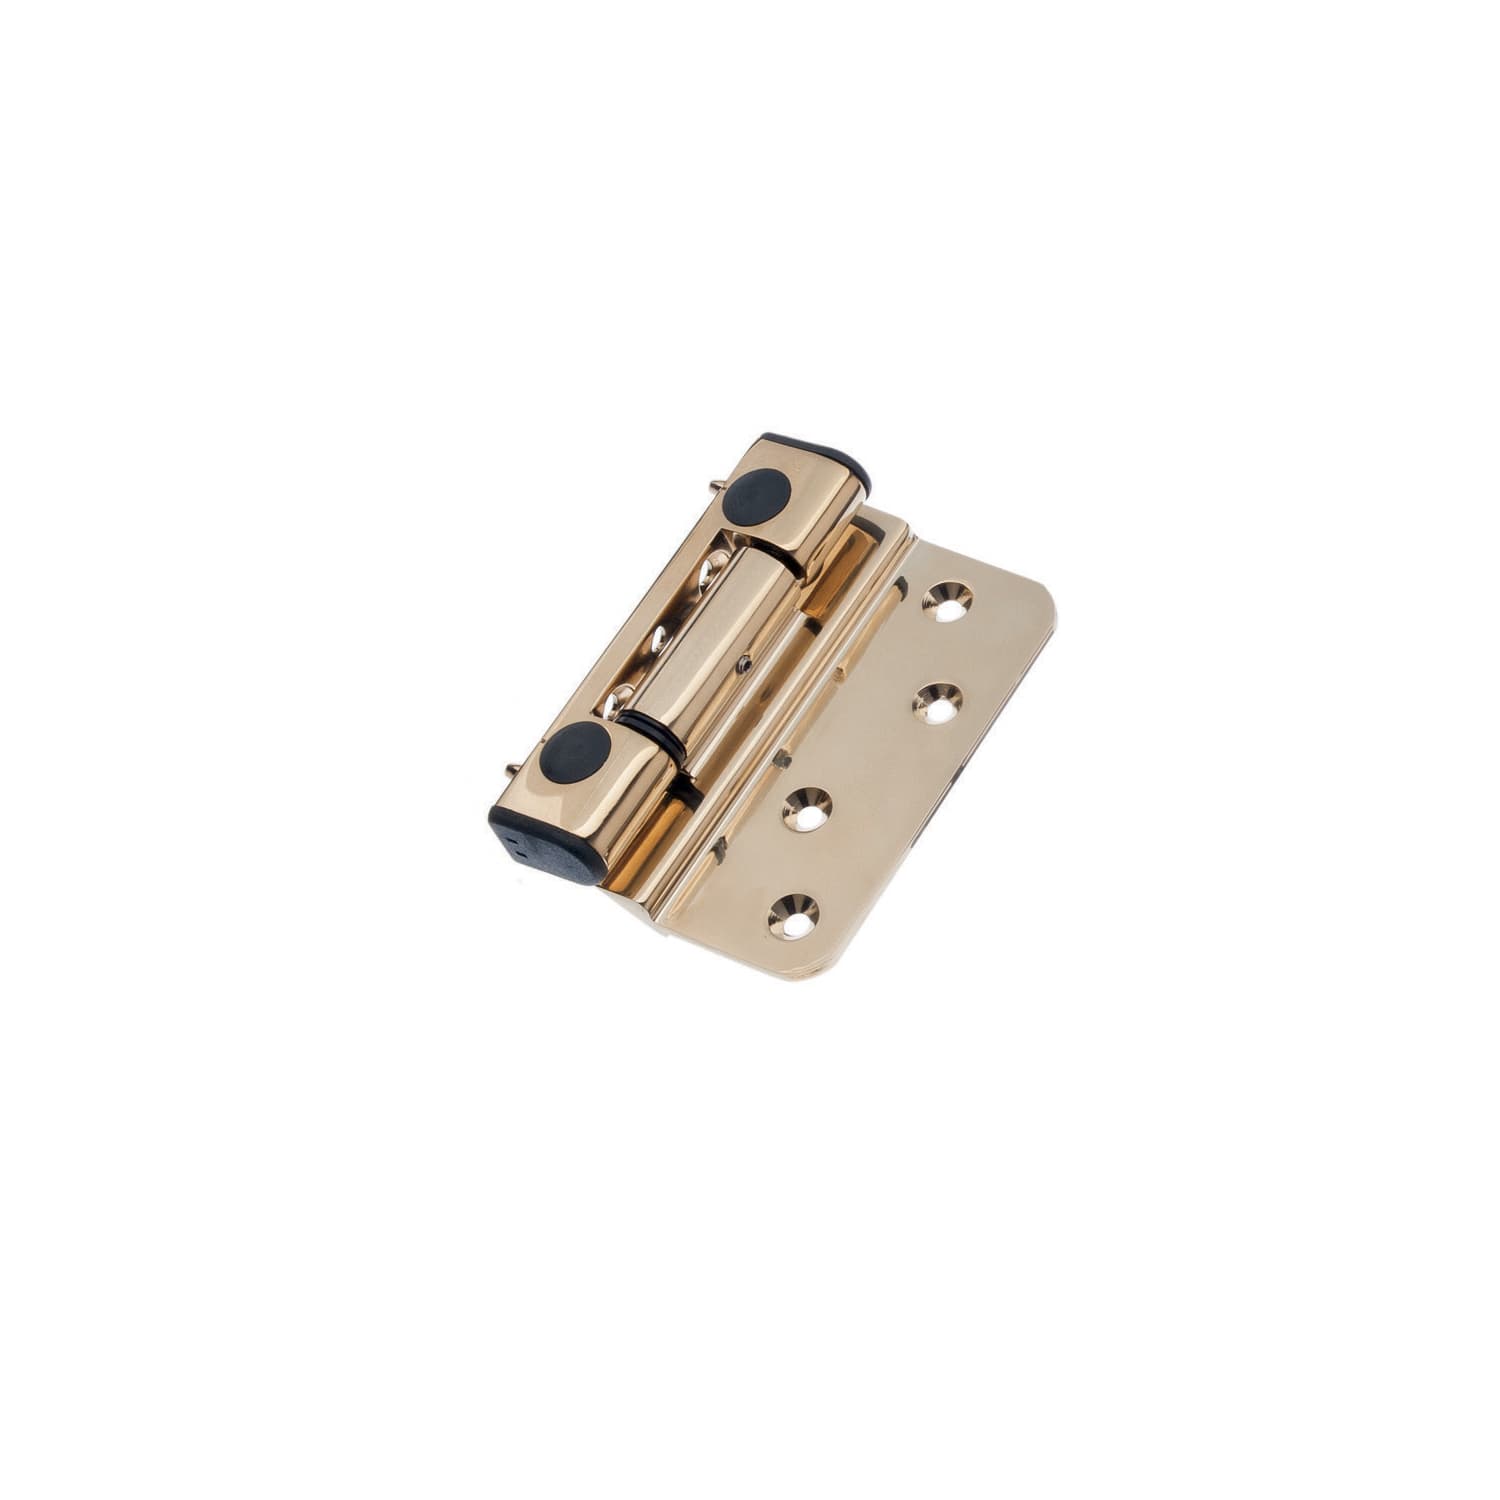
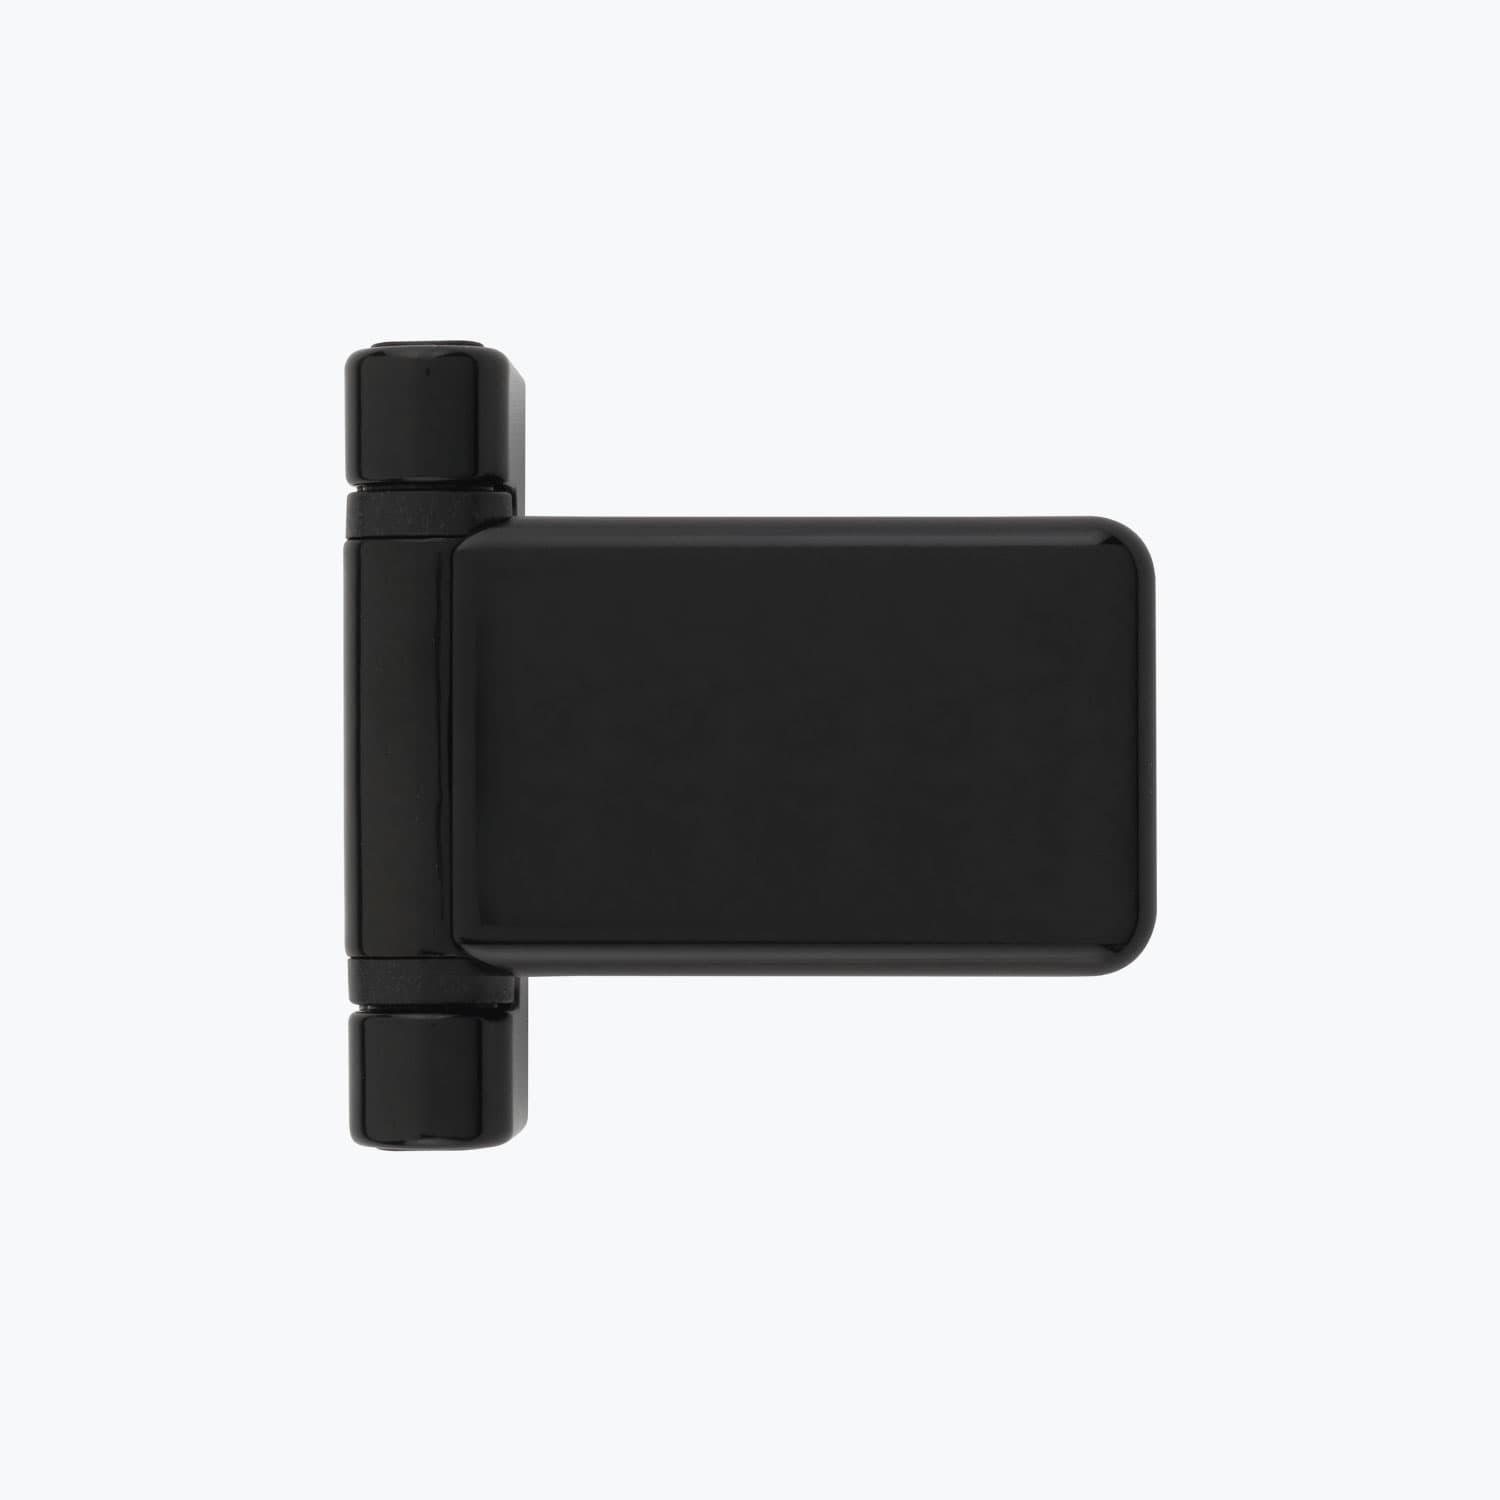
- Flag Door Hinge - Stainless Steel
- Adjustable Flag Hinge - 100mm
- Fab&Fix Classic Flag Hinge
- ERA Composite Door Flag Hinge
Conclusion and next steps
Replacing a flag hinge on a uPVC door is achievable for an experienced DIYer or for trade professionals as routine work. Start by sourcing the correct hinge and stainless fixings, support the door safely, and make small incremental adjustments when aligning the door. If you are unsure about the hinge type or the door remains misaligned after replacement, contact a specialised door fitter.
For more technical reference on hinge types and door hardware options visit our pillar resource: /guides/door-hinges. If you need specific parts, measurements or trade quantities, our store can advise on the correct flag hinge and fixings for your project.