
Trade Secrets: Glazing Tools That Make the Job Easier
Trade Secrets: Glazing Tools That Make the Job Easier Whether you are a glazing contractor fitting sealed units all day or a homeowner replacing a single p...
Trade Secrets: Glazing Tools That Make the Job Easier
Whether you are a glazing contractor fitting sealed units all day or a homeowner replacing a single pane, the right glazing tools save time, reduce waste and improve the finished result. This post outlines essential hand and specialised tools, practical trade advice and DIY guidance that will help you handle glass, set units accurately and seal windows and doors correctly.
Essential glazing tools for every job
These are the tools you will reach for on almost every glazing task. They are suitable for both tradespeople and competent DIYers tackling straightforward replacement work.
- Glass suction cups: Single or twin suction pads make lifting and positioning glass much safer. Choose rated cups for the weight of the glass you are handling; ensure rubber seals are clean and replaced when worn.
- Glass cutters: A sharp wheel cutter is ideal for on-site trimming of float glass. Use a tungsten carbide or diamond tipped tool for tougher glass types; always score once and snap along a straight edge.
- Setting blocks and packers: Use rubber or plastic setting blocks at the quarter points to support the glass within the frame; packers of varying thicknesses aid accurate levelling and compression. Place setting blocks approximately 150-200mm from corners.
- Glazing spatulas and putty knives: Needed for applying and tooling sealants, and for removing old putty or foam. A selection of blade widths helps with narrow glazing beads.
- Sealant gun and finishing tool: A good quality, smooth-run cartridge gun and a profile tool for finishing silicone will give a neat, consistent seal; use a low-sag formulation for vertical joints.
- Tape measure and spirit level: Accurate measurement and checking for plumb and level are fundamental; consider a digital level for complex frames.
- Safety kit: Cut-resistant gloves, safety glasses, and robust footwear; always have a first aid kit on site.
Specialised glazing tools for trade professionals
For commercial work, higher throughput or unusual profiles, specialised tools reduce labour time and improve outcomes. These are standard on many glazing vans.
- Glass handling frames and suction lifters: Electric or pneumatic suction lifters and transport A-frames are essential for handling large IGUs safely; they also speed up loading and unloading from vans.
- Bead removal tools: Bead lifters and dedicated profile scrapers prevent damage to frames when removing beads from PVCu or aluminium systems; use the correct profile key to avoid cracking.
- Pressure plate and cover cap tooling: Many casement and curtain wall systems use mechanical pressure plates; cutters and insertion tools designed for these components speed installation and ensure correct torque.
- Mitre saws and glass tables: Accurate cutting of timber or aluminium beads requires a compound mitre saw; glass cutting benches with breaking edges give stronger, cleaner breaks.
- Thermal spacer handling equipment: For factory or site fabrication of double-glazed units, spacer application tools and desiccant filling stations are used to ensure correct edge seal performance.
Practical techniques: positioning and sealing
Technical accuracy matters at every step. Here are practical tips that reduce failures and callbacks.
- Support the unit before removing beads: Ensure the glass is supported on setting blocks and packers prior to bead removal; unexpected drops can break the pane and damage frames.
- Use the correct setting block locations and materials: For standard IGUs, place setting blocks at the quarter points and use a block with Shore hardness suitable for the pane size; too soft and it deforms, too hard and it transfers stresses.
- Maintain uniform compression on gaskets: When installing compression seals, pack out evenly and seat the glass so the gasket compresses uniformly around the perimeter; uneven compression causes leaks and wind noise.
- Tool sealant consistently: Finish silicone joints with a dedicated profile tool and keep the gun at a steady angle and speed; neat tooling improves adhesion and weather performance.
- Allow sealants and adhesives to cure correctly: Ambient temperature, humidity and ventilation affect cure times; check manufacturer data sheets and avoid forcing frames into service early.
DIY-friendly advice and what to avoid
Homeowners can certainly tackle minor glazing tasks, but safety and preparation are paramount.
- Start with small panes: If you are inexperienced, replace small, easy-to-handle panes first. Larger IGUs are heavy and require two people or mechanical help.
- Avoid improvised supports: Do not use bricks or random timbers as setting blocks; they will not offer the correct support and may damage the glass. Use purpose-made blocks and packers.
- Check compatibility: Some sealants can degrade foam or certain gaskets; confirm compatibility with the frame and glazing system before application.
- Practice cutting offcuts: Test glass cutting on offcuts to get the feel of the cutter, pressure and snap technique; a clean score and a single confident snap produce the best edge.
- Know when to call a professional: If the sealed unit is damaged, or if frames are warped or rotten, professional replacement reduces the risk of poor insulation and water ingress.
Maintenance and tool care
Good tool maintenance extends life and ensures reliable work.
- Keep cutters sharp and lubricated: A blunt wheel causes jagged scores. Replace cutter wheels routinely and use cutting oil for smoother scoring.
- Inspect suction cups before use: Small nicks reduce vacuum hold; store cups away from UV and extreme temperatures to avoid hardening.
- Clean sealant guns and spatulas: Remove cured sealant immediately and store tools dry to avoid corrosion and buildup.
- Label and size packers: Keep a set of calibrated shims and blocks in labelled thicknesses; this speeds accurate set-up on site.
Buying advice: what to prioritise
When purchasing glazing tools, balance cost with durability and suitability for the work you do.
- Choose quality for safety-critical items: Suction lifters, electric tools and cutters are worth investing in; cheaper versions may fail and cause injury or damage.
- Select multi-use tools for a small van or shed: A good quality sealant gun, a versatile set of spatulas and a multipurpose cutter cover most routine tasks.
- Keep consumables stocked: Setting blocks, packers, backer rod and sealant are more often the cause of delays than the tools. Buy from reputable suppliers and check technical sheets for compatibility.
- Refer to specialist guidance: For a wider selection of parts and supplies see our resource page at /guides/double-glazing-supplies.
Recommended Products
Based on this article, you may find these products helpful:
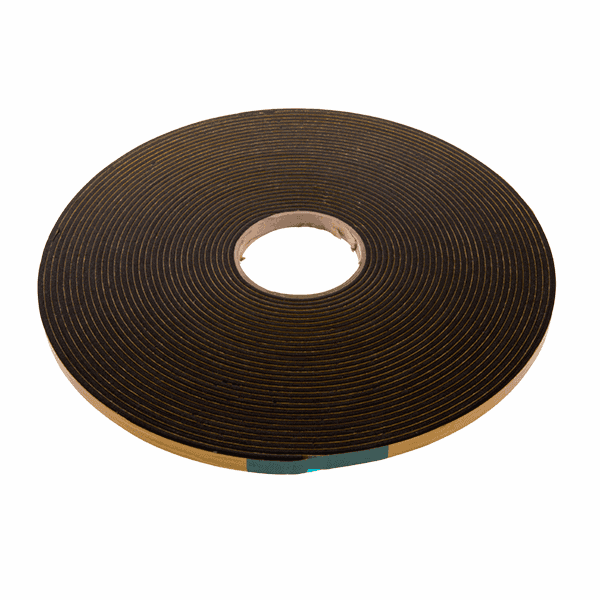
- Structural Glazing Tape - 20mm
- Security Glazing Tape
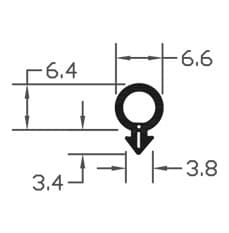
- B003 Bubble Gasket
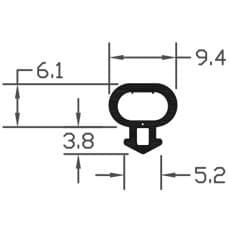
- B004 Bubble Gasket
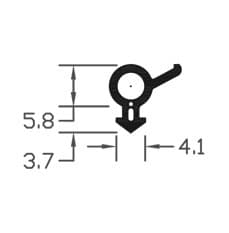
- B007 Bubble Gasket
Conclusion and next steps
Having the correct glazing tools, and using them in the right sequence, makes installations faster, safer and more durable. Trade professionals will benefit from investing in specialised handling and pressure plate tools; DIYers should focus on safe handling, accurate measuring and using the right sealants and setting blocks. If you are planning a project, list the items above, check compatibility with your frames and stock up on consumables before you start. For product selection and supply options visit our double glazing supplies page or contact us for trade advice and tool recommendations.
Products mentioned in this article
Related articles
How Old uPVC Window Parts Differ from Modern Replacements
How Old uPVC Window Parts Differ from Modern Replacements Older uPVC windows fitted in the 1980s and 1990s were robust for their time, but the components u...
Glazing Tools Safety Guide: Avoiding Common Injuries
Glazing Tools Safety Guide: Avoiding Common Injuries Working with glazing tools carries a real risk of cuts, crushed fingers and slips when handling panes ...
How to Maintain Your Glazing Tools for Longer Life
How to Maintain Your Glazing Tools for Longer Life Whether you are a trade glazier or a DIY homeowner replacing a pane, well‑maintained glazing tools save ...