How to Change a Night Latch Cylinder: Key Replacement Guide
How to Change a Night Latch Cylinder: Key Replacement Guide A faulty or worn night latch cylinder can make entry awkward, reduce security and create call-o...
How to Change a Night Latch Cylinder: Key Replacement Guide
A faulty or worn night latch cylinder can make entry awkward, reduce security and create call-outs for locksmiths. Whether you are a homeowner wanting a straightforward do-it-yourself replacement or a trade professional carrying out a quick on-site swap, this guide explains how to change the cylinder on common night latches used across the UK. It covers preparation, the two common cylinder types, removal and fitting steps, plus practical trade tips for a neat, secure finish.
What is a night latch and the cylinder types you will meet
A night latch is a surface-mounted lock fitted to the inside of a door that throws a latch when the door closes; the external access is normally by key. The most common cylinder types you will come across are rim cylinders, often fitted to traditional Yale-style night latches, and euro cylinders that are fitted into multipoint or mortice doors. Knowing which type you have is the first step to a correct replacement.
- Rim cylinder: a round or oval cylinder that sits in the door face; commonly used with surface-mounted night latches.
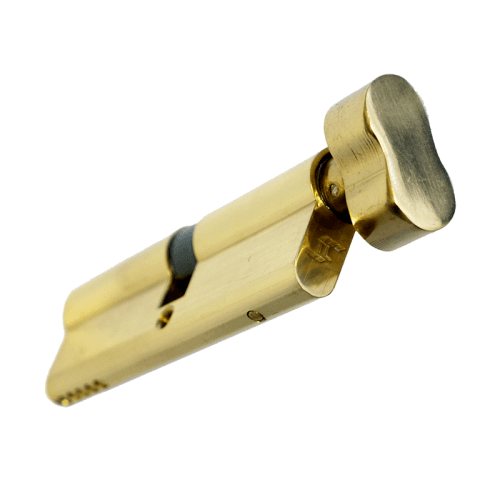
- Euro cylinder: a profile cylinder used with many modern composite or uPVC doors that have multipoint locks; less common on classic night latches but sometimes used in retrofit situations.
Tools, materials and safety
Gather the correct tools before starting. For most jobs you will need:
- Screwdrivers: Pozidriv and flat blade depending on screw heads.
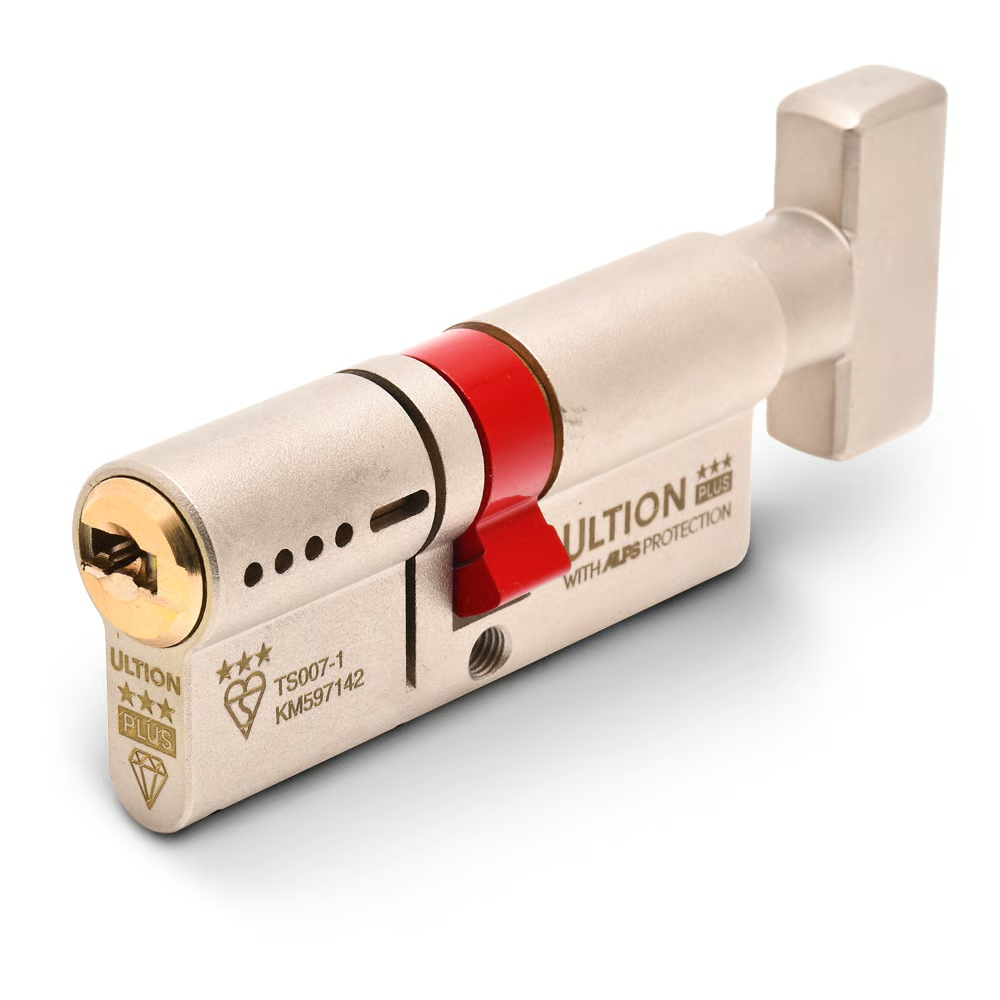
- New cylinder: ensure correct type and length; consider anti-snap or TS007 rated cylinders for improved security.
- Measuring tape or callipers: to measure cylinder length and door thickness.
- WD40 or graphite lubricant: for sticky or seized cylinders.
- Replacement screws and possibly a new strike plate if worn.
- Optional: small punch and hammer for stubborn retaining pins.
Work with the door open and supported to avoid trapping fingers. If replacing a double-cylinder (key on both sides), ensure safe escape routes remain available; for rented properties check permissions.
Identify and measure the existing cylinder
To buy the correct replacement you must measure the cylinder length. Measure from the centre of the fixing screw hole to each end of the cylinder. Common sizes are 35/35, 40/40 etc; for rim cylinders you may measure overall projection from the face of the door. For euro cylinders measure the neck from the fixing screw centre to each end. If the cylinder is asymmetric, note the unequal dimensions and order the matching size.
Removing a rim night latch cylinder: step by step
- Open the door and locate the retaining screw: this is usually a long screw through the edge of the door aligned with the cylinder at about 6 o’clock.
- Partially insert the key and turn slightly to align the cam; this makes it easier to extract the cylinder. If the cylinder is stiff, use lubricant on the key and work it gently.
- Unscrew the retaining screw fully and keep it safe; support the cylinder with one hand and pull it out from the outside of the door while turning the key to the alignment position.
- If the cylinder will not pull out, try turning the key to several positions; in some cases the cam must be rotated to match the internal lock position. Apply lubricant and tap lightly with a rubber mallet if necessary.
Removing a euro cylinder or mortice-type night latch cylinder
For euro cylinders fitted into a multipoint system the process is similar but may require partial retraction of the latch mechanism:
- Open the door and turn the key 10 to 15 degrees to align the cam.
- Remove the fixing screw in the edge of the door and slide the cylinder out while supporting the mechanism.
- If the cylinder is held by internal furniture, remove the internal trim or handle first to access the fixing point.
Fitting the new cylinder
- Check the new cylinder length against your measurements before fitting. The face should sit flush with the door edge and not protrude excessively.
- Insert the cylinder with the cam aligned; partially insert the retaining screw to hold the cylinder in place but leave it loose to allow fine adjustment.
- Operate the key to ensure smooth movement; if it binds, remove and check alignment and backset. Tighten the fixing screw carefully; over-tightening can distort the cylinder and impair operation.
- For double cylinders consider replacing with a thumbturn on the inside for quicker escape in emergencies, subject to building regulations and occupant needs.
Practical trade tips and common pitfalls
- Always carry a selection of cylinder lengths and anti-snap options on the van; quick swaps win site time.
- If a cylinder is seized or corroded, apply penetrating lubricant and allow time to work before forcing hardware; seized screws can shear if overdriven.
- Replace worn strike plates and check frame alignment: a misaligned strike causes excess force on the cylinder and latch and shortens component life.
- For PVC and composite doors ensure the new cylinder has the correct projection to avoid leaving the lock vulnerable to snapping attacks; fit an anti-snap or 3-star cylinder where security matters.
- When replacing a night latch on a fire door or communal entrance, follow relevant regulations and advise tenants about escape and liability.
Troubleshooting
If the new cylinder does not operate smoothly: check that the cam is not hitting internal parts, verify the door is square in the frame, and confirm the retaining screw is not over-tightened. If keys stick, remove the cylinder and inspect for burrs; a quick blow with a file and a light graphite lube often cures minor issues. In cases of damage such as a snapped cylinder, inspect the entire night latch unit and consider replacing the lock body as well.
Recommended Products
Based on this article, you may find these products helpful:
- TL Thumb Turn Euro Cylinder
- Ultion Plus TS007 3* Kitemarked Euro Key & Turn Cylinder
- Multipoint Gearbox GU Old Style
- In-Line Window Mechanism
- Offset Window Mechanism
Conclusion and next steps
Replacing a night latch cylinder is a straightforward job for competent DIYers and a routine task for trade professionals when you know the cylinder type and have the right tools. Before you fit a replacement, measure carefully, select a secure cylinder, and follow the alignment steps above to ensure smooth operation and lasting security. If you are unsure about compliance, fire escape requirements or the correct security grade for your property, contact a qualified locksmith or one of our trade specialists for product recommendations and on-site advice.
Products mentioned in this article

Related articles
How to Fit a Night Latch: Step-by-Step Installation Guide
How to Fit a Night Latch: Step-by-Step Installation Guide A night latch is a common surface-mounted lock fitted to the inside face of a front door; it lock...
How to Replace a Night Latch Lock: DIY Instructions
How to Replace a Night Latch Lock: DIY Instructions A night latch is a common surface-mounted lock found on many UK front doors; it offers easy exit from t...
Automatic vs Manual Night Latches: Which Type Do You Need?
Automatic vs Manual Night Latches: Which Type Do You Need? Choosing the right night latch for a front or back door is a common decision for UK homeowners a...