How to Fit a Night Latch: Step-by-Step Installation Guide
How to Fit a Night Latch: Step-by-Step Installation Guide A night latch is a common surface-mounted lock fitted to the inside face of a front door; it lock...
How to Fit a Night Latch: Step-by-Step Installation Guide
A night latch is a common surface-mounted lock fitted to the inside face of a front door; it locks automatically when the door closes and is usually operated by a key from the outside and a snib or knob from the inside. This guide covers practical trade advice and DIY instructions for fitting a rim night latch to timber or composite doors, plus considerations for uPVC and metal doors. Read the manufacturer instructions for the specific model you are fitting and ensure any work complies with insurance and building requirements.
Tools and materials
- Night latch (correct size and backset for the door)
- Appropriate cylinder: anti-snap or TS007-rated Euro cylinder if required
- Template supplied with the lock
- Drill and a set of drill bits; countersink
- Screwdrivers (posi and flat as required)
- Pilot drill bit for screw pilot holes
- Chisel and mallet (for small recesses or keeps)
- Tape measure, pencil and spirit level
- Masking tape and safety goggles
- Packers or wedges to hold the door steady
- Suitable screws and security fixings for the door material
- High-quality lubricant: graphite powder or silicone spray
Pre-install checks
- Check door thickness and type: rim night latches suit most timber and composite doors; uPVC and metal doors may need specialist fixings or a different lock type.
- Confirm backset and handing: measure from the door edge to the centre of the lock position; most manufacturers offer different backset options.
- Determine height: standard position is approximately 1.0 to 1.2 metres from the floor, but match existing furniture for consistency and user comfort.
- Consider security and insurance: a night latch alone may not meet BS3621; insurers often require a compliant deadlock or additional secure cylinder; fit anti-snap cylinders where possible.
- Read the manufacturer template: most night latches include a paper template showing exact hole positions and outlines; this prevents guesswork.
Step-by-step installation
- 1. Prepare the door: open the door and support it with wedges so it cannot move. Apply masking tape where you will mark to prevent tearing the finish. Position the template on the inner face of the door at the chosen height and align it with the stile; use a spirit level to ensure vertical alignment.
- 2. Mark drill points: transfer the template markings for fixing screws, the spindle or cylinder location, and the latch face position. Remove the template and re-check measurements.
- 3. Drill pilot holes: use a small pilot bit for the screw holes; this prevents splitting, especially in hardwood. Drill the hole for any cylinder or spindle as instructed by the manufacturer. If the lock requires a through-hole for the cylinder, use the template to set the correct size; if the lock is surface-mounted and the cylinder is attached to the lock body, you may only need a clearance hole for the tailpiece.
- 4. Recess or chisel if required: some night latches require a shallow recess on the door edge or inner face to sit flush. Carefully chiselled recesses should be pared away in small increments; test-fit the lock often to avoid over-chiselling.
- 5. Fix the lock body: position the night latch on the inside face and insert the fixing screws. Start all screws by hand to ensure alignment; tighten progressively and avoid overtightening which can distort the lock case or door surface. Use the recommended screws for the door material: wood screws for timber; coach screws or threaded nylon anchors for masonry cores or metal doors.
- 6. Fit the cylinder and tailpiece: insert the cylinder through the door and engage the tailpiece into the lock mechanism. Secure the cylinder with the retaining screw provided. Ensure the cylinder does not protrude excessively on the outside; for neatness and security, aim for minimal projection consistent with the cylinder type and any escutcheon used.
- 7. Install the strike/keep on the frame: close the door and mark the location of the latch on the frame. Mortice or chisel the frame to suit the tubular keep supplied. For solid timber frames, use through-bolts or coach screws if necessary; for soft frames, reinforcement plates improve longevity. Ensure the latch engages smoothly without excessive force.
- 8. Test operation: with the door closed, test locking and unlocking from both sides. Use the key outside and the knob or snib inside. Check the latch deadlocks if it is a deadlocking model; ensure the latch automatically deadlocks when the door is closed if fitted to do so.
- 9. Adjust and finish: if the latch binds, slightly adjust the keep position or plane the door edge. Countersink screw heads and touch up any paint or varnish if necessary. Fit any escutcheons or weatherproofing trims supplied.
Trade tips and specialist considerations
- Use anti-snap and anti-drill cylinders for external doors; many insurers now insist on these for front door cylinders.
- On uPVC or composite doors, avoid standard timber screws; use manufacturer-recommended through-fixings or coach screws into reinforcement plates. Some uPVC doors require specialist night latches designed for that profile.
- For high-use doors, fit longer screws that bite into the frame and door stiles; this reduces movement and increases life of the fitting.
- Record the lock type, cylinder code and fitting details for maintenance and future servicing; traders should log work for client records and warranty compliance.
- When replacing an existing night latch, check for hidden reinforcements or obsolete fixings; adapt the new fixings to match the old holes where practical to avoid weakening the door.
Maintenance and safety checks
- Lubricate the locking mechanism with graphite or silicone spray every 6 to 12 months; avoid oil-based lubricants that attract dust.
- Check screws annually and retighten if necessary; movement over time can cause the latch to misalign with the frame keep.
- Inspect the cylinder for wear and replace if the key starts to stick or the lock becomes difficult to operate.
- If the lock jams or the door will not lock properly, remove and examine the mechanism rather than forcing it; this prevents damage and potential security failures.
Recommended Products
Based on this article, you may find these products helpful:
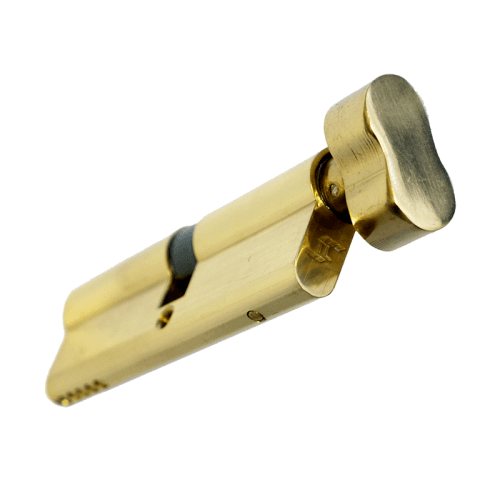
- TL Thumb Turn Euro Cylinder
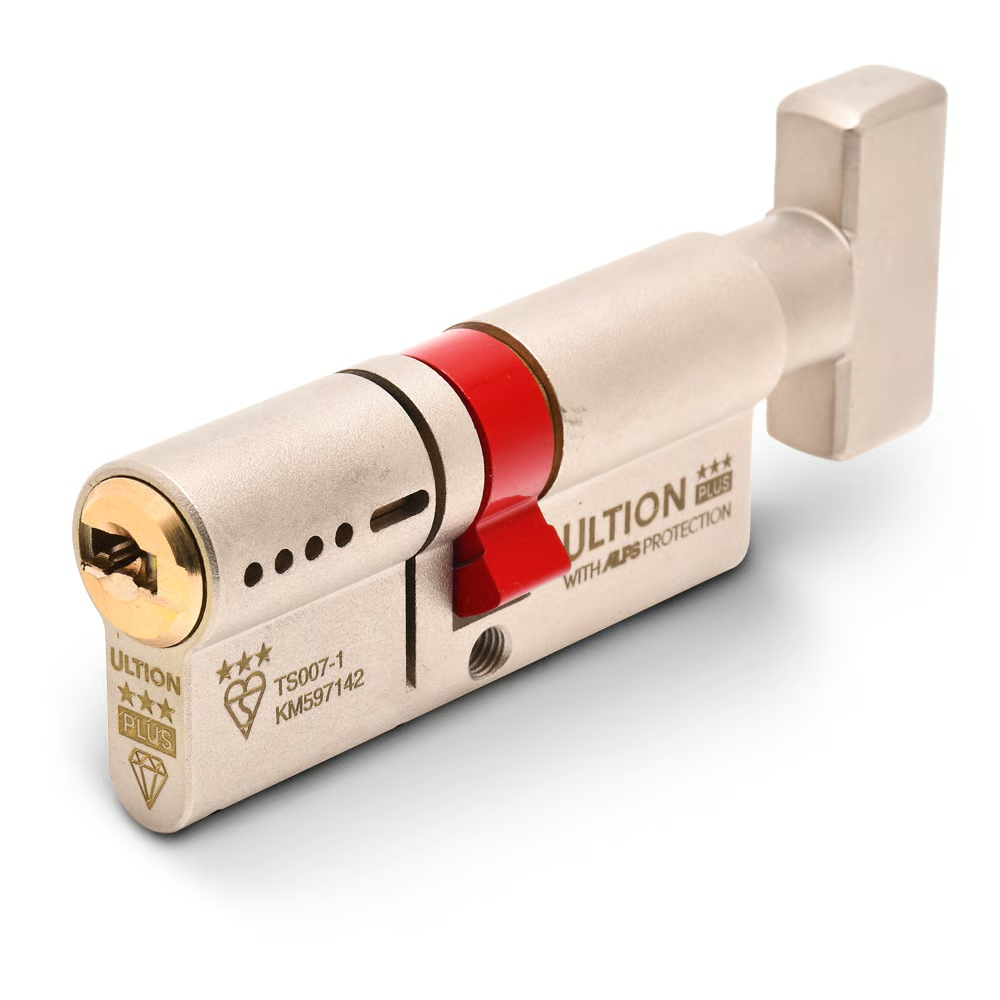
- Ultion Plus TS007 3* Kitemarked Euro Key & Turn Cylinder
- Multipoint Gearbox GU Old Style
- In-Line Window Mechanism
- Offset Window Mechanism
Conclusion and next steps
Fitting a night latch is a straightforward job for a competent DIYer or trade fitter when you follow the template and manufacturer guidance, prepare the door correctly and use appropriate fixings. For improved security, fit an anti-snap or TS007-rated cylinder and check insurance requirements which may require an additional deadlock. If you need more detailed information on different lock types, standards and upgrade options, see our pillar page on door locks: /guides/door-locks. For trade enquiries or technical support, contact our team at Window Hardware Store for product recommendations and fitting advice.


Related articles
How to Replace a Night Latch Lock: DIY Instructions
How to Replace a Night Latch Lock: DIY Instructions A night latch is a common surface-mounted lock found on many UK front doors; it offers easy exit from t...
Automatic vs Manual Night Latches: Which Type Do You Need?
Automatic vs Manual Night Latches: Which Type Do You Need? Choosing the right night latch for a front or back door is a common decision for UK homeowners a...
Night Latch vs Deadlock: Which Is Better for Your Door?
Night Latch vs Deadlock: Which Is Better for Your Door? Choosing the right lock affects both security and daily convenience; this article compares night la...