
How to Fit a Sash Window Lock: Installation Tips
How to Fit a Sash Window Lock: Installation Tips Fitting a sash window lock correctly improves security, reduces draughts and meets safety requirements for...
How to Fit a Sash Window Lock: Installation Tips
Fitting a sash window lock correctly improves security, reduces draughts and meets safety requirements for households with children. Whether you are a trade professional fitting multiple windows or a competent DIYer working on one timber sash, this post covers the practical steps, common pitfalls and trade tips to fit a durable and secure sash window lock.
Types of sash window locks
- Sash fastener: a popular surface-mounted or morticed lock that pulls the two sashes together; available keyed or non-keyed.
- Sash restrictor: limits how far the top sash can be opened; useful for child safety and ventilation control.
- Mortice sash lock: recessed into the timber for a flush finish; often used on traditional timber sashes.
- Surface-mounted cam or casement-style locks: easier to fit and suitable for uPVC or aluminium framed sliding sashes.
Tools and materials
- Lock kit: sash window lock and keep/strike plate; ensure compatibility with the window type.
- Power drill and set of bits, including wood-boring and countersink bits.
- Router or sash mortice kit for morticing; chisels and mallet for fine work.
- Measuring tape; vernier or rule; combination square; small spirit level.
- Pilot drill bit slightly smaller than the screw shank; stainless steel or brass screws.
- Wood filler, sandpaper, paint or finish to touch up; silicone if sealing is required.
- Personal protective equipment: eye protection, dust mask and hearing protection when routing.
Preparing the window
Check the sash operation first: both sashes should run smoothly and meet evenly at the meeting rails. If paint has sealed the sashes shut, free them carefully with a sharp chisel and panel scraper. Inspect timber for rot or soft spots; repair or replace damaged sections before fitting a lock. Secure cords and weights if you need to lift the sash out; remove or secure loose glazing beads if internal access is required. Ensure the sashes are square and the meeting rails are flush: an uneven meeting rail will prevent a lock from seating correctly.
Measuring and marking
Most sash window locks sit on the meeting rail centre, where the two sashes meet. Position the lock so the cam or latch pulls the upper and lower sashes tightly together when engaged. Use the manufacturer template if supplied; this simplifies marking for the lock body and screw holes. Mark the position for the lock body and the corresponding strike/keep on the opposite sash. For mortice locks, mark the depth and length of the recess needed to house the lock body; check the lock dimensions on the packaging.
Fitting a mortice sash lock (timber sash)
- Cut out the mortice: use a small router with a straight bit and a template, or make neat cuts with a sharp chisel. Work in small passes to avoid splitting the wood.
- Test-fit the lock body: the faceplate should sit flush with the timber surface. If necessary remove small amounts of material until flush.
- Drill pilot holes for the fixing screws; countersink to avoid tearing paint when installing the faceplate.
- Install the lock body with stainless steel or heavily galvanised screws; tighten firmly but do not over-torque as this can distort the faceplate and bind the mechanism.
- Fit the keep or strike plate on the opposite sash: mark the exact location by closing the sash and marking where the latch meets; chisel a shallow recess for the keep so it sits flush.
- Operate the lock several times and check engagement; if the latch binds, ease the keep slightly; a little lateral adjustment usually fixes tightness.
Fitting a surface-mounted sash lock
- Surface-mounted locks are quicker to fit and do not require routing: position the lock so the cam pulls the sashes together when turned.
- Use the lock template or mark the screw holes. Pre-drill pilot holes to prevent timber splitting; select pilot diameter appropriate to the screw core.
- Fix the lock body and keep with stainless steel screws; countersink heads and seal any exposed screw heads with a small dab of filler or touch-up paint.
- Check the lock action and adjust the keep position if necessary. These locks are often suitable for retrofitting to uPVC or metal frames using appropriate screws or rivets.
Practical trade and DIY tips
- Always use corrosion-resistant fixings near the coast: 316 stainless steel is best for longevity in harsh conditions.
- Pre-drilling is essential: the pilot hole should be no larger than the screw’s core; this reduces timber splitting and ensures consistent torque.
- Use a packing shim or a small washer behind the faceplate if the sash is slightly out of plane; this keeps the mechanism square and prevents binding.
- Where a lock sits into painted wood, score around the faceplate with a utility knife to prevent paint from lifting when removing or replacing the lock in future.
- For child safety fit a sash restrictor as well as a lock; restrictors limit opening to a safe distance while still allowing ventilation.
- On double-glazed or rebated sashes select locks specifically designed for those profiles; standard timber locks may not seat correctly on modern profiles.
- Keep adjustment minimal: repeated over-tightening of screw fixings can distort the lock and void warranties.
Testing and maintenance
After fitting, operate the sash window lock multiple times to check smoothness and full engagement. Inspect seals and ensure there are no draughts introduced by incorrect alignment. Lubricate moving parts with a light specialist lubricant; avoid heavy oils that attract dust. Schedule a yearly check: tighten fixings, clean mechanisms and reapply lubricant if needed.
Recommended Products
Based on this article, you may find these products helpful:
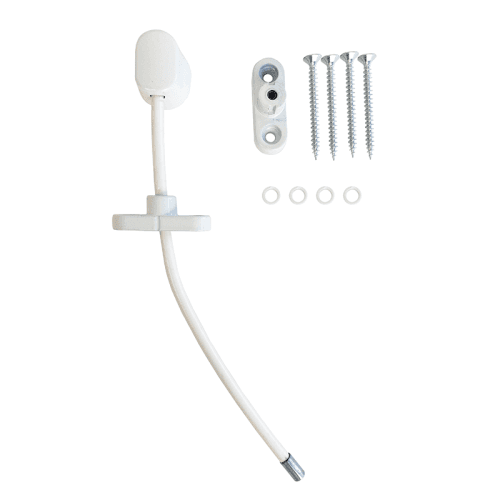
- UAP Keyless Window Restrictor
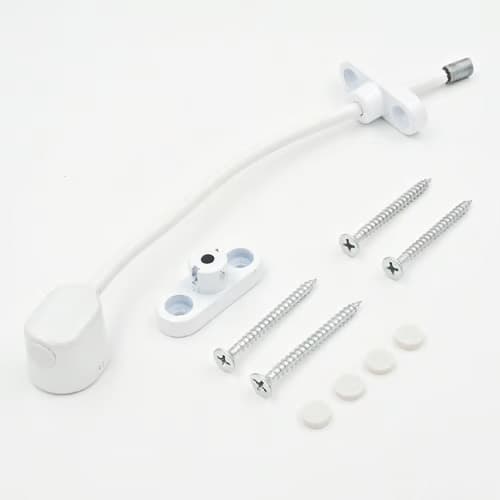
- TSS Keyless Cable Window Restrictor
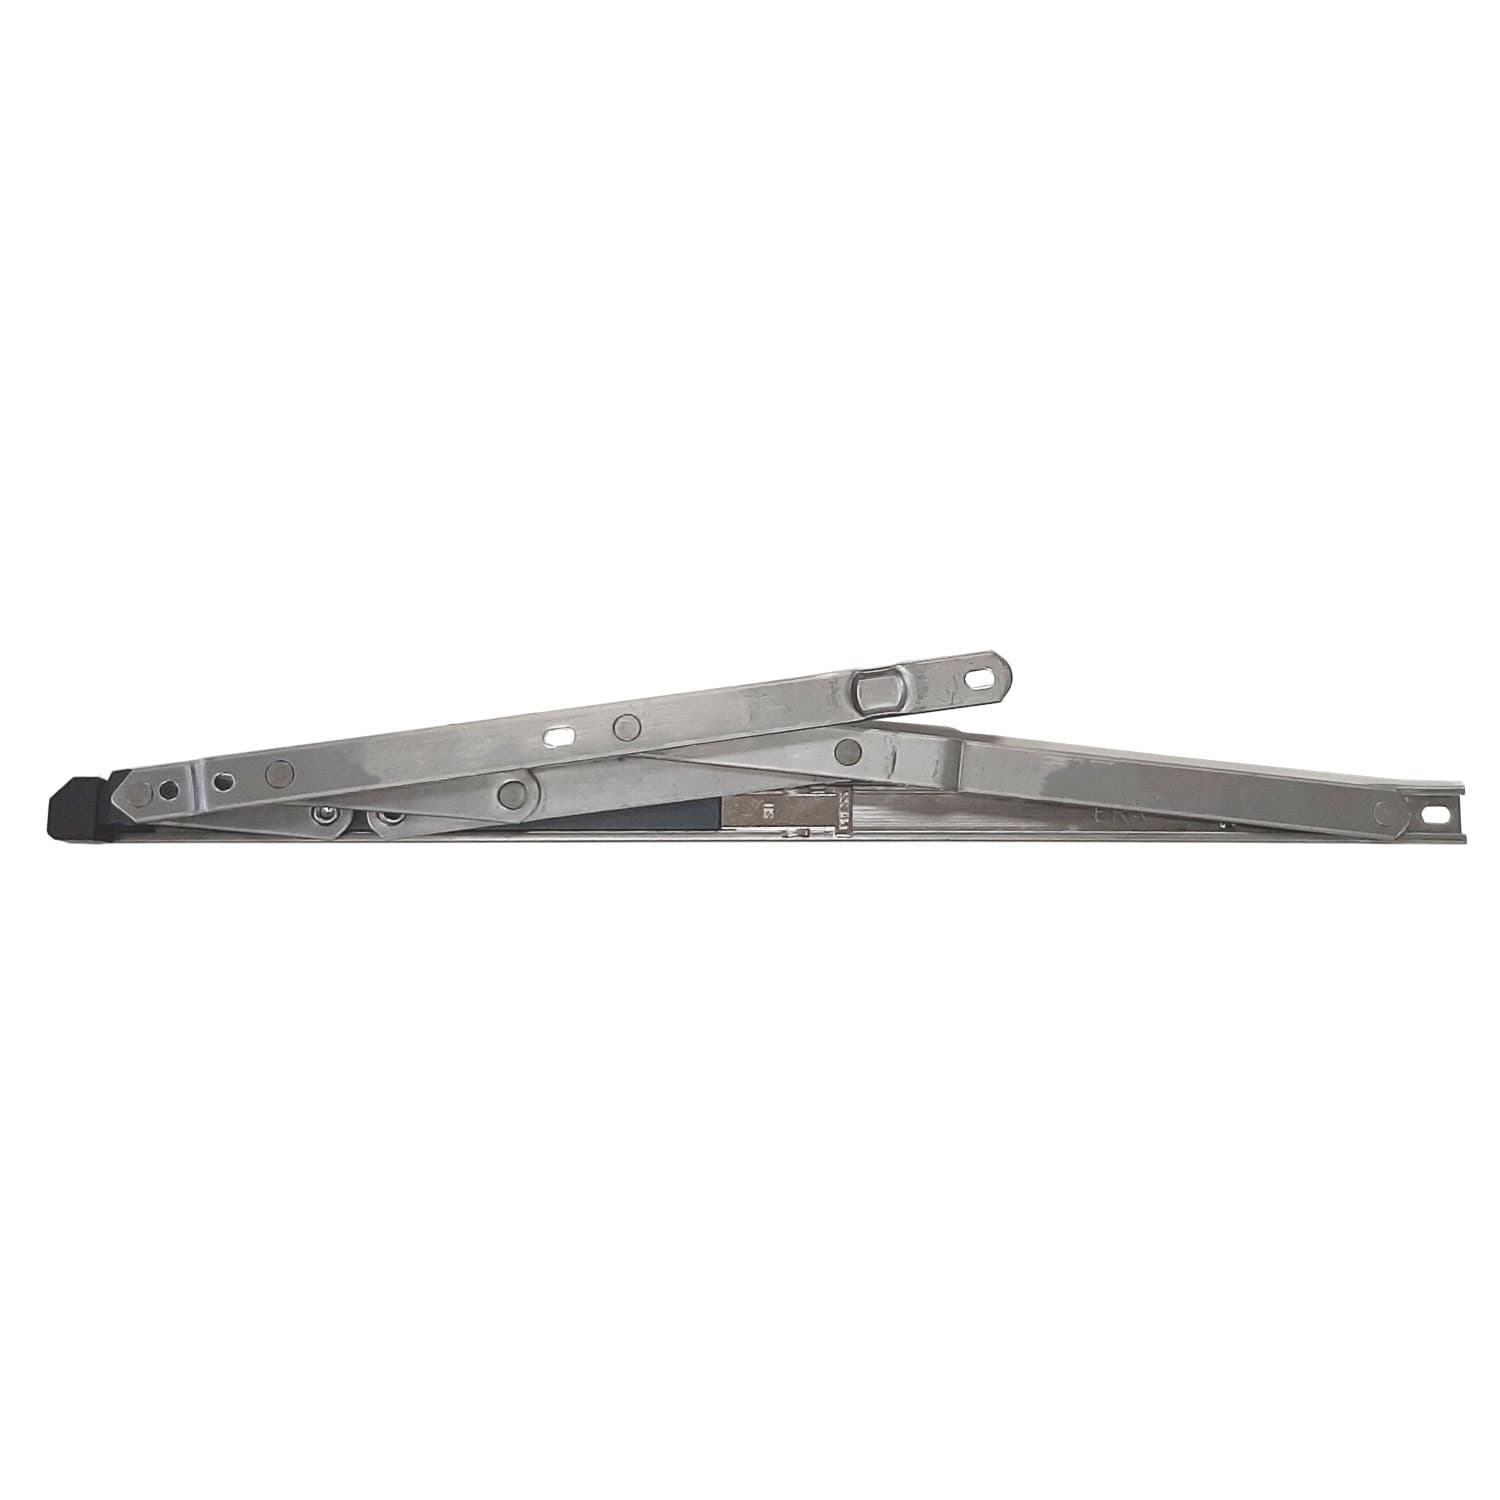
- Restricted Friction Stay Hinges
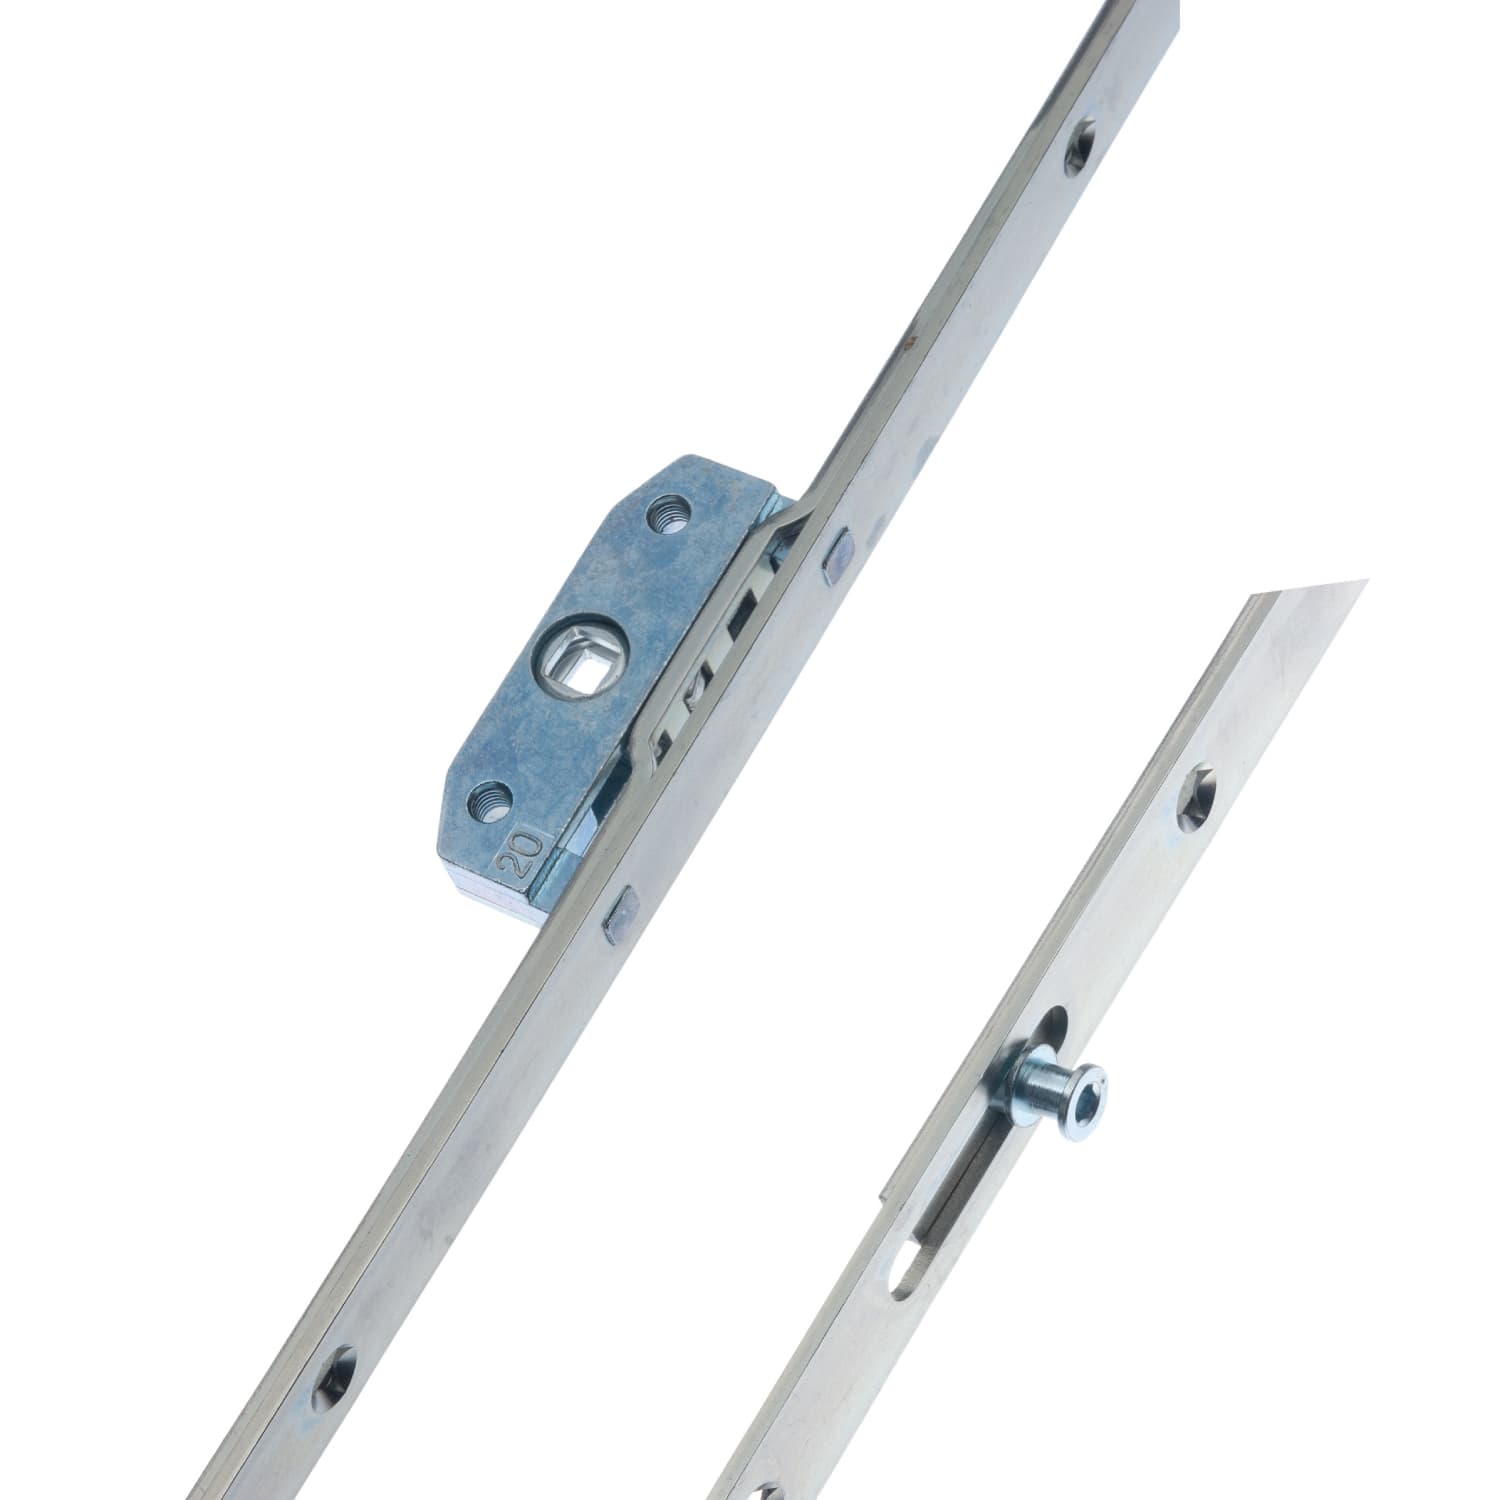
- ERAB Espagnolette Window Lock Universal Lock Replacement
- In-Line Window Mechanism
Conclusion and next steps
Fitting a sash window lock correctly combines accurate measuring, the right tools and appropriate fixings. For straightforward installations a surface-mounted lock will be quickest; for a cleaner finish and higher security a morticed lock is preferable. If the timber is rotten, the sashes badly out of square or you are unsure about removing sash weights, contact a trade professional.
For more information on window locks and restrictors refer to our pillar resource: /guides/window-locks-restrictors. If you need specific product advice or recommended fixings for coastal properties and listed buildings, get in touch with our technical team.
Related articles
Window Restrictors
What Is a Cable Window Restrictor? How They Work
What Is a Cable Window Restrictor? How They Work A cable window restrictor is a simple mechanical device fitted to a window to limit how far it can open. I...
Cable Window Restrictor Safety Features Explained
Cable Window Restrictor Safety Features Explained What a cable window restrictor does and where it is used A cable window restrictor is a safety device fit...