How to Fit an Anti-Snap Cylinder: Installation Guide
How to Fit an Anti-Snap Cylinder: Installation Guide An anti snap cylinder is one of the most effective upgrades you can fit to a uPVC, composite or timber...
How to Fit an Anti-Snap Cylinder: Installation Guide
An anti snap cylinder is one of the most effective upgrades you can fit to a uPVC, composite or timber door to reduce the risk of forced entry. This post covers practical trade advice and DIY guidance for measuring, selecting and fitting an anti snap cylinder so the new cylinder operates correctly and provides the intended security benefits. The instructions are suitable for homeowners and professionals who work with euro cylinders regularly.
Why choose an anti snap cylinder
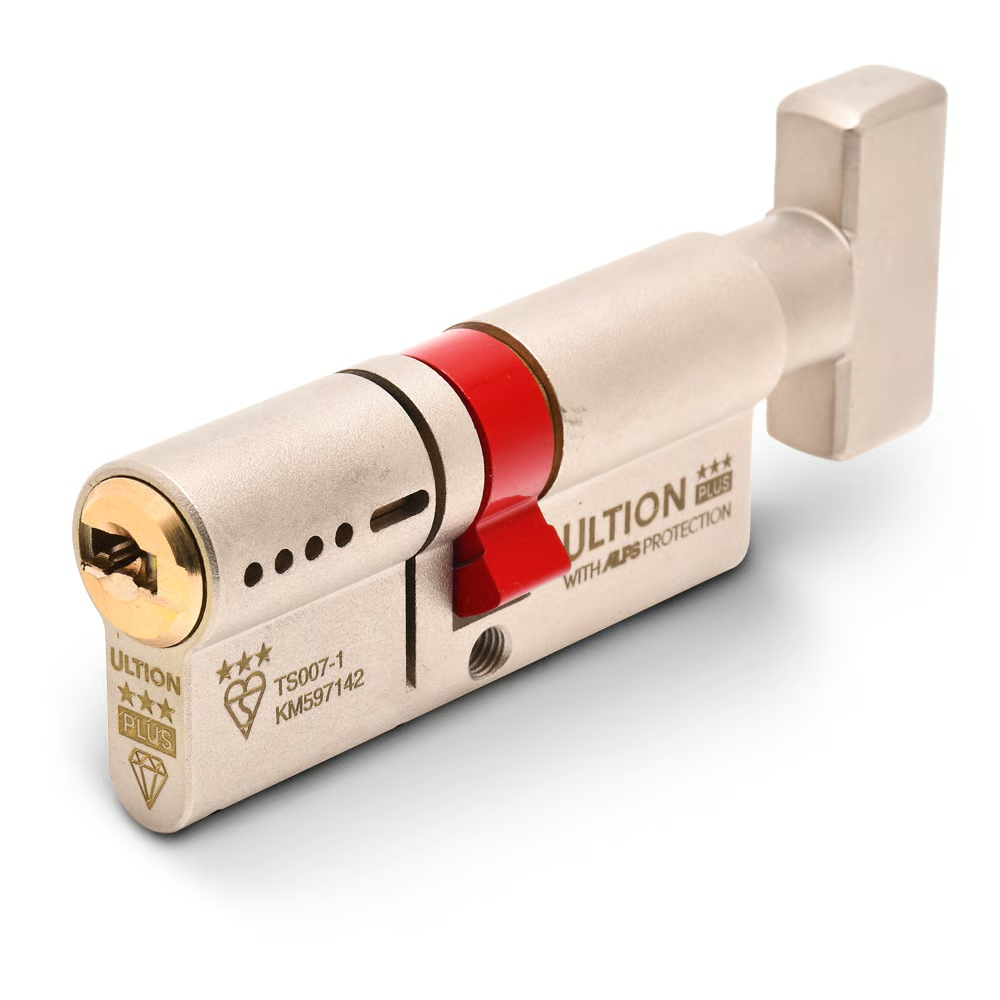
Anti snap cylinders are engineered to resist the common attack method known as snapping: the opportunist break of a euro cylinder at the weak point where the locking cam meets the barrel. High-quality anti snap cylinders include a sacrificial section, hardened steel pins to resist drilling, anti-pick features and often meet TS007 3 Star or British Standards. Replacing a standard cylinder with an approved anti snap cylinder will significantly increase door security; however, correct measurement and installation are essential for performance.
Tools and materials
- New anti snap cylinder of the correct size and certification (TS007 3 Star where required)
- Screwdrivers: cross-head and flat-head
- Torx driver set if required by handle fixings
- Measuring tape or ruler; vernier calipers for precision
- Replacement fixing screw (stainless steel recommended)
- Work gloves and safety glasses
- Pen and notepad for recording sizes and key numbers
Understanding cylinder sizes and compatibility
Euro cylinders are specified by two measurements: the distance from the centre of the retaining screw hole to each end of the cylinder. Common UK sizes include 35/35, 35/45, 40/30 and 45/45 millimetres. Measure with the existing cylinder removed to get accurate lengths; if the cylinder protrudes beyond the door face by more than 3mm, it is more vulnerable. Choose an anti snap cylinder that is either symmetrical or proportioned to match the door furniture so it does not protrude.
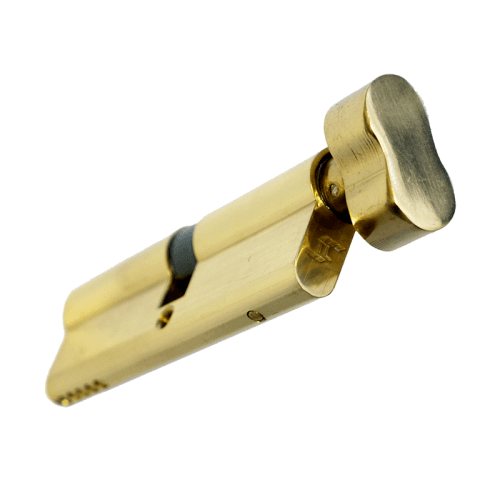
Check the lock type: multipoint locks used on modern uPVC and composite doors normally take a euro cylinder; some older traditional locks or mortice locks use different profiles. Ensure you order the correct profile: euro single cylinder, thumbturn (single cylinder with internal thumbturn), or double cylinder (key both sides).
Step-by-step removal of the old cylinder
- Open the door fully and support it so it cannot move while you work.
- Remove the handle and escutcheon if required: most uPVC handles are fixed with two screws accessible from the inside. For timber doors, remove visible screws holding the handle and plate.
- Locate the cylinder retaining screw on the edge of the door; this is usually a long screw aligned with the centre of the cylinder.
- Using the appropriate screwdriver, loosen and remove the retaining screw. Keep this screw as a spare if it is in good condition; replace with a stainless steel screw if corroded.
- Insert the key into the cylinder and turn slightly to align the cam; this allows the cylinder to slide out. If the key will not turn, tap gently with a rubber mallet while applying slight turning pressure to free the cam.
- Withdraw the cylinder from the door.
Measuring and selecting your anti snap cylinder
With the old cylinder removed, measure from the centre of the screw hole to each end of the cylinder and record both values. Order the anti snap cylinder to those exact dimensions or choose a symmetric alternative if it suits your furniture. For trade professionals: keep common sizes in stock and carry a small selection of retaining screws to avoid repeat visits.
Consider the working features required: a thumbturn on the inside for easy egress is often preferred by homeowners; however, in some communal or commercial situations double keyed cylinders may be specified. Ensure the anti snap cylinder has the appropriate certification for insurance and building regulations.
Fitting the new anti snap cylinder
- Insert the new cylinder into the door from the outside. Use the key and turn slightly to align the cam so the cylinder drops fully into the housing.
- Push the cylinder fully home; it should sit flush with the door face or protrude no more than the manufacturer allows. Excess protrusion reduces security and voids the purpose of an anti snap design.
- Refit the retaining screw through the edge of the door and tighten to secure the cylinder. Do not over-tighten; a snug fit is sufficient. Over-tightening can distort the cylinder and affect operation.
- Refit the handle and escutcheon. For handles with torque settings, ensure the spindle engages correctly and the handle returns smoothly.
- Test operation: with the door open and closed, operate the key and the lock multiple times from both sides if applicable. Check the thumbturn operates smoothly and the lock deadbolts fully into the keep.
Trade tips and common pitfalls
- Always test the new cylinder before fitting the handle and escutcheon; resolving binding is easier with the faceplate exposed.
- Replace the retaining screw if it is worn; a long stainless steel screw gives a more secure fix and resists corrosion.
- For doors with high-security multipoint locks, check alignment of the cam with the mechanism; some cams are adjustable, other times a different cylinder profile is needed.
- Avoid fitting a cylinder that protrudes beyond the face of the door; if no correct size is available, consider swapping handles or having a bespoke cylinder cut to size by a reputable supplier.
- If the lock mechanism is old or shows wear, fit the new cylinder and test under load; sometimes the door lock may need a full replacement rather than only the cylinder.
- For rapid installations on-site, keep a variety of anti snap cylinders (including thumbturn and double) and a stock of fixing screws and spindles so one visit completes the job.
When to call a locksmith or trade professional
Call a qualified locksmith if the cylinder will not withdraw after removing the retaining screw; if the door lock has been tampered with; or if the lock mechanism is seized. Also consult a professional if you suspect the cylinder size must be modified or if the door requires cutting to accept a larger or bespoke cylinder. Professionals will ensure compliance with insurance requirements and can provide key registration or master keying if required.
Recommended Products
Based on this article, you may find these products helpful:
- TL Thumb Turn Euro Cylinder
- Ultion Plus TS007 3* Kitemarked Euro Key & Turn Cylinder
- Multipoint Gearbox GU Old Style
- In-Line Window Mechanism
- Offset Window Mechanism
Conclusion and next steps
Fitting an anti snap cylinder is a straightforward upgrade that improves door security significantly when the correct size and certification are chosen, and when the cylinder is fitted correctly. For a successful installation: measure accurately, confirm the required profile, use quality fixings, and test operation carefully. If you need more detailed information about euro cylinder types and specifications, visit our pillar page at /c/locks-security or contact Window Hardware Store for product recommendations and trade pricing.


Related articles
What Is a Thumb Turn Cylinder? Convenience vs Security
What Is a Thumb Turn Cylinder? Convenience vs Security What is a thumb turn cylinder? A thumb turn cylinder is a type of euro-profile lock cylinder that ha...
Thumb Turn Cylinder vs Panic Bar: Exit Options Compared
Thumb Turn Cylinder vs Panic Bar: Exit Options Compared examines two very different approaches to door egress and security. The thumb turn cylinder is a co...
Thumb Turn Cylinder Sizes: Finding the Right Length
Thumb Turn Cylinder Sizes: Finding the Right Length Choosing the correct thumb turn cylinder is vital for security, smooth operation and a neat finish on d...