How to Measure for a Deadbolt Replacement
How to Measure for a Deadbolt Replacement Replacing a deadbolt is a common task for UK homeowners and trade professionals. Correct measurement ensures the ...
How to Measure for a Deadbolt Replacement
Replacing a deadbolt is a common task for UK homeowners and trade professionals. Correct measurement ensures the new lock fits the door, meets security requirements and operates smoothly. This article explains the key measurements, practical tips for different door types and advice for DIYers and installers.
Types of deadbolts and why identification matters
Before taking measurements, identify the type of deadbolt you have: rim-mounted surface deadbolt, mortice deadbolt, or a euro-profile deadbolt used with a multi-point or mortice case. Each type has different dimensions that determine the replacement you need. Knowing whether the door is timber, composite, aluminium or PVCu is also important; fixing methods and cylinder lengths vary by material.
Tools and materials you will need
- Tape measure (metric), ideally in millimetres
- Digital calipers or vernier calipers for precise measurements
- Flat and Phillips screwdrivers
- Combination square or small spirit level
- Marker or pencil and masking tape for labelling
- Smartphone or camera to photograph the existing lock and door face
Essential measurements to take
Take clear, repeatable measurements and record them. Double checking is standard trade practice.
- Door thickness: Measure the finished door thickness from face to face. Most UK external doors are between 44mm and 54mm; internal doors are thinner. This determines spindle and cylinder length and whether you need a boxed or adjustable cylinder.
- Backset: Measure from the leading edge of the door to the centre of the keyhole or spindle hole. Common backsets are 40mm, 45mm and 55mm; measure to the nearest millimetre. Backset is critical for the new case and strike plate alignment.
- Case depth and faceplate size: With the lock removed, measure the depth of the lock case from the faceplate to the furthest point; note the faceplate height and width and the position of the fixing screws. If you cannot remove the lock, measure the visible faceplate dimensions and estimate case depth by measuring bolt projection plus clearance.
- Centre of cylinder to edge (centres): For euro cylinders, measure the cylinder centre to external edge and to the internal edge; record both halves separately. For rim cylinders or oval cylinders take the appropriate overall and projection measurements.
- Bolt throw: Measure how far the deadbolt projects when fully locked. For security, the bolt throw should be at least 20mm; 25mm to 30mm is preferred for external doors.
- Strike plate dimensions and position: Measure the size of the strike plate on the frame and the depth of the recess. Note the vertical position relative to the lock centre; this is important for correct re-chipping of the frame if required.
- Screw centres: Measure distances between fixing screws on the faceplate and the lock case; manufacturers often reuse these for compatible replacements.
Special measurements for common scenarios
- Euro cylinder replacements: Measure the overall length and the two separate halves from the fixing screw to each end. Example: 30/40 means 30mm from screw to external end and 40mm to internal end. If unsure, remove the cylinder to measure accurately.
- Composite doors: These usually have reinforced timber blocks and may require longer screws or cylinder repair kits; measure the distance from the face of the door to the reinforcement if visible.
- Multipoint locks: These have a different case and may include an additional deadbolt. Measure the distance from the handle spindle centre to the top and bottom of the lock case and note the bolt centres; ordering the correct replacement case often requires model identification.
- Fire doors: You must match certified hardware; measure and record all dimensions and product markings and consult certification documents before replacing the lock.
Practical measuring process: step-by-step
- Label the door and lock: mark inside and outside with masking tape so photos and measurements are not confused.
- Measure door thickness and record it first; this affects cylinder choice and spindle length.
- Remove the existing cylinder or faceplate if possible; this gives the most accurate measurements. Keep screws and parts together in a labelled bag.
- Measure backset from leading edge to the lock centre or keyhole centre; repeat and average if surfaces are uneven.
- Measure faceplate height and width and the positions of screw holes; photograph the faceplate and strike plate orientation.
- Measure bolt throw and note the bolt profile; square bolts and roller bolts differ and require specific replacements.
- For euro cylinders measure both ends from the fixing screw to the cylinder ends and note if there is an external thumbturn.
Trade tips and DIY cautions
- Measure twice, order once: incorrect orders cost time and money; for trade jobs allow an extra hour to confirm measurements on site.
- Keep a photographic record and label everything by door; this speeds up ordering and fitting on larger projects.
- For PVCu and aluminium doors use recommended fixings; long screws should not contact glazing or hardware inside the door. Use reinforced fixings for composite doors.
- Avoid forcing a new deadbolt into an old, misaligned frame; you may need to rebate the frame or fit an extended strike plate to ensure the bolt engages properly.
- If the door is part of a fire compartment or covered by insurance requirements, check for required certification and suitability before replacing the lock.
- When unsure, consult a locksmith; for complex multipoint or heritage doors a professional assessment is often quicker and safer.
Ordering replacements and fitting considerations
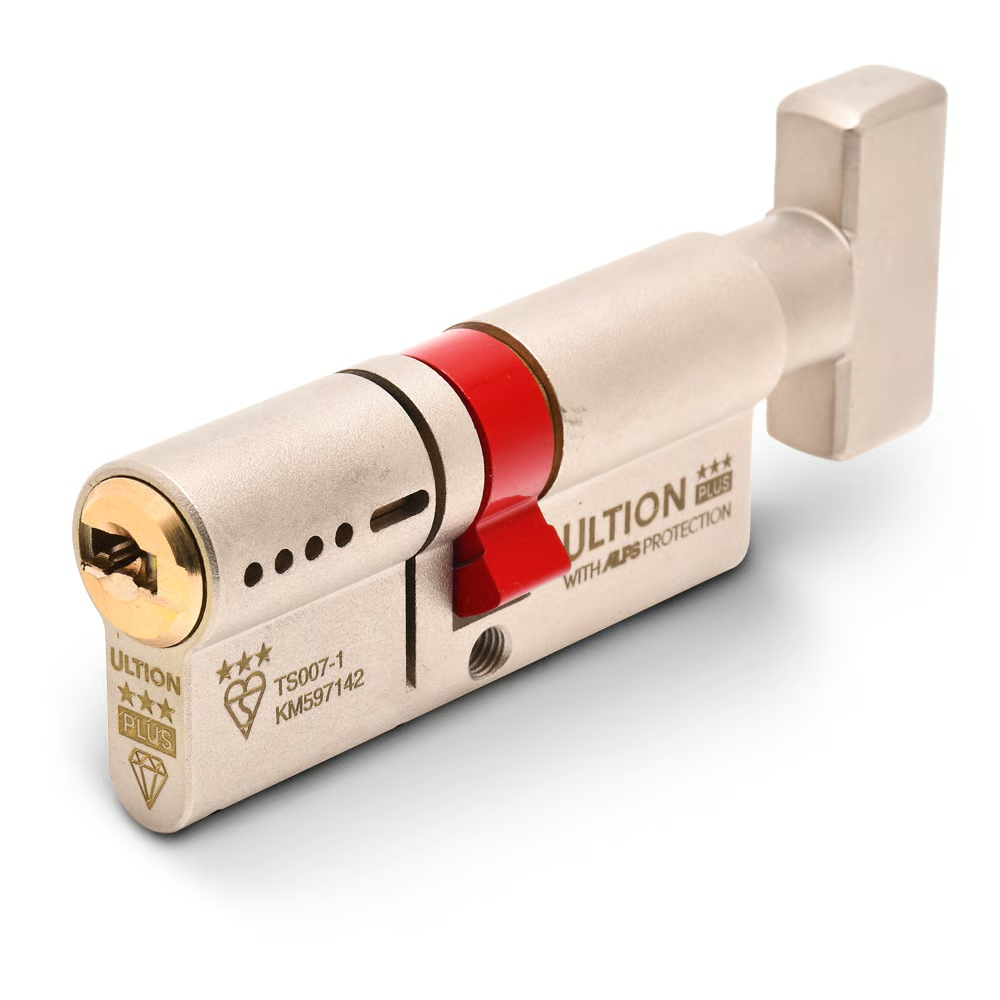
Use the measurements you have taken to select a compatible deadbolt from a reputable supplier. If you are replacing a euro cylinder, match the length and profile and consider high-security options approved to British Standards such as TS007 or BS EN 1303. For mortice deadbolts, ensure the case depth, faceplate and screw centres match or are adaptable with available adapter plates.
On fitting, check alignment by operating the lock several times before finalising screw positions; lubricate moving parts with a dry graphite or specialist lock lubricant rather than oil to avoid attracting dust. For trade installations, adjust the strike plate position if necessary and ensure full engagement of the bolt into the frame at all angles.
Recommended Products
Based on this article, you may find these products helpful:
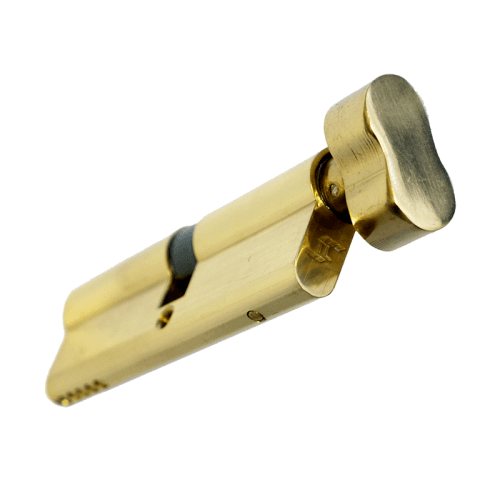
- TL Thumb Turn Euro Cylinder
- Ultion Plus TS007 3* Kitemarked Euro Key & Turn Cylinder
- Multipoint Gearbox GU Old Style
- Structural Glazing Tape - 20mm
- Security Glazing Tape
Conclusion and next steps
Careful measurement is the foundation of a successful deadbolt replacement. Record door thickness, backset, cylinder centres, faceplate and case dimensions and bolt throw; photograph and label parts for clarity. Next steps: use your measurements to order the correct replacement from a trusted supplier; if you are unsure about compatibility or the door is a fire door or part of a multipoint system, arrange professional fitting. For further technical resources and product guides, visit our pillar page: /guides/door-locks or contact our trade desk for specific recommendations.


Related articles
uPVC Door Lock Maintenance: Keep Your Lock Working Smoothly
uPVC Door Lock Maintenance: Keep Your Lock Working Smoothly A well maintained upvc door lock reduces call-outs, keeps a property secure and extends the lif...
Hook Lock Sizes and Compatibility: Matching Your Existing Lock
Hook Lock Sizes and Compatibility: Matching Your Existing Lock Replacing a hook lock can be straightforward if you know what to measure and what to check f...
Replacing Individual Hook Locks vs Full Multipoint Mechanism
Replacing Individual Hook Locks vs Full Multipoint Mechanism Deciding whether to replace a single hook lock or the entire multipoint mechanism is a common ...