Sash Window Lock Installation: Where to Position Locks
Sash Window Lock Installation: Where to Position Locks Positioning a sash window lock correctly makes a real difference to security, weather performance an...
Sash Window Lock Installation: Where to Position Locks
Positioning a sash window lock correctly makes a real difference to security, weather performance and everyday operation. Whether fitting a traditional sash fastener, a keyed sash lock or a restrictor for child safety, correct siting ensures the lock engages reliably, resists forced entry and does not impede escape in an emergency. The following practical advice suits both UK homeowners and trade professionals dealing with timber and PVCu sliding sash systems.
Why correct lock position matters
Locks that are poorly positioned can cause draughts, let the sash rattle, fail to secure the window against levering or jam the sashes so that they will not open when required. A correctly placed sash window lock will:
- Provide robust mechanical engagement between the two sashes or between sash and frame;
- Compress the meeting rails to reduce draughts and water ingress;
- Resist common attack methods such as lifting, levering or thin-jim tools;
- Maintain quick release from the inside for escape and ventilation.
Common types of sash window lock and their usual positions
Understanding how each lock works helps decide where to fit it:
- Sash fasteners (cam or revolving type): normally mounted on the top rail of the lower sash with the keeper on the bottom rail of the upper sash; they pull the sashes together when rotated.
- Keyed sash locks (mortice or surface-mounted): usually installed on the lower rail of the top sash or the upper rail of the bottom sash so the bolt engages into a keep on the opposite sash.
- Sash jammers and sash stops: fitted to the stile near the meeting rail or slightly below; they prevent the lower sash being raised.
- Sash restrictors: mounted at the head of the frame or on the top corner of the lower sash to restrict how far the sash can drop or open.
Best practice placement: detailed guidance
Follow these placement principles for a secure, weather-tight installation.
- Meet the rail: Fit locking mechanisms at the meeting rail where the two sashes come together; this gives maximum mechanical advantage and compression.
- Centreline alignment: Ensure the lock and keeper align on the same centreline so cams and bolts engage fully; misalignment reduces holding force.
- Screw into structural timber: Position screws to bite into the stile or rail timber rather than into mouldings, veneers or thin sections; use longer screws where necessary to reach solid timber.
- Away from glazing beads: Avoid fixing through glazing beads or within a few millimetres of the glazing bead face; screws in these areas can split beads or foul the glass rebate.
- Accessibility and escape: Fit locks so they are easy to operate from the inside without a key for day-to-day ventilation; if using keyed locks, consider a non-keyed option for primary escape windows.
- Child-safe restrictors: Mount restrictors at the top corners or head and set the opening limit to a comfortable ventilation gap; restrictor cable length is adjustable on many models.
Installation tips and trade advice
These practical steps save time on site and improve the finished installation.
- Mark and set out: Close the sashes and mark the meeting point with a pencil; operate the window to check movement and position the lock so it engages when fully closed.
- Pilot holes and countersinks: Always pilot drill for screws to avoid splitting, especially near ends of rails and thin stiles; countersink where required so the screw head sits flush.
- Screw choice: Use corrosion-resistant screws; for exterior applications choose stainless steel or coated carbon steel screws of adequate length to penetrate at least 20mm into solid timber.
- Packers and packing: If sashes do not compress evenly, use thin nylon or timber packers behind keeps to achieve even contact; then tighten screws to clamp the packer in place.
- Beware of weights and cords: On box-sash windows do not drill into weight pockets or through the sash where cords run; check drop-in points with a small bore inspection hole if unsure.
- Reinforcement for weak timber: Where timber is rotten or very thin, reinforce with a small timber block or fit a surface-mounted keep on a stronger part of the frame.
- Security upgrades: Combine a sash window lock with a sash jammer fitted lower on the stile for anti-lift protection; two methods working together improve resistance to forced entry.
DIY checklist and measurement steps
Follow this simple sequence on domestic installs to avoid common mistakes.
- Check window operation: Ensure sashes run freely and balance weights or springs function correctly; adjust before fitting locks.
- Close and mark: Close both sashes and mark meeting rail centre and lock position; measure the distance from the corner to repeat at opposite side if fitting multiple locks.
- Pilot and test fit: Pilot the screw holes and temporarily fit the lock; operate several times to check smooth engagement and compression.
- Final fix: Fully tighten screws, check alignment, and ensure the sash can still be opened easily from inside.
- Label keyed locks: If keys are used, keep a labelled spare in a safe place; advise householders where to store spares for emergencies.
Maintenance and adjustments
Lock performance can drift with seasonal movement in timber; a short maintenance routine keeps locks effective:
- Check operation: Test locks and restrictors every six months; look for play in screws and loosen any that have worked free.
- Lubrication: Use a light graphite or silicone spray on moving parts; avoid heavy grease which attracts dirt.
- Re-tighten and replace screws: Replace corroded screws with stainless steel and re-tighten periodically to maintain compression.
- Replace worn keeps: If keep plates are distorted or the cam slips, fit new keeps or rebated plates to restore full engagement.
Further reading and regulatory considerations
For more information about types of window locks and restrictors consult our pillar page on window locks and restrictors: /guides/window-locks-restrictors. Consider PAS 24 and relevant building regulations when fitting locks to doors and critical escape windows; locks should not prevent a quick exit from an occupied room in an emergency.
Recommended Products
Based on this article, you may find these products helpful:
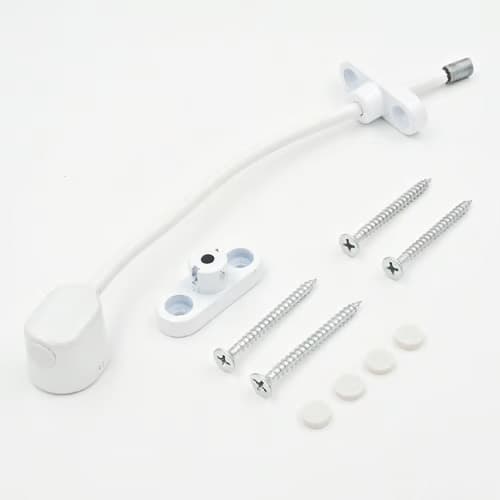
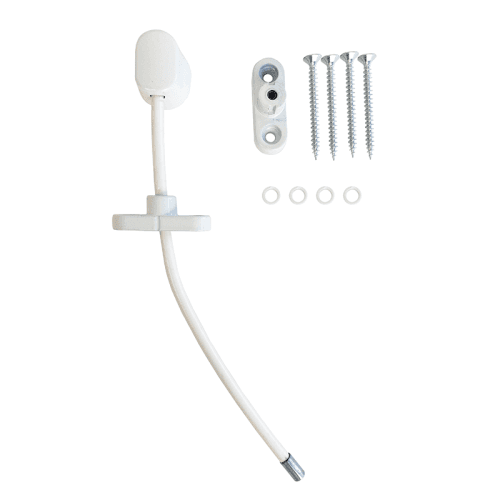
- UAP Keyless Window Restrictor
- TSS Keyless Cable Window Restrictor
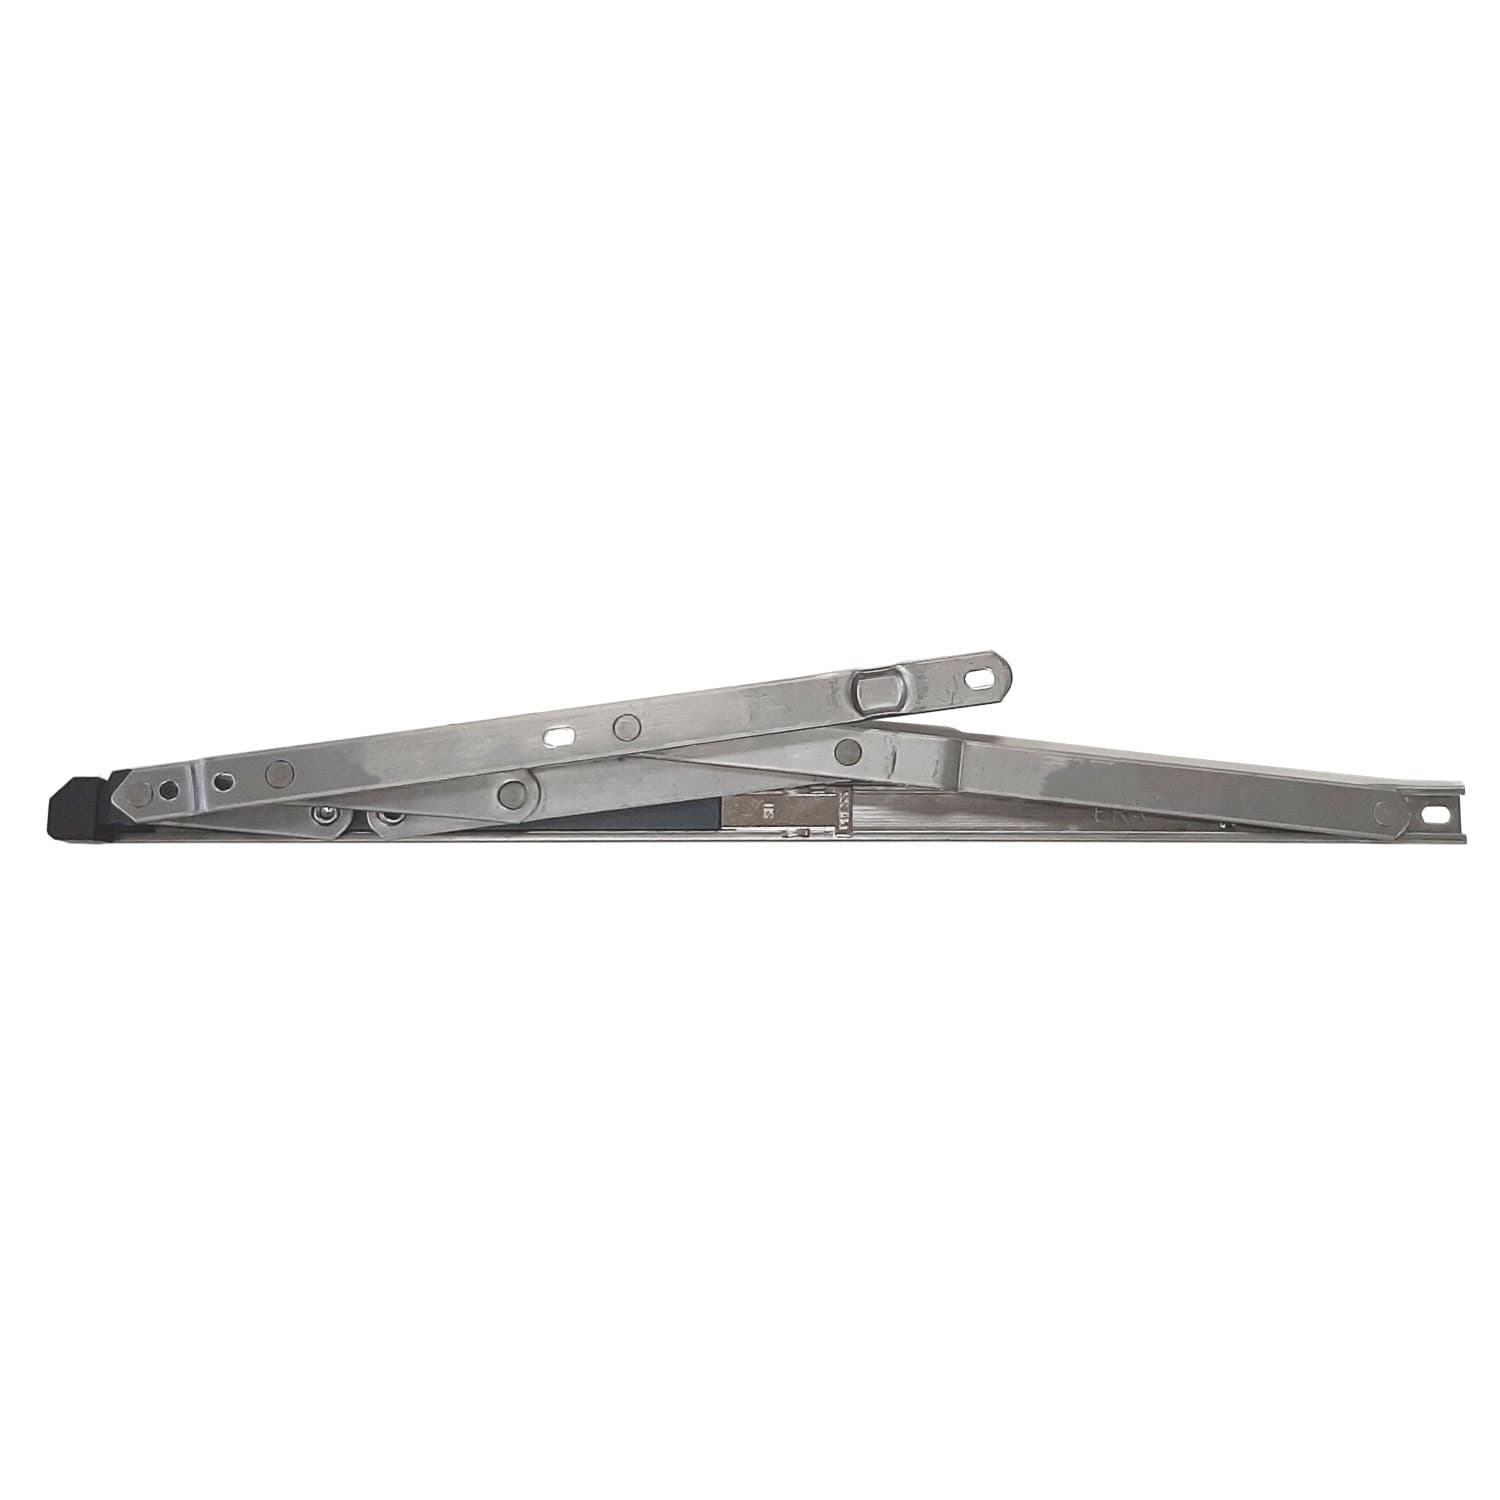
- Restricted Friction Stay Hinges
- ERAB Espagnolette Window Lock Universal Lock Replacement
- In-Line Window Mechanism
Conclusion and next steps
Correct placement of a sash window lock improves security, reduces draughts and keeps windows easy to use. Position locks at the meeting rail, align the lock and keep on the same centreline, screw into solid timber and allow for escape requirements. For a straightforward domestic job follow the checklist above; for rotten frames or complex heritage sashes consult a specialist joiner or a professional installer to ensure conservation-friendly methods.
Next steps: choose the correct sash window lock for your window type, prepare a small toolkit with pilot drill bits and stainless screws, and if in doubt contact a local trade specialist for a site survey.

Related articles
Window Restrictors
What Is a Cable Window Restrictor? How They Work
What Is a Cable Window Restrictor? How They Work A cable window restrictor is a simple mechanical device fitted to a window to limit how far it can open. I...
Cable Window Restrictor Safety Features Explained
Cable Window Restrictor Safety Features Explained What a cable window restrictor does and where it is used A cable window restrictor is a safety device fit...