Cable Window Restrictor Installation for Landlords
Cable Window Restrictor Installation for Landlords Why landlords should specify a cable window restrictor Cable window restrictors are a practical, low-pro...
Cable Window Restrictor Installation for Landlords
Why landlords should specify a cable window restrictor
Cable window restrictors are a practical, low-profile safety device that limit how far a window can open. For landlords they reduce the risk of falls; they are particularly relevant in properties with children, vulnerable tenants or windows above ground floor level. A correctly specified cable window restrictor can be unobtrusive, robust and simple to maintain. It will also demonstrate a landlord's duty of care under housing safety responsibilities; however, restrictors must not prevent emergency escape. Use this information to select, fit and maintain restrictors suitable for rented accommodation.
Selecting the right product
When choosing a cable window restrictor consider the following factors:
- Maximum opening: restrictors are rated to limit sash travel to fixed distances such as 100mm, 150mm or 200mm; for child safety many authorities recommend a smaller opening such as 100mm.
- Release type: options include keyed, tool-release and quick-release push-button models. For windows that form part of an escape route select a quick-release or ensure tenants have immediate access to keys and clear instructions.
- Material and corrosion resistance: select stainless steel cables and housings for coastal or high-humidity locations; some units are zinc plated which may corrode more quickly.
- Fixing method: some restrictors are screw-fixed for timber and PVCu frames while others are riveted or use through-bolts for aluminium or metal frames. Choose a fix suitable for the substrate.
- Certifications and performance: check manufacturer load ratings and any relevant standards; ensure the product is intended for window restrictor use rather than as a generic tether.
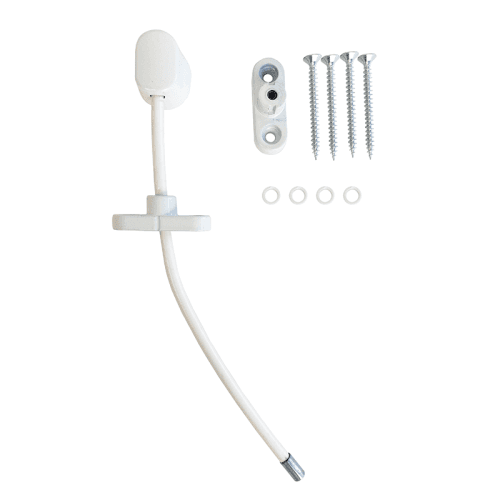
Tools and materials you will need
Prepare the following before you start:
- Drill and appropriate drill bits (wood, masonry, metal); pilot bits for screws and metal bits for rivets
- Screwdrivers and/or impact driver; rivet gun if using pop rivets
- Tape measure, pencil and a small spirit level
- Masking tape to protect PVCu profiles while marking and drilling
- Appropriate fixings: stainless steel screws for timber and PVCu; self-drilling or rivet fixings for aluminium or thin metal frames; wall plugs and longer screws if fixing to masonry reveal
- Safety kit: eye protection and dust mask for drilling, plus gloves if handling cables
Practical installation steps
These are general steps that apply to most screw-fixed cable window restrictors. Always read and follow the manufacturer’s instructions for the specific model you use.
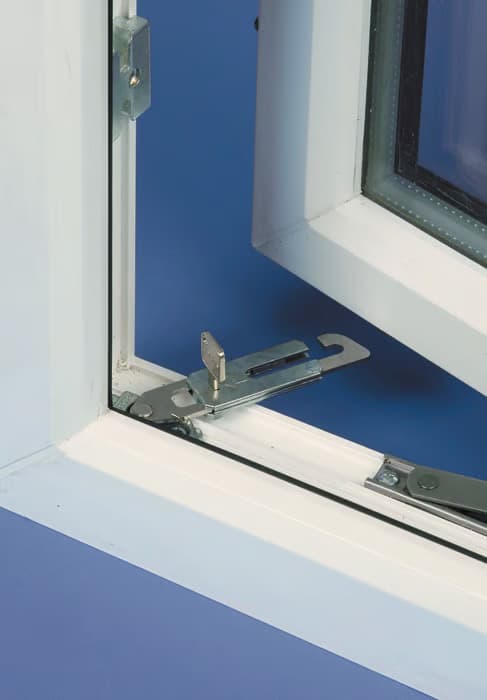
- Inspect the window: check whether the restrictor will be fixed to the sash and frame or to the frame and reveal. Note the location of internal reinforcing in PVCu frames; avoid drilling into seals or glazing beads.
- Decide the working position: the usual arrangement is to mount the cable end on the sash and the body on the frame; this ensures the cable tightens when the sash is opened. Mount so the cable does not foul the handle or hinges.
- Mark and measure: open the window to the intended maximum opening and mark the desired fixing points. Use masking tape to prevent scratching and a pencil to mark pilot hole positions. Ensure symmetry where multiple windows are being installed.
- Drill pilot holes: use an appropriately sized pilot bit for timber or PVCu; for thin metal frames use a metal drill bit and consider a centre punch to prevent wandering. For masonry reveals use the correct diameter and depth for the wall plug specified.
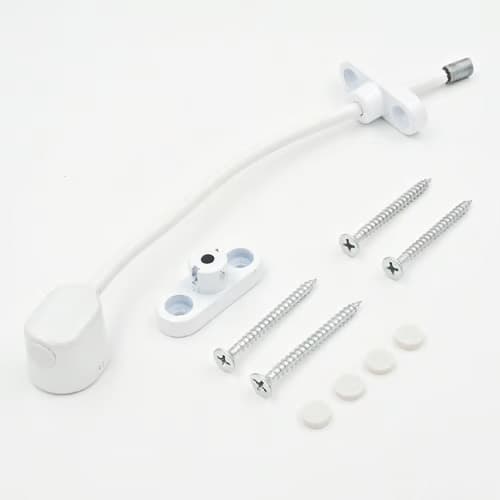
- Fix the units: fit the restrictor body to the frame and the cable end to the sash or reveal using the recommended screws or rivets. For PVCu use stainless steel screws of a length that engages the internal reinforcement; avoid overtightening which can deform the profile.
- Set the cable length: some restrictors are pre-set; others have adjustable stops. Check the maximum opening matches your design intent and lock off any adjustable collar per instructions.
- Test operation: open and close the window several times to check smooth movement, correct limiting and that the release mechanism functions. Confirm that the restrictor does not impede emergency egress when the release is operated.
Technical tips for different frame types
- PVCu frames: locate and screw into the steel reinforcement where possible; if this cannot be achieved consult the frame manufacturer. Use short, corrosion-resistant screws and avoid drilling through gaskets or glazing beads.
- Timber frames: pilot drill to avoid timber splitting; for softwood 25mm screw penetration is usually sufficient; for hardwood increase pilot hole size and use appropriate coated screws.
- Aluminium frames: use pop rivets or self-tapping aluminium screws; where frames are too thin to take screws consider fitting a small timber or aluminium backing plate in the reveal to accept fixings.
- Masonry reveals: if one fixing is into brick or block ensure the anchor is load-rated; use a suitable wall plug and countersink the screw head or seat a plate so the fixings sit flush.
Safety, compliance and tenant considerations
Cable window restrictors are a safety device; they must not obstruct escape in a fire. For windows that provide means of escape consider quick-release models or ensure tenants have unrestricted access to keys and training on their operation. Keep records of products installed and the locations; this supports property inspections and HHSRS compliance.
Regularly inspect restrictors as part of routine property checks: cables should be intact with no fraying, fixings should be tight and mechanisms must release smoothly. If a restrictor is damaged replace it immediately; do not temporarily secure a window with generic cord or makeshift tethers.
Maintenance and servicing
Establish a simple maintenance routine for each property:
- Quarterly visual checks and an annual operational test; more frequent checks for high-use windows.
- Lubricate moving parts with a light machine oil where recommended; avoid oiling plastic components unless specified.
- Record inspections and any replacements in your maintenance log; retain manufacturer documentation and fitting certificates where supplied.
- Replace any restrictor where the cable has kinks, corrosion or significant wear; replace using an identical performance product where possible.
Where to find compliant products
Choose restrictors from reputable suppliers and consider products recommended for the rental sector. For additional information on window locks and restrictors see our wider resources page at /c/windows-restrictors.
Recommended Products
Based on this article, you may find these products helpful:
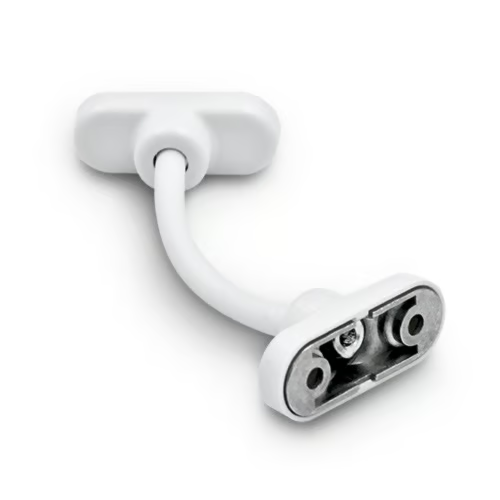
- UAP Keyless Window Restrictor
- TSS Keyless Cable Window Restrictor
- TSS Fixed Cable Window Restrictor
- RES Lock Concealed Window Restricto
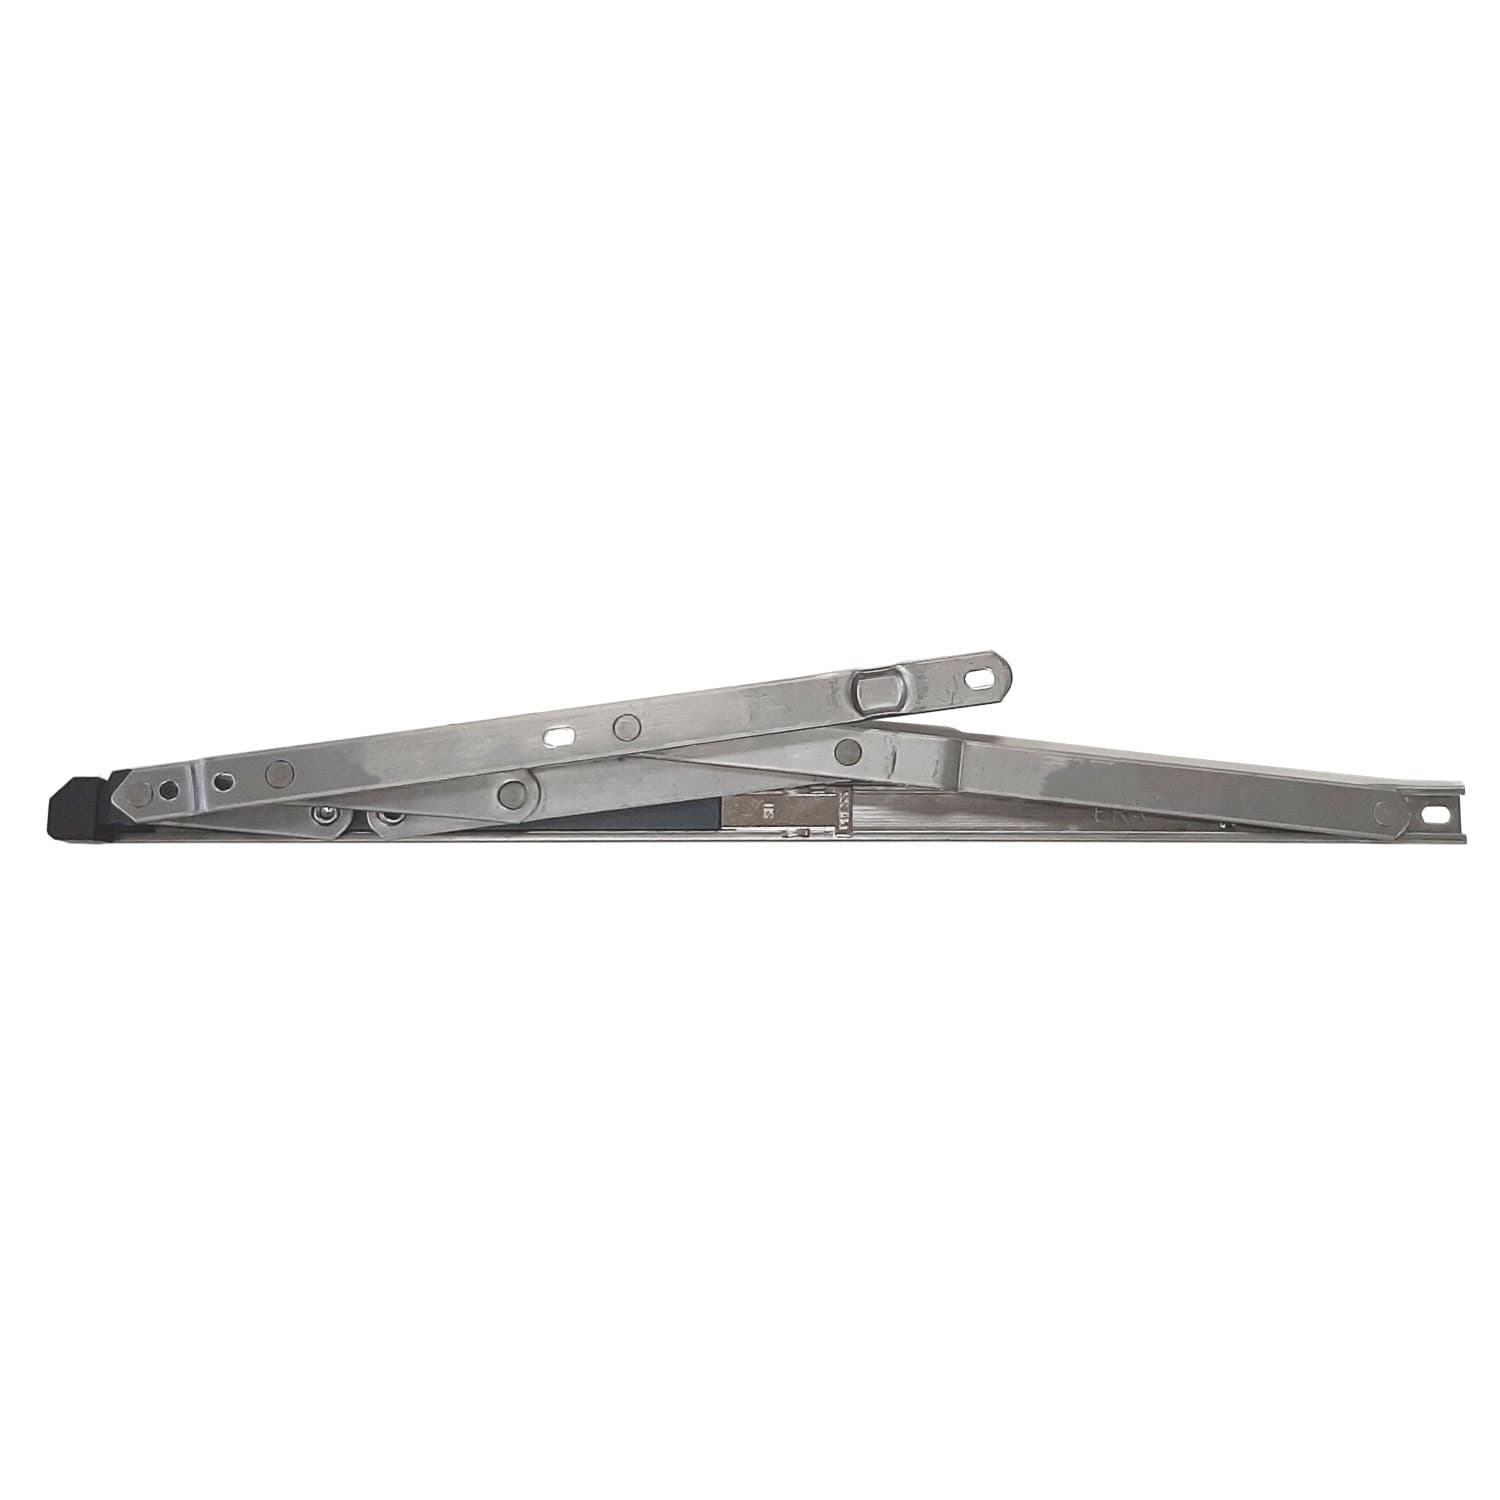
- Restricted Friction Stay Hinges
Conclusion and next steps
Installing a cable window restrictor is a practical way for landlords to improve tenant safety while keeping windows usable. Prioritise the correct product choice, use appropriate fixings for the frame type and ensure the restrictor allows safe escape where necessary. Next steps: survey your properties to identify windows that need restrictors, select suitable quick-release or keyed units per escape requirements, and schedule installation and routine checks. If you are unsure about frame reinforcement or escape compliance consult a qualified window fitter or building safety specialist.
Related articles
Window Restrictors
What Is a Cable Window Restrictor? How They Work
What Is a Cable Window Restrictor? How They Work A cable window restrictor is a simple mechanical device fitted to a window to limit how far it can open. I...
Cable Window Restrictor Safety Features Explained
Cable Window Restrictor Safety Features Explained What a cable window restrictor does and where it is used A cable window restrictor is a safety device fit...