
Cable Window Restrictor Length Options: 100mm to 200mm
Cable Window Restrictor Length Options: 100mm to 200mm Cable window restrictors are a simple, effective solution to limit how far a window will open; they ...
Cable Window Restrictor Length Options: 100mm to 200mm
Cable window restrictors are a simple, effective solution to limit how far a window will open; they protect children and prevent accidental falls while still allowing ventilation and emergency egress where required. Choosing the correct length is a key decision for both homeowners and trade professionals; this post covers the common 100mm, 150mm and 200mm lengths, how to measure for the right option, fitting tips for different frame materials and practical maintenance advice.
What is a cable window restrictor?
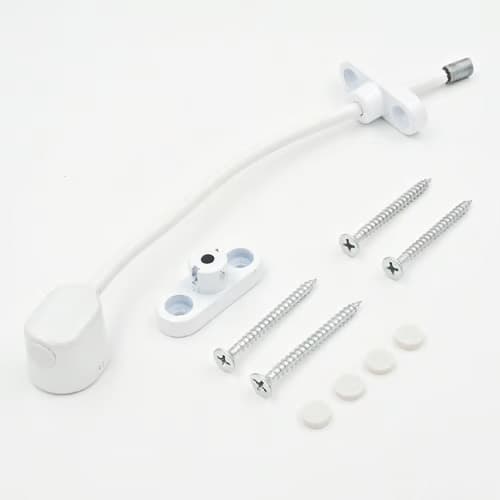
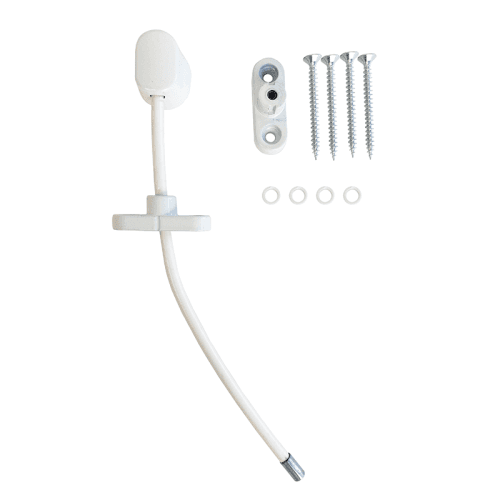
A cable window restrictor is a small mechanical device mounted to a window sash and the surrounding frame; a steel cable links the two fixings and prevents the sash from opening beyond a set distance. Many models are available with fixed length cables, keyed releases, or quick-release functions suitable for emergency escape windows. Cable restrictors are widely used on casement, top-hung, tilt-and-turn and some roof windows because they are unobtrusive and compatible with different window profiles.
Why length matters
The length of the cable determines the maximum gap between the sash and the frame when the window is opened. Choosing the right length balances ventilation needs, safety requirements and escape considerations. A shorter length gives a smaller opening and higher safety; a longer length gives more airflow and may be needed for access during cleaning or as part of an escape route. Fitters should always consider the intended use of the room and any local regulations or guidance for child safety or means of escape.
Length options: 100mm, 150mm, 200mm
- 100mm: Often chosen for child-safety applications where the objective is to limit the opening to a small gap. This length is suitable for rooms where ventilation is required but where a minimal opening is preferred to reduce the risk of falls.
- 150mm: A popular compromise length that provides reasonable ventilation while keeping the opening restricted. It is frequently specified in shared family living areas or bedrooms where a slightly larger gap is acceptable.
- 200mm: Used where more access or ventilation is required, including some kitchen and utility windows. Where 200mm is selected, ensure the window remains appropriate for the intended escape route and that other safety measures are in place if small children are present.
Choosing the correct length: measuring and placement
Follow these practical steps to pick the right cable window restrictor length:
- Measure the sash travel: Open the window to the desired maximum opening and measure the distance between the mounting face of the frame and the sash fixing position; this is the working length the cable must allow.
- Consider the fixation points: Mount the fixed end to the frame and the moving end to the sash; measure between the likely screw centres rather than between the visible edges to account for real-world positions.
- Allow for working tolerance: Choose a cable length that equals the measured opening or is up to about 10mm longer where a small slack is acceptable; avoid a cable that is too tight as this will stress fittings and can distort the window action.
- Account for window type: For top-hung and awning windows the geometry differs from side-hung casements; double-check opening arcs so the restrictor does not bind or interfere with handles.
- Escape windows: If the window also provides emergency escape, ensure the selected restrictor has a quick-release or keyed release compliant with escape requirements; check manufacturer notes and building regulations where applicable.
Fitting and practical trade tips
Good practice during installation helps ensure longevity and safety. Common trade and DIY tips include:
- Use the right fixings: For uPVC frames use the screws supplied by the window manufacturer or those specified for uPVC; for timber pre-drill pilot holes and use countersunk screws; for masonry or plasterboard surrounds use appropriate wall plugs or coach screws into timber subframes.
- Positioning: Fit the restrictor as close to the corner of the sash as practical to reduce lever action on the fixings. This reduces stress on the screws and improves performance.
- Torque and alignment: Hand-tighten screws to seat the plate then torque up lightly; over-tightening can deform uPVC and aluminium sections. Ensure plates are aligned so the cable runs straight without rubbing on seals or paintwork.
- Handle interference: Confirm that the restrictor and its cable do not foul the window handle or gearing on tilt-and-turn units. Move the handle through its full operation during a trial fit.
- Testing: After fitting, open and close the window through its full travel several times. Test the restrictor under normal operating load and confirm any quick-release works easily if fitted.
- Trade efficiency: When fitting multiple restrictors on site, prepare a simple jig or template to mark screw positions quickly and consistently; this saves time and ensures uniform positioning across lots of windows.
Compatibility and safety considerations
Not every cable restrictor suits every window. Check the product specification for:
- Recommended frame materials and fixing instructions;
- Maximum safe working load and any test standards cited by the manufacturer;
- Whether the unit has a keyed or quick-release option for escape windows;
- Corrosion-resistant finishes if the window is in a coastal environment.
If in doubt about compliance with local building regulations or specific escape requirements, consult the manufacturer documentation or a qualified window installer. For rented properties, landlords should ensure fittings meet safety obligations and keep records of installation and maintenance.
Maintenance and inspection
Routine checks prolong life and maintain safety: inspect restrictors annually for frayed cable, corrosion, loose fixings and smooth operation. Replace any unit with visible damage; do not attempt to repair a frayed cable. Lubricate moving parts sparingly with a light machine oil if recommended by the manufacturer. Keep a record of inspections for trade customers and landlords.
Recommended Products
Based on this article, you may find these products helpful:
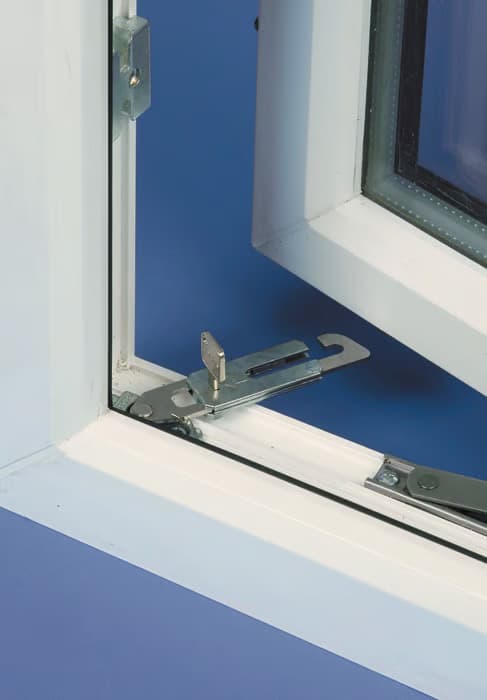
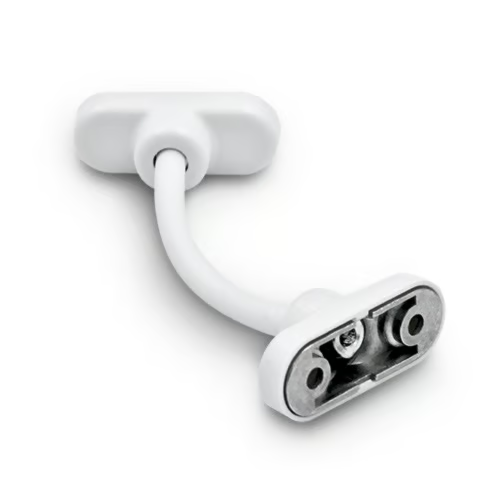
- UAP Keyless Window Restrictor
- TSS Keyless Cable Window Restrictor
- TSS Fixed Cable Window Restrictor
- RES Lock Concealed Window Restricto
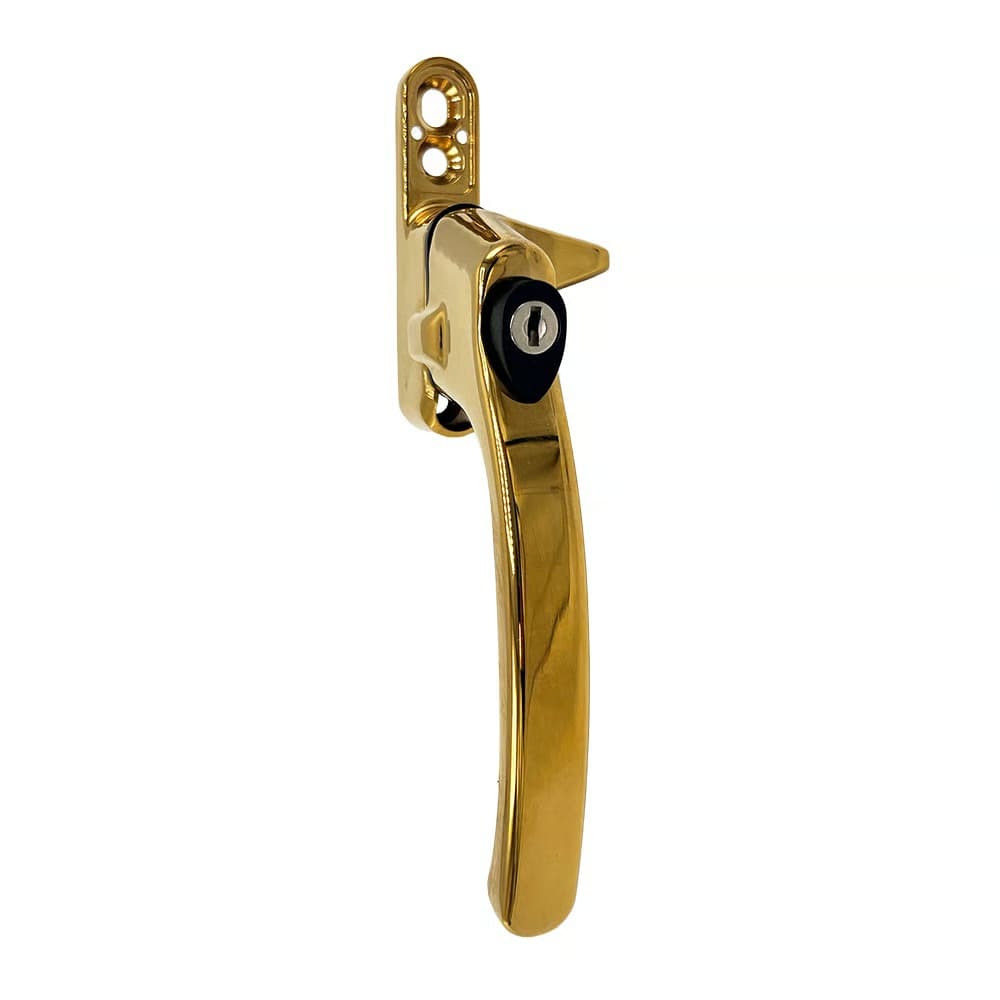
- TSS Cockspur Window Handles
Conclusion and next steps
Cable window restrictors in lengths from 100mm to 200mm provide flexible options for balancing safety and ventilation. Choose the length based on the required opening, window geometry and whether the window must serve as an escape. For trade customers: standardise your preferred length and fixing method to speed site work; for DIY homeowners: measure carefully, use the correct fixings and seek professional help for escape-critical fittings.
Ready to specify restrictors for a job or home? Visit our technical pillar page for window locks and restrictors at /guides/window-locks-restrictors for product ranges, datasheets and fitting templates, or contact Window Hardware Store for trade pricing and advice.
Related articles
Window Restrictors
What Is a Cable Window Restrictor? How They Work
What Is a Cable Window Restrictor? How They Work A cable window restrictor is a simple mechanical device fitted to a window to limit how far it can open. I...
Cable Window Restrictor Safety Features Explained
Cable Window Restrictor Safety Features Explained What a cable window restrictor does and where it is used A cable window restrictor is a safety device fit...