Cable Window Restrictor vs Rigid Restrictor: Comparison
Cable Window Restrictor vs Rigid Restrictor: Comparison Overview The choice between a cable window restrictor and a rigid restrictor is a frequent decision...
Cable Window Restrictor vs Rigid Restrictor: Comparison
Overview
The choice between a cable window restrictor and a rigid restrictor is a frequent decision for installers, building managers and homeowners. Both systems limit how far a window opens to improve child safety, fall prevention and security. This post compares their performance, suitability, installation and maintenance so you can specify or fit the correct product for the job. For further background on window locks and restrictors see our pillar guidance at /c/windows-restrictors.
How each restrictor works
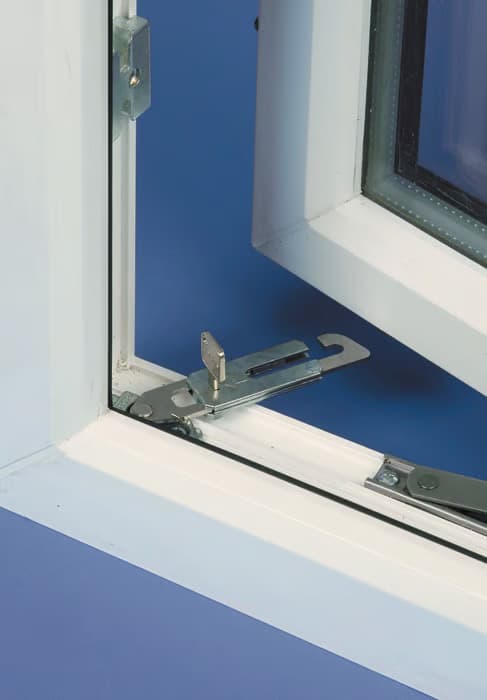
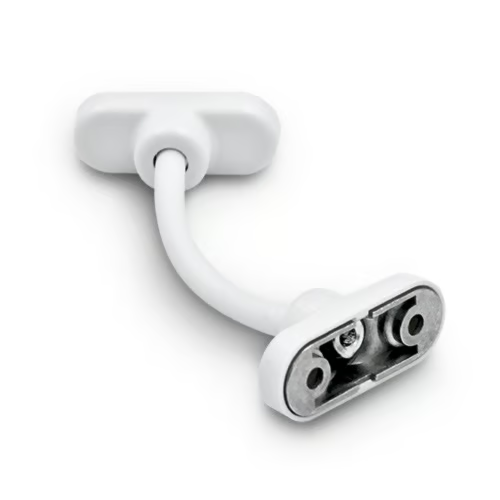
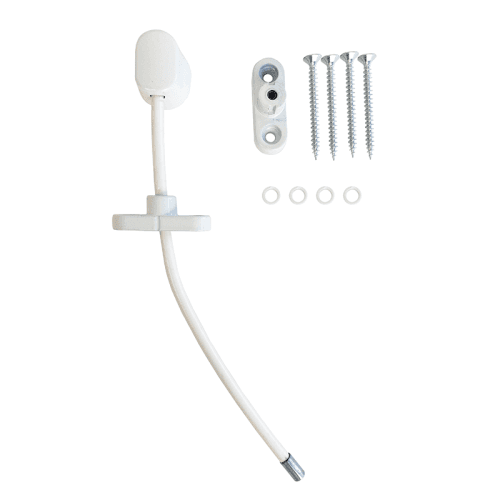
A cable window restrictor uses a stainless steel or coated steel cable anchored to the frame and sash. The cable can be sleeved, braided or single strand and usually connects to a locking mechanism or quick-release unit. A rigid restrictor is a fixed arm or bar, typically steel, aluminium or zinc plated; it locates in a keeper and prevents the sash moving past a set angle.
Performance comparison: pros and cons
- Strength and security: Rigid restrictors generally resist lateral loads better and are harder to deform by pushing. Cable restrictors are robust in tension; however, a cable can be cut more easily than a solid arm. For high security locations consider rigid arms or a cable restrictor with protected fixings and stainless steel core.
- Aesthetics: Cable window restrictor installations are usually less obtrusive and sit closer to the frame; they suit modern profiles and slim sightlines. Rigid arms are more visible and may affect the appearance of timber or heritage windows.
- Flexibility and use: Cable restrictors allow some lateral movement while preventing full opening; they are useful where sash alignment varies. Rigid restrictors give a precise stop and are favoured where the opening position must be fixed for ventilation or access control.
- Escape and emergency: For escape windows, quick-release cable restrictors can be unlocked from the inside without a key; rigid restrictors can also be fitted with a quick-release catch or tool-operated release. Ensure the chosen device complies with fire safety requirements such as Approved Document B and does not obstruct means of escape.
- Durability and maintenance: Rigid arms are less likely to suffer fraying or wear; cable restrictors require periodic inspection for corrosion or abrasion, especially in coastal environments. Stainless steel cable and coatings significantly increase service life.
- Cost: Cable restrictors are often cheaper and simpler to fit; rigid restrictors cost slightly more and can take longer to install if precise alignment is required.
Selecting the right product for the job
Consider the following before specifying or fitting a restrictor:
- Window type: uPVC, timber, aluminium and metal frames have different fixing requirements. uPVC often needs fixing into steel reinforcement or the use of frame plates; aluminium may require rivets or tapped inserts.
- Intended use: child safety in a domestic setting, commercial anti-intruder measures or fire-escape windows will determine whether a quick-release mechanism and what level of strength is necessary.
- Opening restriction: for child safety aim for a maximum opening gap of 100mm or less where reasonably practicable. For ventilation a larger preset opening may be specified.
- Environment: coastal or industrial locations need stainless or marine-grade materials to avoid corrosion.
- Access for cleaning and maintenance: cable restrictors often allow easier cleaning access; rigid restrictors may need removal for sash cleaning in some designs.
Practical trade advice
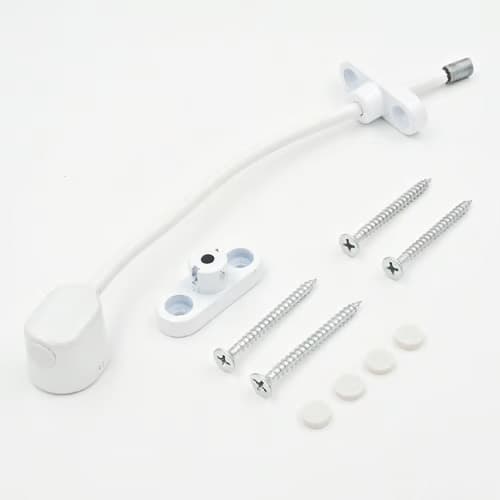
- Always check the substrate before fixing: select screw type and length to engage into timber, steel reinforcement or masonry behind the frame. For uPVC avoid excessively long screws that could damage frames; where possible fix into integrated reinforcement.
- Use security or anti-tamper screws on external-facing fixings to reduce unauthorised removal. Tamper-proof screws help on communal areas and commercial premises.
- For commercial or social housing projects record which windows have restrictors fitted and whether they are keyed or quick-release; this is useful for compliance and future servicing.
- When specifying for escape routes consult the responsible person for fire safety; ensure any restrictor allows easy egress or has an approved emergency release method.
- Order trial samples when matching aesthetics or testing fit on unique profiles; this avoids returns and site delays.
DIY installation guidance
These are general steps for a competent DIYer or tradesperson. Always follow the manufacturer instructions supplied with the product and use appropriate PPE.
- Measure and mark: decide the required gap and mark the frame and sash positions. For cable restrictors mount the base close to the hinge side so the cable limits opening angle; for rigid restrictors set the arm length so the sash stops at the desired distance.
- Pilot holes: drill pilot holes suitable for the screw type and frame material. For timber use appropriate timber screws; for aluminium use self-tapping screws or rivets; for uPVC ensure screws hit internal reinforcement.
- Fit and test: attach the fixed plate and the sash plate, tighten screws without over-torquing. Test the operation several times to ensure the stop is correct and the sash closes and seals properly.
- Quick-release testing: if the restrictor includes a quick-release, test it to ensure it can be operated easily from the inside without tools where escape is a requirement.
- Seal and finish: reinstall any trims and ensure no fixings penetrate glazing. Use suitable cleaners and slight silicone where needed to prevent water ingress into screw holes.
Maintenance and testing
Regular inspection will keep restrictors working safely:
- Monthly visual checks for corrosion, fraying cable strands or bent arms.
- Operate the restrictor at least twice a year to ensure smooth function; lubricate pivots with a light machine oil where recommended.
- Tighten fixings if they have worked loose; replace cables that show damage and replace rigid arms that are bent or cracked.
- For commercial properties keep service records; for landlords consider annual checks as part of scheduled maintenance.
Recommended Products
Based on this article, you may find these products helpful:
- UAP Keyless Window Restrictor
- TSS Keyless Cable Window Restrictor
- TSS Fixed Cable Window Restrictor
- RES Lock Concealed Window Restricto
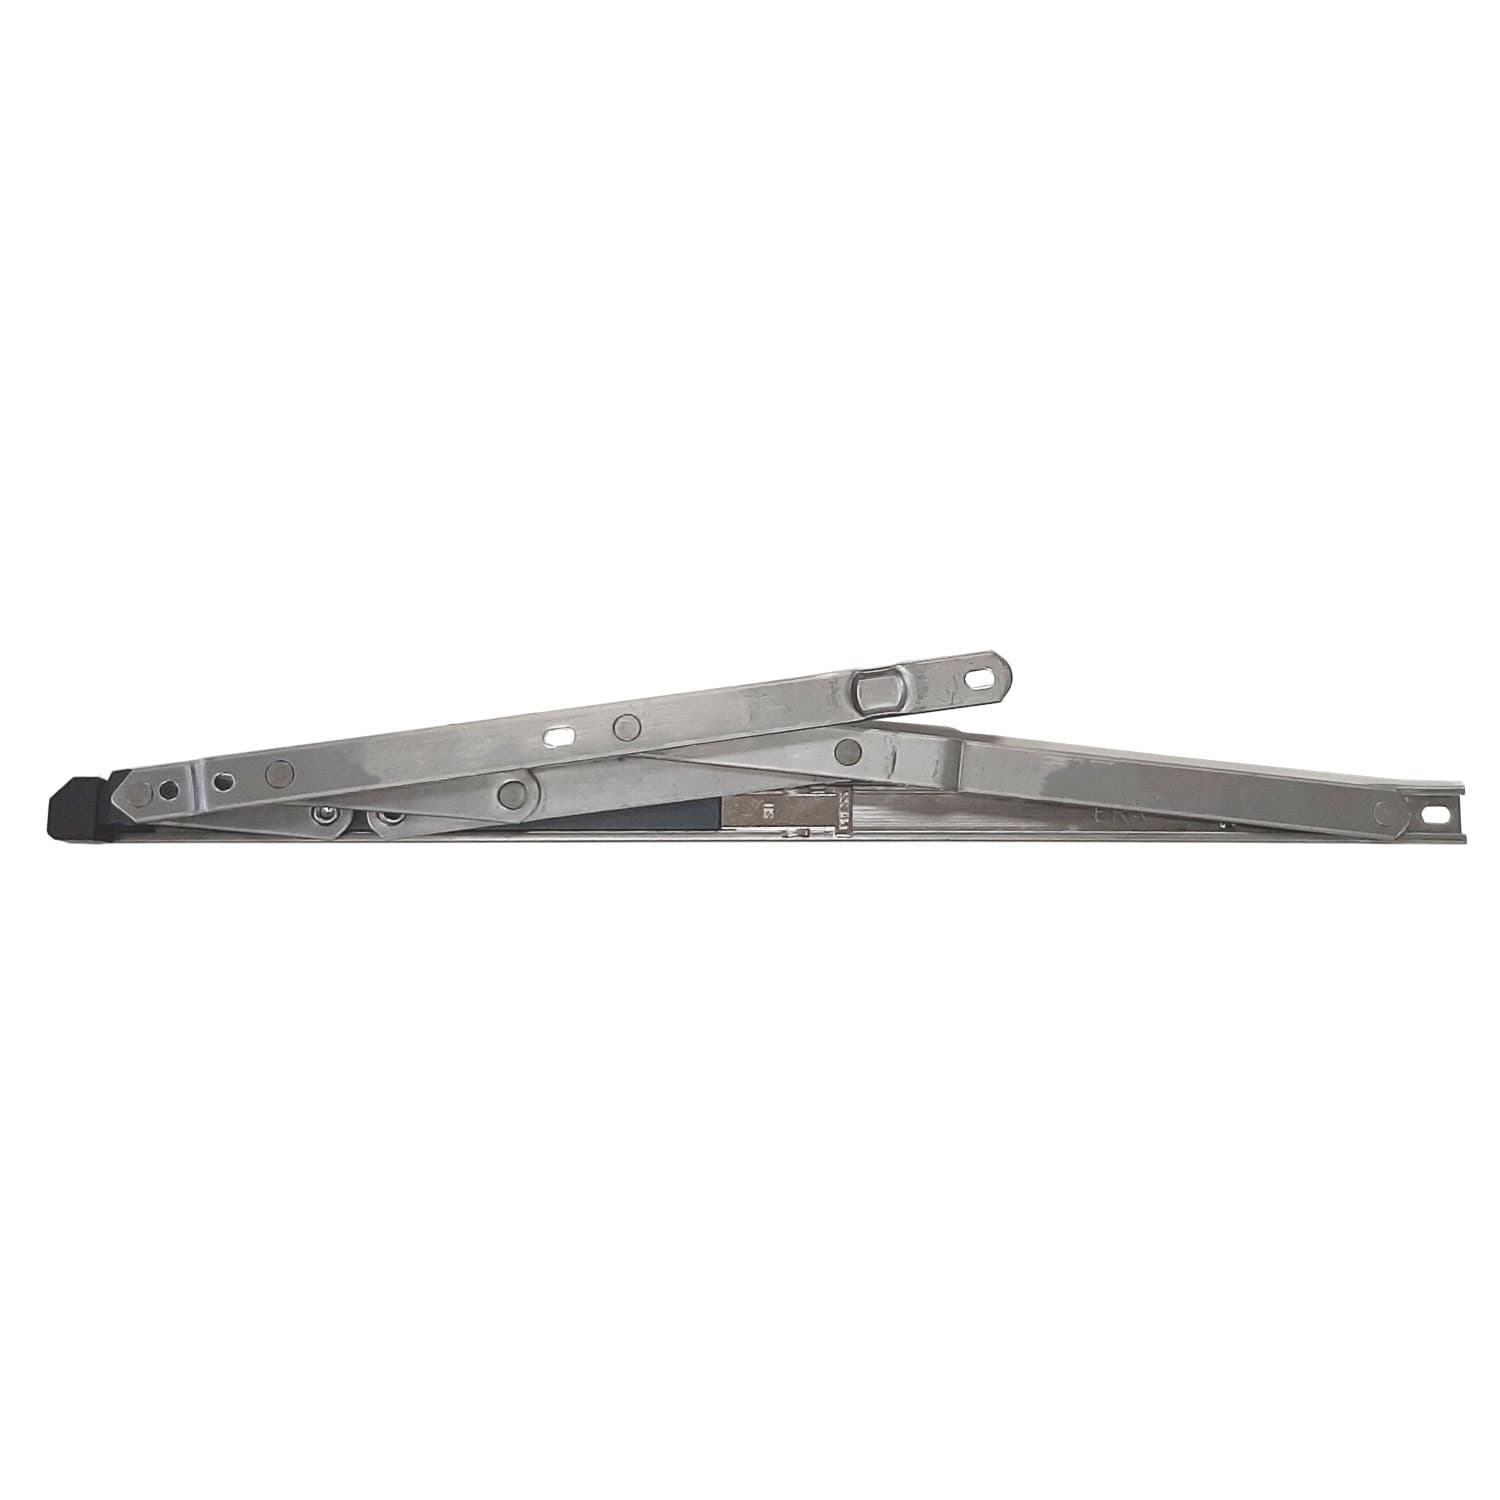
- Restricted Friction Stay Hinges
Conclusion and next steps
Both cable window restrictor and rigid restrictor types have valid uses: cables suit discreet installations and minor movement, while rigid arms provide a sturdy, exact stop. Choose based on window material, security needs, escape requirements and aesthetics. For any install consult the restrictor manufacturer’s instructions and check fire-safety obligations where escape may be necessary.
Next steps: survey the windows you need to protect, note frame material and desired opening limit, then contact your supplier for suitable restrictor options and fixings. If unsure about escape compliance or structural fixings, engage a qualified installer or joinery specialist to ensure a safe and lasting installation.
Related articles
Window Restrictors
What Is a Cable Window Restrictor? How They Work
What Is a Cable Window Restrictor? How They Work A cable window restrictor is a simple mechanical device fitted to a window to limit how far it can open. I...
Cable Window Restrictor Safety Features Explained
Cable Window Restrictor Safety Features Explained What a cable window restrictor does and where it is used A cable window restrictor is a safety device fit...