How Far Do Cable Window Restrictors Allow Windows to Open?
How Far Do Cable Window Restrictors Allow Windows to Open? Cable window restrictor products are a simple way to limit how far a window can open for child s...
How Far Do Cable Window Restrictors Allow Windows to Open?
Cable window restrictor products are a simple way to limit how far a window can open for child safety, ventilation control and security. Whether you are a tradesperson fitting restrictors on multiple properties or a homeowner fitting one yourself, understanding the opening distances, types available and correct installation practice is essential to get the balance right between safety, escape requirements and everyday use.
How cable window restrictors limit openings
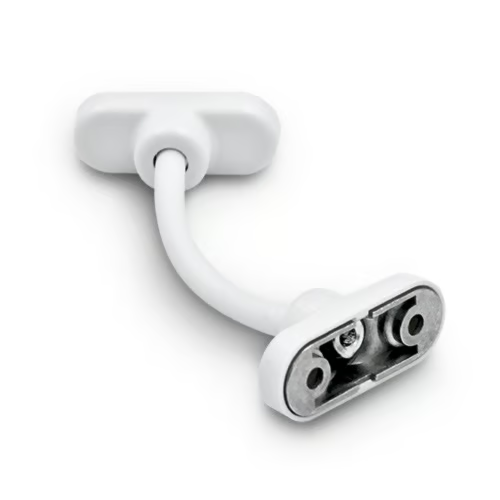
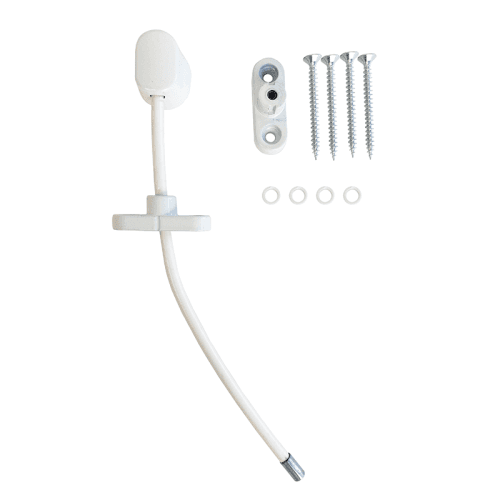
A cable window restrictor is a length of steel cable with fixing points at the frame and sash; the cable stops the sash from travelling beyond its set length. Some designs are fixed length, others are adjustable; there are also quick-release variants and keyed or padlocked types for higher security. For casement windows the restrictor limits the outwards swing of the sash; for vertical sliding windows it limits the travel distance; for tilt-and-turn styles it usually controls the amount the sash can tilt or open inward.
Typical opening distances
Common maximum opening distances offered by cable restrictors are small increments, typically: 55mm, 100mm, 125mm and 150mm. These sizes respond to specific needs:
- 55mm to 75mm: mainly used where very small ventilation gaps are required or on windows at a high risk to young children.
- 100mm: the most popular choice for child safety; many product recommendations target approximately 100mm because a 100mm gap is generally too small for a young child to pass through.
- 125mm to 150mm: used where additional ventilation is required or where occupants need a slightly larger opening for comfort; suitable where escape is not required through that window.
Note: the measured opening is the gap at the point of greatest travel, usually the furthest edge from the hinge. Always measure the actual sash-to-frame clearance after fitting rather than relying on the restrictor label alone; installation angle and fix point position affect the effective opening.
Choosing the right restrictor for the job
Selection should be based on the following considerations:
- Purpose: child safety usually calls for 100mm or less; ventilation may need 125mm or 150mm; security may require keyed or lockable restrictors.
- Escape requirements: if the window is required as a fire escape route, use a quick-release restrictor that can be opened from the inside without a key; keyed restrictors should not be fitted to escape windows.
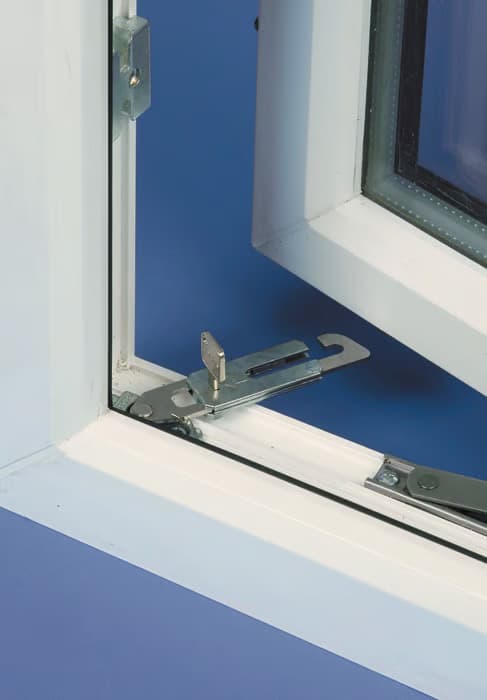
- Window type: outward opening casement, top-hung, sliding sash and tilt-and-turn windows need different fix positions and sometimes different restrictor models.
- Frame material: uPVC and aluminium often need special fixings or rivets; timber accepts common wood screws. Check manufacturer instructions for screw size and fixing type.
- Load rating and test certification: for commercial installations, choose restrictors that are tested to a recognised standard and have a stated working load limit.
Practical trade advice and DIY guidance for fitting
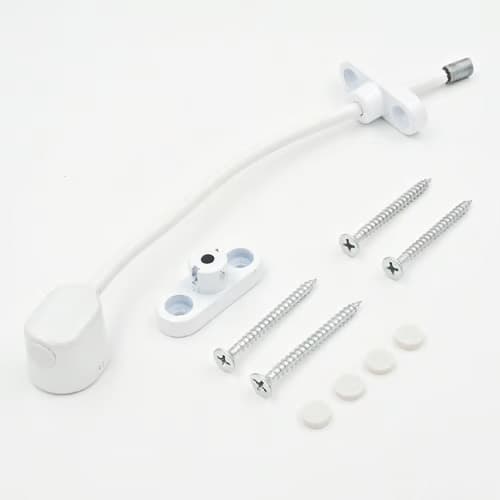
Tools and materials you will typically need: drill and correct bits, centre punch or awl, tape measure, spirit level, pencil, appropriate screws or rivets, screwdriver, and possibly rawl plugs for masonry surrounds. Follow these step-by-step points:
- Plan the fix positions first: fit the frame bracket so the cable pulls in a straight line and the sash bracket is on a solid part of the sash. Mark centres with a pencil.
- Pre-drill pilot holes in hardwood and use correct size pilot in softwood to avoid splitting. For uPVC and aluminium, use the recommended self-tapping screws or pop rivets; drive screws into the steel reinforcement where possible.
- For larger sashes, use two restrictors spaced evenly to share load and prevent twisting of the sash under wind or operation.
- Fit the restrictor with the sash in the closed position and check the maximum opening before fully tightening fixings; this ensures the opening matches the intended distance.
- For adjustable cable restrictors: set the length to achieve the required gap, then lock the adjuster; trim any protruding cable end and fit the supplied cover caps for a tidy finish.
- Test operation: open the window several times, check the cable runs freely and that the sash closes and seals correctly. Confirm that the restrictor does not impede the handle or locking mechanism.
Safety, maintenance and compliance
Fitting is only part of the picture. Regular inspection and maintenance are essential to keep the restrictor effective:
- Inspect cables for fraying, corrosion or kinks; replace immediately if any damage is visible.
- Check fixings for movement and re-tighten if required; environmental conditions can loosen screws over time.
- Lubricate any pivot points, keyed locks or quick-release catches as recommended by the manufacturer.
- Ensure fire egress: any restrictor fitted to an escape window must be quick-release or be otherwise capable of being opened instantly from the inside; verify with building regulations or local fire authority guidance if unsure.
- Record installation details on trade jobs: restrictor type, opening set point and any customer instructions are useful for future servicing and compliance checks.
Common pitfalls to avoid
- Fitting keyed restrictors on escape routes: this can prevent egress in an emergency; use quick-release models where escape is required.
- Incorrect fixings: using wood screws into aluminium or into thin uPVC skin can fail; use the correct fixings for the substrate.
- Single restrictor on a large sash: one restrictor can allow twisting under load; two are preferable on wide sashes or heavy units.
- Assuming advertised length equals opening gap: geometry and bracket placement change the effective opening; always set and measure after fitting.
Recommended Products
Based on this article, you may find these products helpful:
- UAP Keyless Window Restrictor
- TSS Keyless Cable Window Restrictor
- TSS Fixed Cable Window Restrictor
- RES Lock Concealed Window Restricto
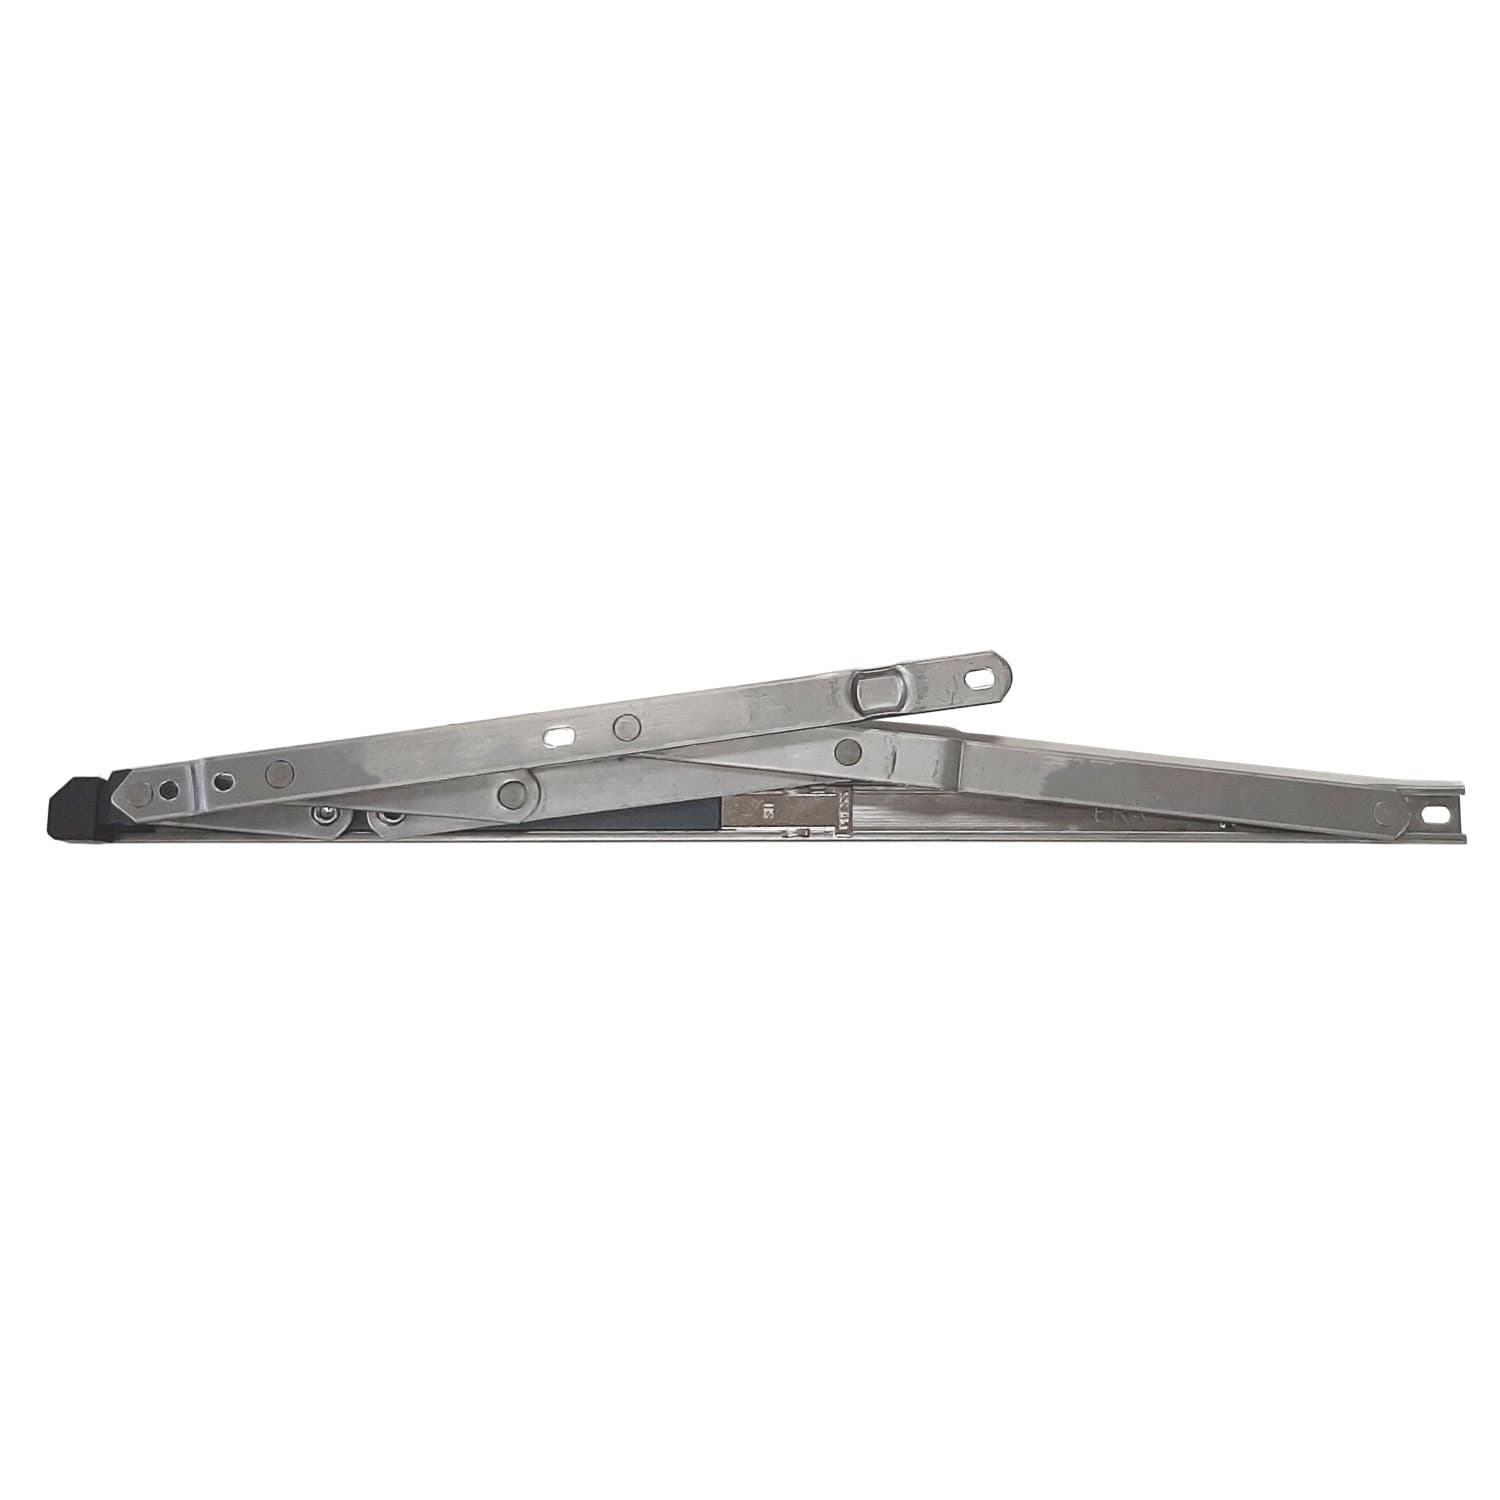
- Restricted Friction Stay Hinges
Conclusion and next steps
Cable window restrictors typically limit openings to a controlled distance: common set points are 55mm, 100mm, 125mm and 150mm. Choose the right model for the purpose: child safety, ventilation, security or escape. For tradespeople, plan fixings, use the correct screws or rivets for the frame material and fit two restrictors on larger sashes. For homeowners doing it yourself, follow manufacturer instructions, pre-drill where required and test the final opening and release mechanism.
For further reading on different types of window locks and restrictors, visit our pillar page: window locks and restrictors guide. If you need product recommendations or help specifying restrictors for a particular window type, contact our trade support team for tailored advice.
Related articles
Window Restrictors
What Is a Cable Window Restrictor? How They Work
What Is a Cable Window Restrictor? How They Work A cable window restrictor is a simple mechanical device fitted to a window to limit how far it can open. I...
Cable Window Restrictor Safety Features Explained
Cable Window Restrictor Safety Features Explained What a cable window restrictor does and where it is used A cable window restrictor is a safety device fit...