How to Fit a Cable Window Restrictor: DIY Installation
How to Fit a Cable Window Restrictor: DIY Installation A cable window restrictor is a simple, effective device that limits how far a window can open; it im...
How to Fit a Cable Window Restrictor: DIY Installation
A cable window restrictor is a simple, effective device that limits how far a window can open; it improves child safety and reduces the risk of falls while allowing ventilation. This post covers practical advice for both UK homeowners and trade professionals: choosing the correct product, selecting fixings for different frame types, and step-by-step fitting and commissioning. If you need broader context on window locks and restrictors see our pillar page: Window locks and restrictors.
What is a cable window restrictor and when to use one
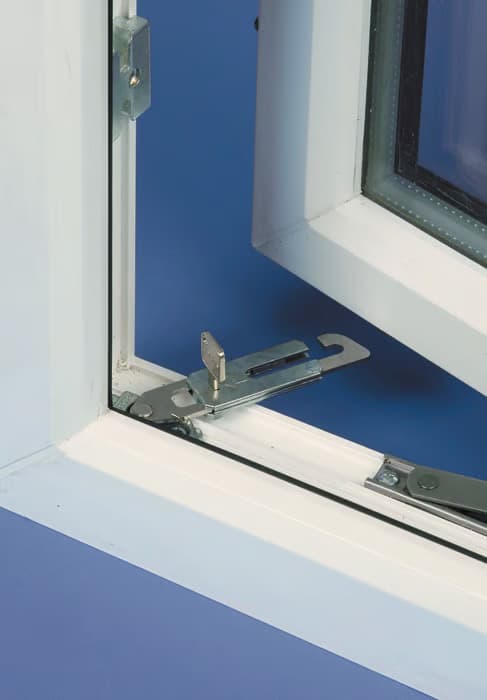
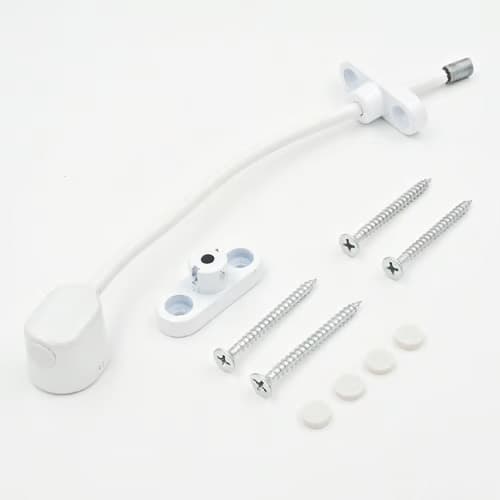
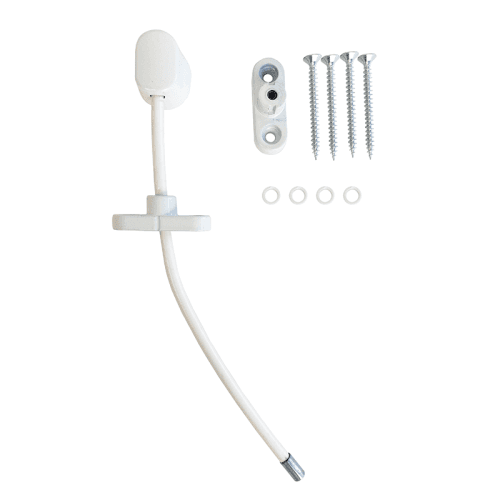
A cable window restrictor consists of a length of stainless steel cable or braided wire, a locking body and a receiving plate or retaining bracket. The restrictor stops the sash from opening beyond a pre-set distance; many models are adjustable or come with a quick-release mechanism for emergency egress. Use a cable window restrictor when you need controlled ventilation and additional safety on ground-floor windows, upstairs windows in family homes, or windows adjacent to balconies and stairwells.
Tools and materials you will need
- Pencil and tape measure; a spirit level for alignment
- Electric drill with appropriate drill bits for wood, masonry and metal
- Pilot drill bits: 2.5–3.5mm for self-tapping screws, and larger bits for rawl plugs or rivets
- Screwdriver or cordless driver with torque control
- Rawl plugs and screws for masonry; stainless steel screws or pop rivets for metal frames
- Wood screws for timber frames; appropriate self-tapping screws for uPVC into reinforcement
- Locking pliers or spanner if fittings have nuts; threadlocker for vibration-prone fixings
- Personal protective equipment: safety glasses and gloves
Selecting the correct restrictor
Choose a cable window restrictor rated for the window type and usage frequency: internal or external mounting, keyed or push-button release, and the maximum opening you wish to allow. For child safety many recommendations limit openings to 100mm; review product data sheets and pick a restrictor with tested breaking load and corrosion resistance. For coastal locations choose marine-grade stainless steel cable and fittings.
Before you start: surveying the window
- Identify the window type: casement, top-hung, side-hung, sash or tilt-and-turn. Mounting location differs between types.
- Find a solid fixing surface: timber sash, steel reinforcement in uPVC, aluminium frame section or masonry reveal. Avoid thin plastic skins without reinforcement.
- Check for obstructions: handles, hinges, trickle vents and window furniture that could interfere with the cable or plates.
- Decide opening limit: measure the sash travel and mark the required stop point. Consider ventilation needs and emergency escape routes.
Step-by-step installation
Note: These are general steps; always follow the manufacturer installation instructions for the specific restrictor you have purchased.
- Position the locking body on the fixed frame: place it so the cable will be in-line with the sash movement and will not snag. Mark the fixing holes with a pencil.
- Position the receiving plate or bracket on the sash or the moving part; ensure that when the window is opened to the limit the cable sits neatly into the receiver and the lock operates freely.
- Pre-drill pilot holes appropriate to the screw or plug. For timber frames use a pilot hole about two thirds of the screw core diameter. For masonry use the appropriate masonry bit for your rawl plugs. For aluminium consider pop rivets or tapping into the reinforcement; do not rely on thin aluminium faces alone.
- Fix the locking body to the frame using the correct screws or rivets: tighten until secure but avoid overtightening which can crack uPVC or split timber. If using self-tapping screws in uPVC try to hit the steel reinforcement where possible.
- Fix the receiving plate to the sash. Ensure the plate is aligned so the cable engages smoothly when the window opens; the cable should not rub on sash edges repeatedly during normal operation.
- Adjust cable length if the restrictor allows: set the limit to the measured opening. Test the engagement and locking several times, opening and closing the window to full and limited positions.
- Check emergency release where fitted: for quick-release models practise the release motion to ensure everyone who may need to escape can operate it quickly.
- Apply a drop of threadlocker on screws exposed to vibration if recommended; do not apply to threads that require future removal unless a removable threadlocker is used.
Fixings and substrate-specific advice
- uPVC frames: find the metal reinforcement and fix into that; if not possible consult the frame manufacturer. Use stainless steel screws that are not too long to avoid internal damage.
- Timber frames: pre-drill and use stainless or coated wood screws that bite at least 20–25mm into solid timber.
- Aluminium frames: use pop rivets or screws into a reinforcing rail; where the frame is thin use a backing plate to spread load and prevent pull-through.
- Masonry reveals: use appropriate wall plugs or chemical anchors; position fixings away from plasterboard or thin reveals that will not hold.
Testing and commissioning
- Operate the window repeatedly to confirm the restrictor limits the opening correctly and the cable runs without chafe.
- Check the locking mechanism locks reliably and the key or release is accessible from inside.
- Inspect for movement of fixing points after a day of normal use and re-tighten if needed; some settling can occur.
- Document the location and type of restrictor for future maintenance and for any subsequent trades to see.
Maintenance and safety checks
- Visually inspect the cable and fittings every 6–12 months: look for fraying, corrosion or loose fixings.
- Lubricate the lock cylinder or moving parts annually with a dry lubricant recommended by the manufacturer.
- Replace any restrictor that shows wear or has been forced open; do not attempt to repair a damaged cable in situ.
- If the window is also required as an emergency escape route consult building regulations or fire safety guidance before restricting permanently; consider quick-release restrictors where escape is needed.
Recommended Products
Based on this article, you may find these products helpful:
- UAP Keyless Window Restrictor
- TSS Keyless Cable Window Restrictor
- TSS Fixed Cable Window Restrictor
- RES Lock Concealed Window Restricto
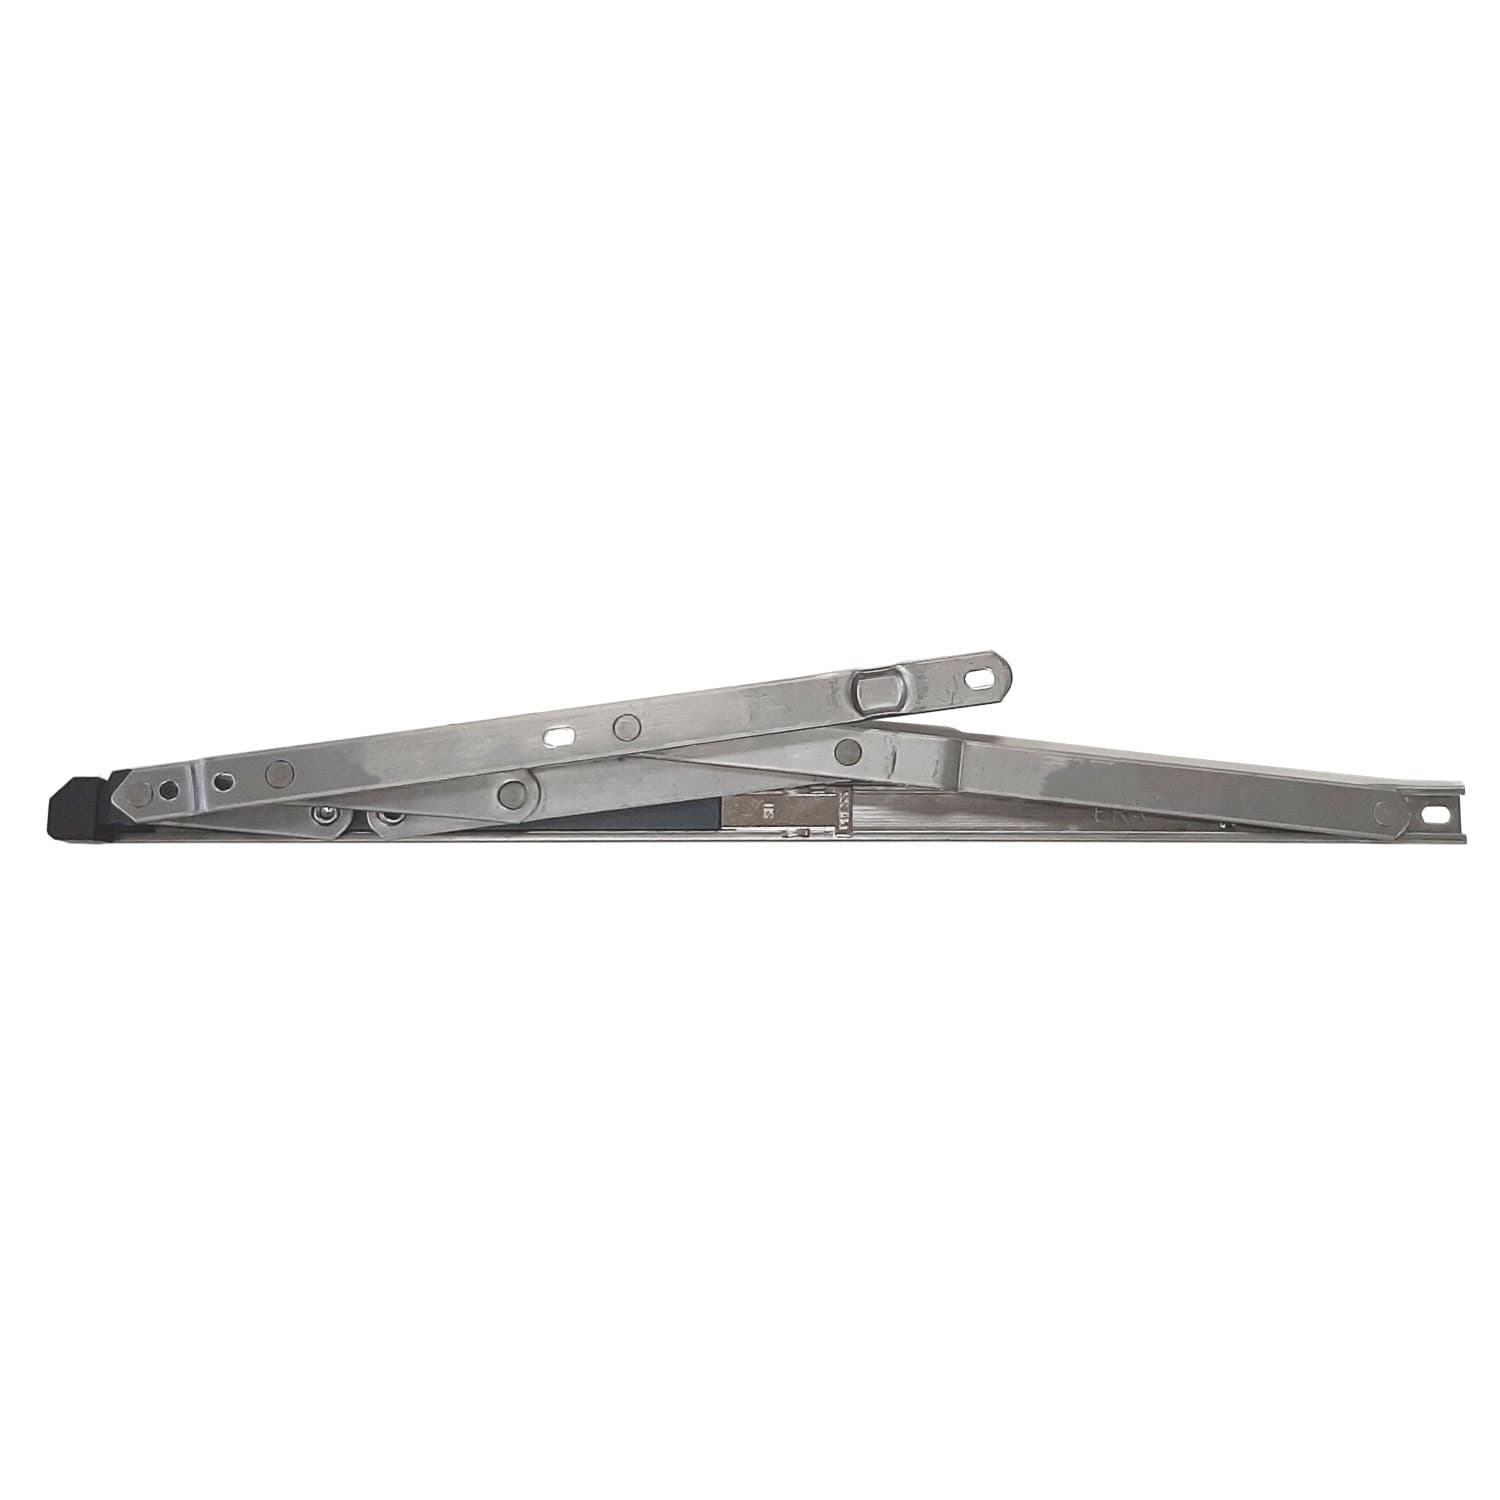
- Restricted Friction Stay Hinges
Conclusion and next steps
Fitting a cable window restrictor is a straightforward upgrade to improve safety and ventilation when the correct product and fixings are selected. Choose a restrictor suited to your frame type, follow the manufacturer instructions, and test for both normal operation and emergency release. For professional products, fixings and technical support visit our guides and product pages at /c/windows-restrictors or contact Window Hardware Store for trade quantities and on-site advice.
Related articles
Window Restrictors
What Is a Cable Window Restrictor? How They Work
What Is a Cable Window Restrictor? How They Work A cable window restrictor is a simple mechanical device fitted to a window to limit how far it can open. I...
Cable Window Restrictor Safety Features Explained
Cable Window Restrictor Safety Features Explained What a cable window restrictor does and where it is used A cable window restrictor is a safety device fit...