How to Mortise for Butt Hinges: Carpentry Tips
How to Mortise for Butt Hinges: Carpentry Tips Mortising for a butt hinge is a fundamental skill for both trade carpenters and competent DIYers. A clean, a...
How to Mortise for Butt Hinges: Carpentry Tips
Mortising for a butt hinge is a fundamental skill for both trade carpenters and competent DIYers. A clean, accurately positioned mortice ensures the hinge sits flush; this produces even gaps, smooth operation and long-term reliability for doors and casements. The following practical advice covers tools, layout, cutting techniques and fitting tips for timber doors and frames commonly found in UK homes and projects.
Why a proper mortice matters
A mortice matched to the butt hinge leaf thickness allows the hinge to sit flush with the door edge and frame face. If the mortice is too shallow the door will not close squarely; if it is too deep the hinge leaf will be proud and may catch. Correct mortising gives you consistent reveals and prevents twisting or binding over time. For fire doors and specialist hardware always use certified hinges and follow the manufacturer’s instructions; incorrect mortising can invalidate a door’s rating.
Tools, materials and safety
- Tools: steel rule, pencil, mortice gauge or marking knife, carpenter’s square, sharp chisels (6mm, 12mm or 18mm), mallet, router with hinge jig or plunge router, clamp(s), block plane or sandpaper.
- Fixings: butt hinges (size appropriate to door), countersunk wood screws (3.5–4.0mm diameter; length to penetrate the stile or frame by at least 25–30mm), timber wedges if needed.
- Safety: eye protection, dust mask when routing, ear protection and secure clamping. Ensure electric tools have RCD protection on site.
Marking out and measuring
Accurate marking is the most important step. Decide hinge positions before work: for a standard internal timber door typical placements are:
- Top hinge: around 125–150mm from the top edge.
- Bottom hinge: around 150–200mm from the bottom edge.
- If a third hinge is used: place centrally between the top and bottom hinge or distribute equally for heavy doors.
Once positions are set, transfer measurements consistently from the face you will use as reference; use a mortice gauge to scribe the depth equal to the hinge leaf thickness. If you only have a rule, measure the hinge leaf thickness and mark the depth on the edge. Use a square to mark the latch side and pivot side so the hinge sits parallel to the face of the door.
Cutting the mortice: chisel method
Trades often use chisels for control and minimal tooling. Steps:
- Clamp the door or lay it flat on a pair of trestles, holding the edge at a comfortable height.
- Score around the outline with a sharp knife or marking tool to prevent tear-out.
- Make a series of vertical relief cuts about 3–4mm apart within the marked area; this breaks the waste into manageable chunks.
- Use a mallet and chisel to remove the waste, working to slightly shallower than the final depth.
- Pare to the gauge line for a flat floor and square faces; test-fit the hinge frequently until it sits flush and the screw holes are clear.
Take small removals; it is far easier to go deeper than to repair an over-deep mortice. Use the same method on the frame leaf, remembering the hinge knuckle position and orientation.
Using a router or hinge jig
A router and hinge jig give speed and repeatability, ideal for production or multiple doors. Use a straight-cutting bit and set the depth to the hinge leaf thickness. Clamp a guide jig to the edge to control lateral position; some jigs clamp to the door face to ensure consistent set-back from the face. Pass the router in shallow passes to avoid tear-out and burning the timber. Always run the cutter left-to-right or right-to-left as recommended for your router to keep control; clamp firmly and keep hands clear.
Fitting the hinge and final checks
- With the hinge in the mortice, mark the screw positions through the hinge holes and countersink or use a bradawl to prevent splitting.
- Fit the hinge leaf to the door first; then offer the door into the frame and fix the frame leaf. Use packers or a temporary wedge to maintain consistent gap (the reveal) between door and frame; common internal gap is 2–4mm depending on finish and seals.
- Use the correct screw length and diameter so the screw threads bite fully into the frame; for softwood a 30–40mm screw is typical, for hardwood increase length and consider pre-drilling pilot holes.
- Check swing: open and close several times; look for rubbing at the bottom or top and adjust the mortice face as necessary with a chisel or fine sanding.
Common mistakes and trade tips
- Over-deep mortice: avoid removing more depth than the leaf thickness; a shim can temporarily fix it but a precise repair is better.
- Misaligned hinges: ensure the hinge knuckles line up vertically; use a square and check with the door held in frame position.
- Wrong hinge type: heavier doors require ball-bearing butt hinges or larger hinges; use security hinges for external doors and stainless steel for damp locations.
- Short screws: using screws that do not reach deep into the frame gives poor holding; for external doors consider long security screws into the jamb and subframe.
- Not pre-drilling: always pilot drill or countersink to prevent splitting, especially near the stile ends.
For multiple doors or a set of matching doors, make a simple jig from scrap timber so your mortices are identical across units. For painted finishes, prime and paint the mortice area before final installation to seal end-grain.
Where to learn more
For detailed hinge selection, sizes and specialised options such as lift-off butt hinges or ball-bearing variants see the door hinges section on the Window Hardware Store site: /guides/door-hinges. Product pages include dimensions and suitability for door thickness and loadings.
Recommended Products
Based on this article, you may find these products helpful:
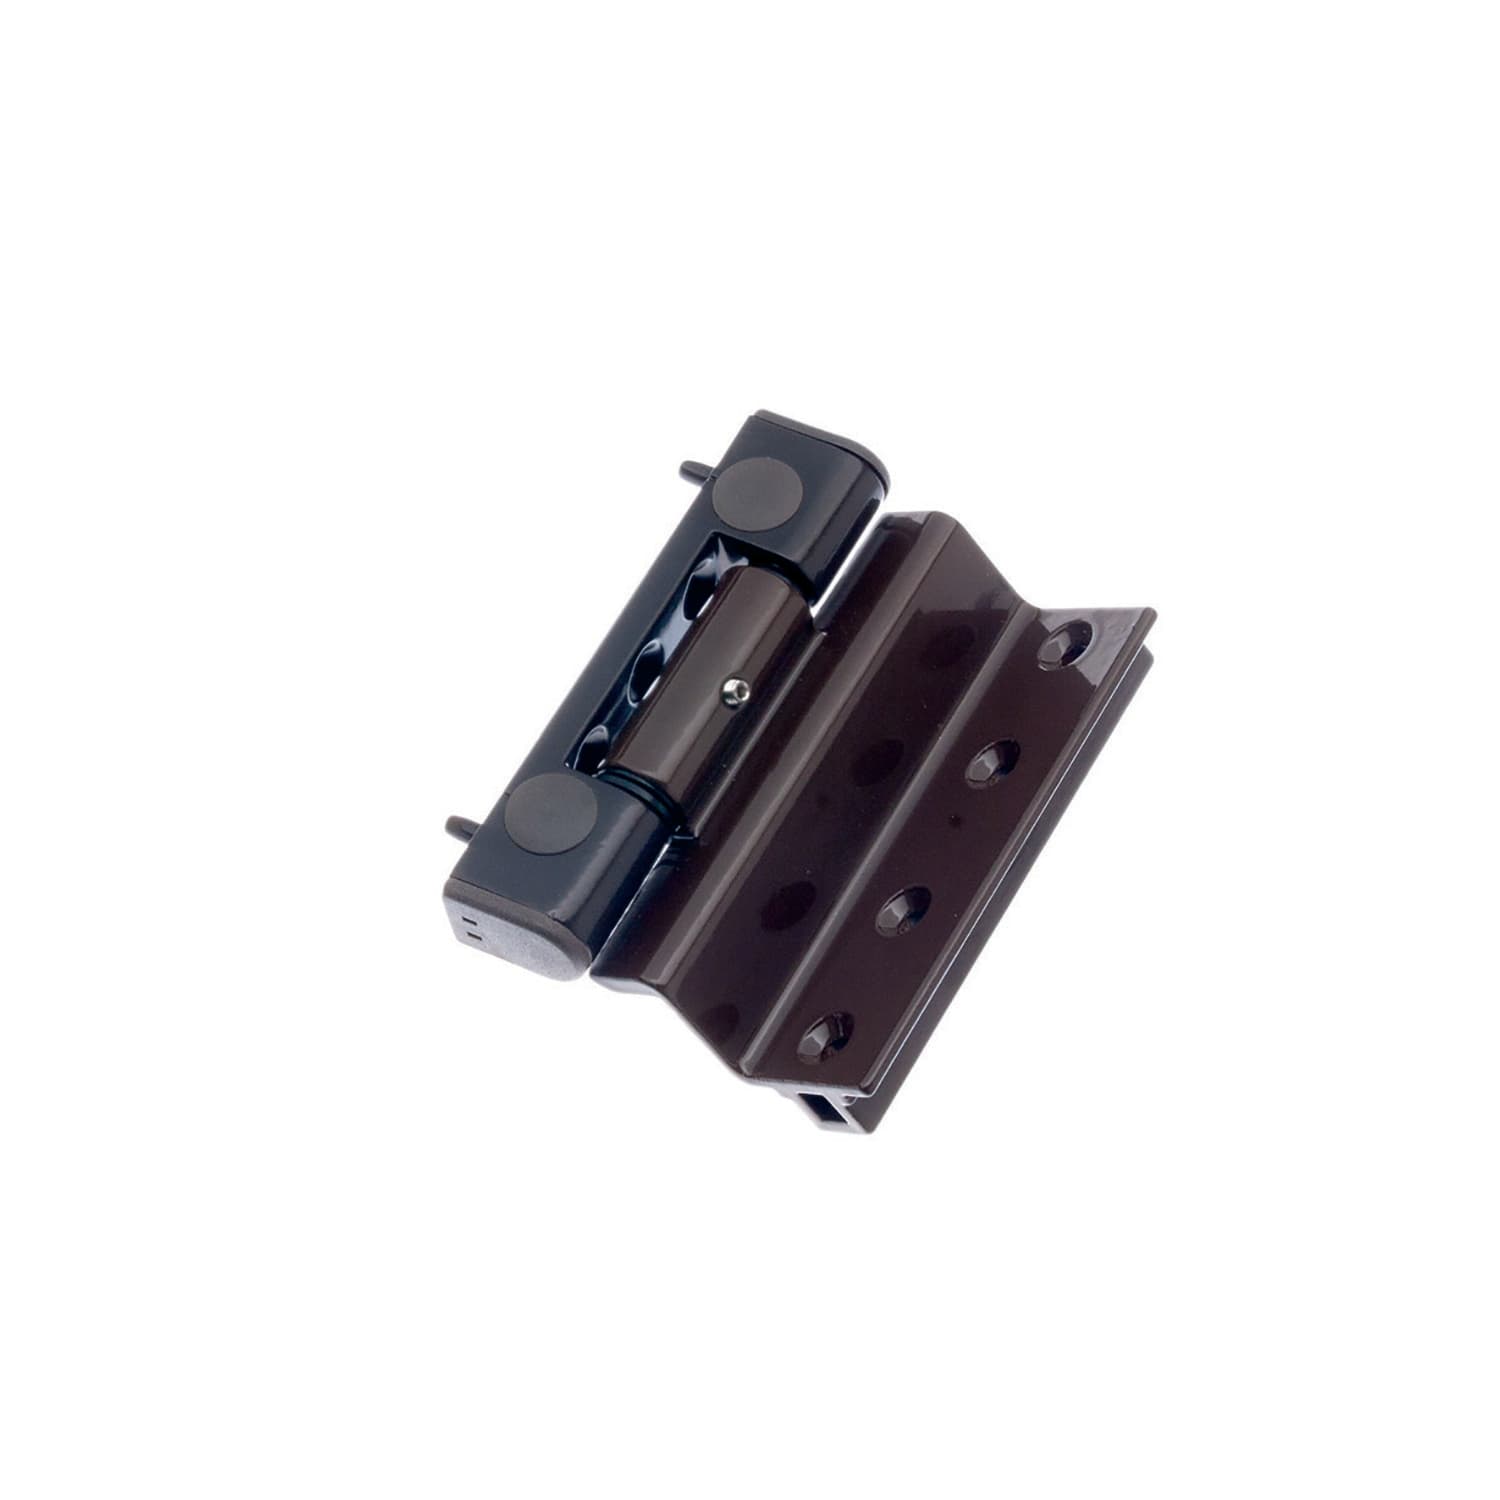
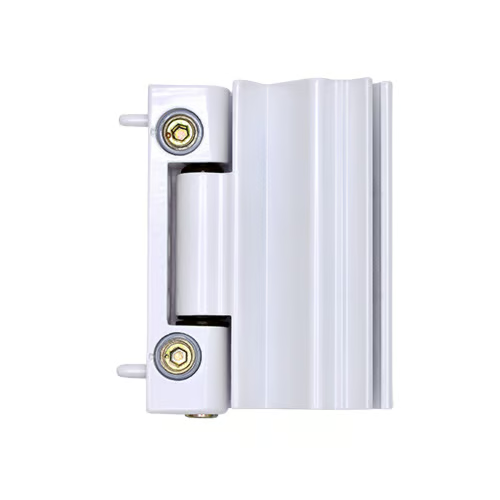
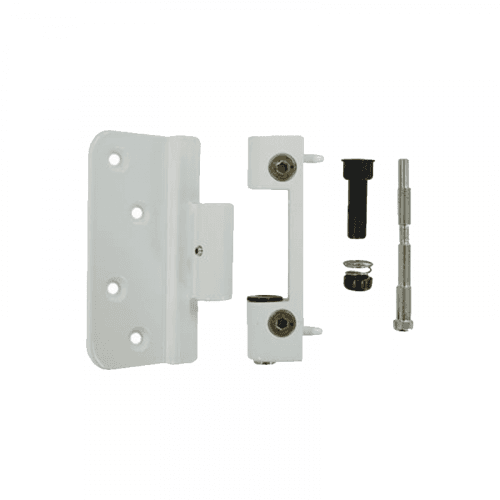
- Flag Door Hinge - Stainless Steel
- Adjustable Flag Hinge - 100mm
- ERA Challenger 3D Rebated Hinge
- Challenger Door Hinge
- UAP Adjustable Hinge for Composite Doors
Conclusion: next steps
Mortising for a butt hinge is a repeatable skill once you master measurement, marking and controlled cutting. Next steps: choose the correct hinge for your door weight; practise on offcuts to set chisel or router depths; and fit one hinge at a time, checking alignment as you go. If you are working on a fire door or a high-security external door consult the manufacturer’s guidance and British Standards before commencing work.