Retrofitting Window Restrictors to Existing Windows
Retrofitting Window Restrictors to Existing Windows: practical guidance for trade professionals and UK homeowners on selecting, fitting and maintaining win...
Retrofitting Window Restrictors to Existing Windows: practical guidance for trade professionals and UK homeowners on selecting, fitting and maintaining window restrictors for safety and compliance.
Why fit a window restrictor?
Window restrictors limit how far a window can open. They are commonly fitted to prevent falls by children; they also protect against accidental damage and reduce the risk of unauthorised access. For rental properties and houses with young children, restrictors are a low-cost safety measure that can be retrofitted to most existing window types: casement, top-hung, sliding, and sash.
Types of restrictor and where to use them
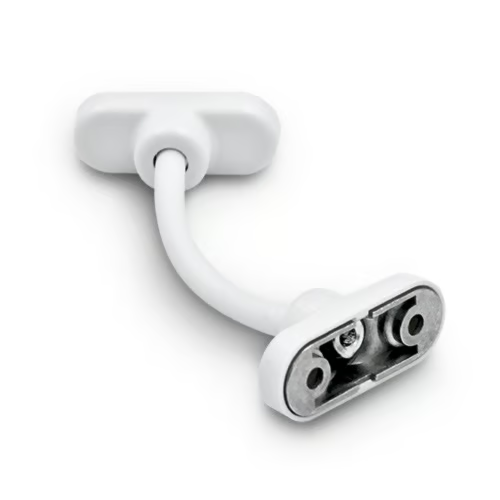
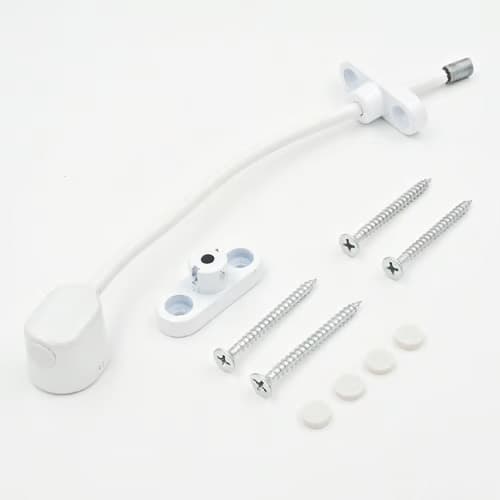
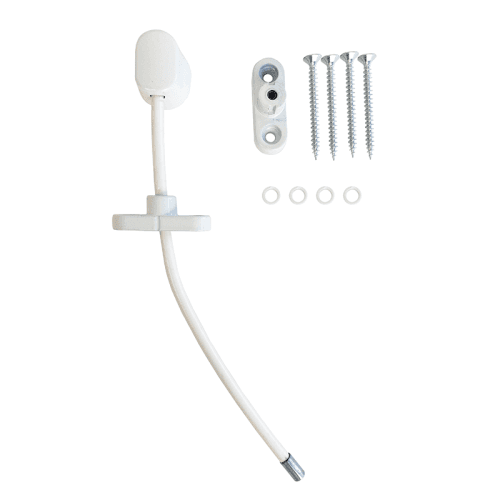
- Fixed-length cable or strap restrictors: simple and inexpensive; suitable where a permanent limit is acceptable. Do not use where rapid exit may be needed.
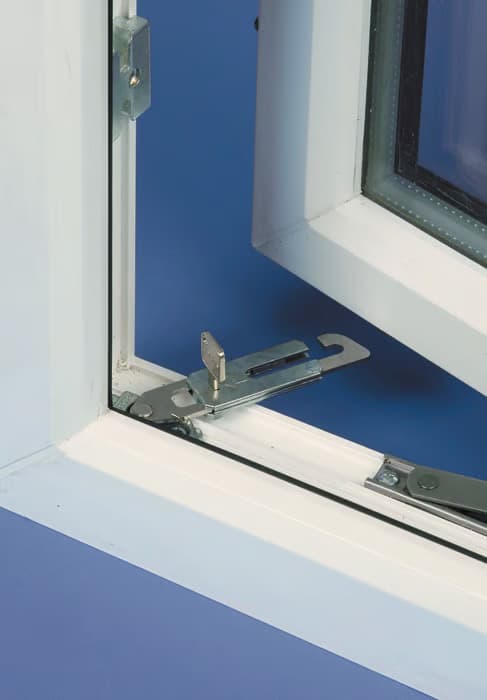
- Key-operated or tool-operated restrictors: provide stronger security, but require the key or tool to open fully; consider for high-risk ground-floor windows.
- Quick-release restrictors: designed for bedrooms and escape routes; release mechanism is usually tool-free and operable from the inside to allow emergency egress.
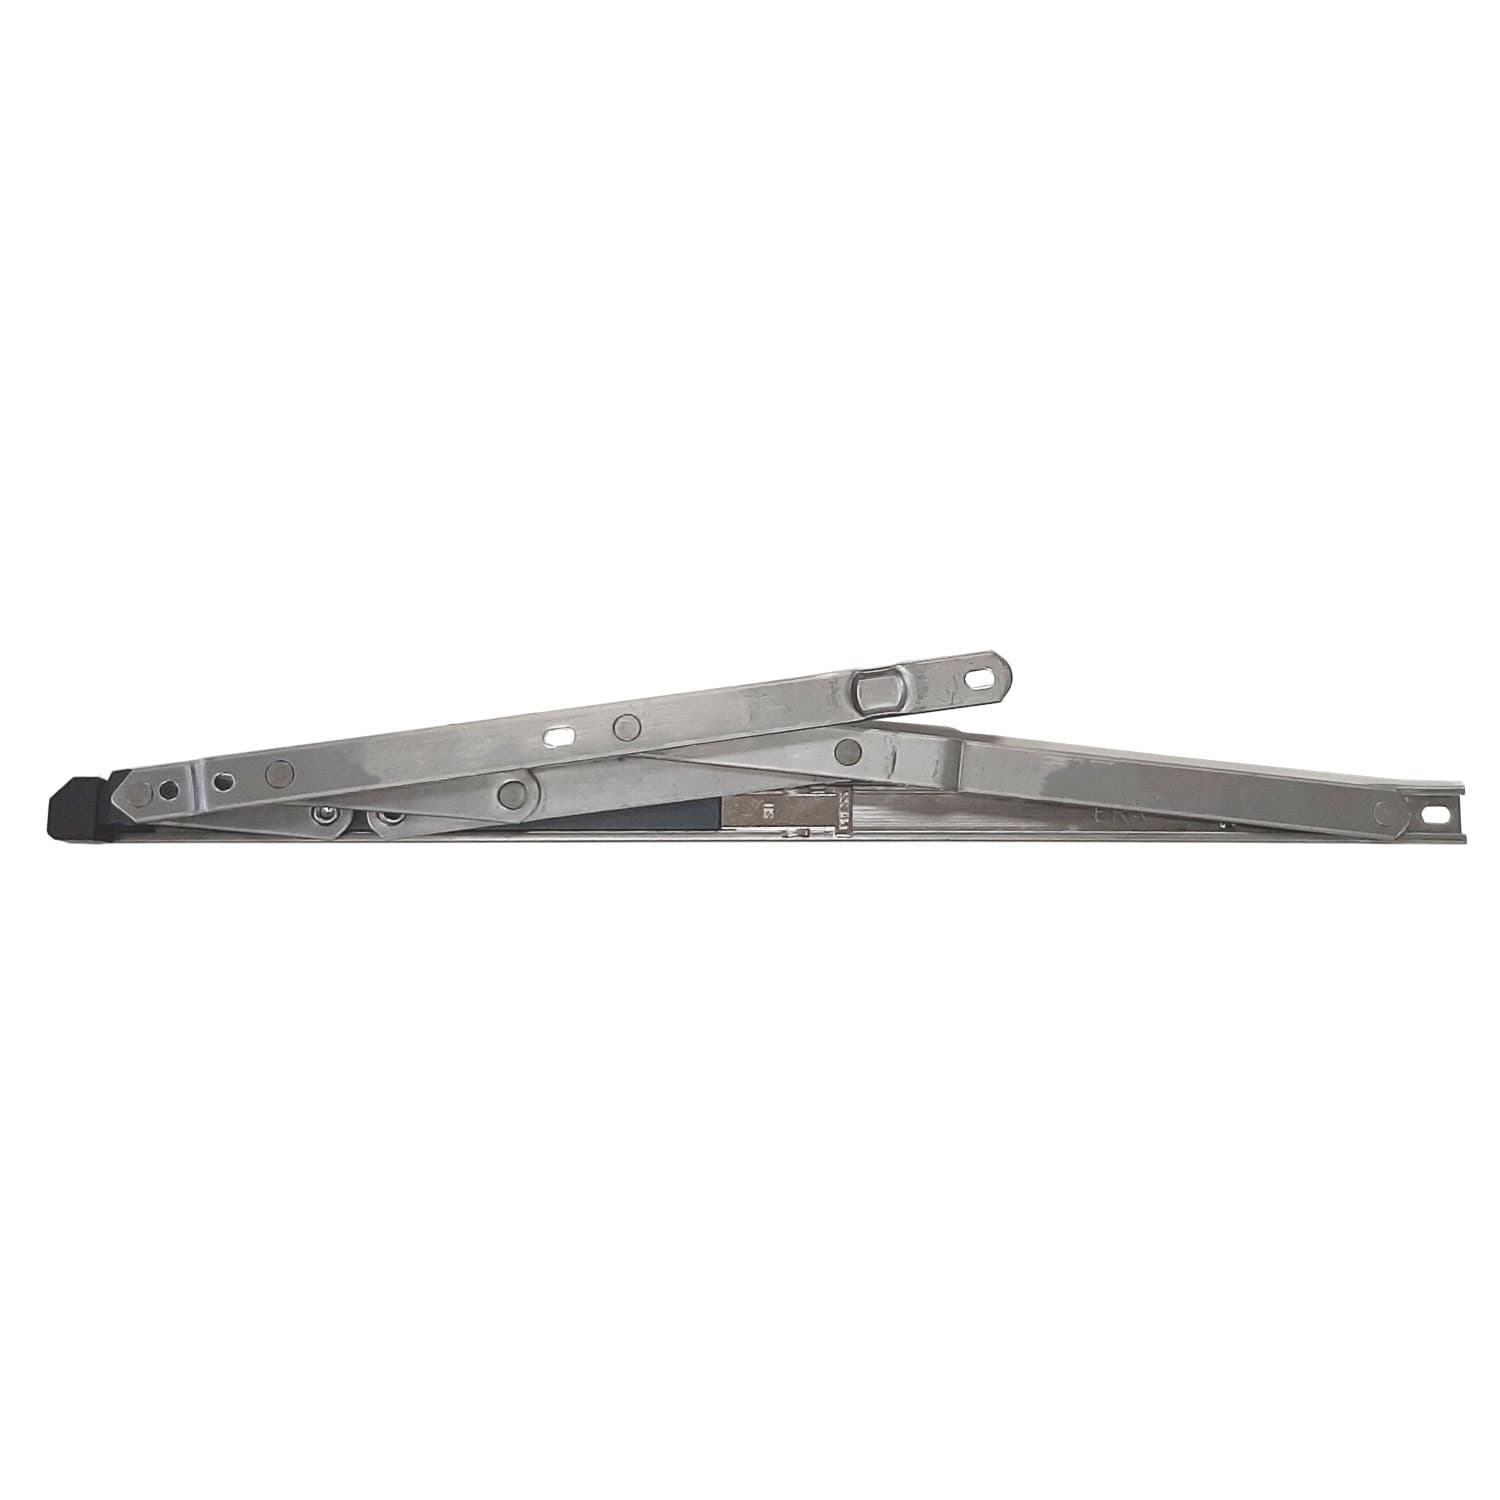
- Integral restrictor stays: friction hinge systems with built-in limiting positions; used on aluminium and uPVC casement units by accredited installers.
- Sash window restrictors: specialised devices that anchor to the frame and limit the sash travel without obstructing sash balance.
Selecting the right restrictor
Match the restrictor to the window material and intended function. Key considerations:
- Opening limit: for child safety many installers limit openings to about 100mm to 125mm; consider occupant age and local guidance when choosing the limit.
- Escape requirements: where a window is a required escape route, choose a quick-release restrictor that allows full opening from inside in seconds and that does not impede rescue by emergency services.
- Load rating and durability: pick products rated for the sash weight and expected usage; look for manufacturers' performance data and conformity to relevant British or European standards.
- Fixing type: ensure the kit has compatible fixings for uPVC, timber or aluminium frames; some restrictors include backing plates to spread load on softer frames.
Tools, materials and pre-install checks
Have the following ready before you start:
- Tools: drill with suitable bits, centre punch, tape measure, spirit level, pencil, screwdriver, torque-controlled driver, safety goggles and ladder if required.
- Fixings: screws and rawl plugs for masonry where a frame screw will go into brick or mortar; self-tapping screws for uPVC; stainless steel screws for external use.
- Consumables: threadlocker for metal fixings if specified by the manufacturer; silicone sealant for external joint remediation if penetrating the outer frame.
- Pre-checks: inspect frame thickness and substrate; confirm there is at least 25mm solid material for fixing screws in timber or metal reinforcement in uPVC. Identify internal wires or reinforcement to avoid drilling into hidden cavities.
Step-by-step retrofit installation
The steps below cover a typical cable or hinge restrictor retrofit to a casement or sash; always follow the manufacturer's instructions first.
- Measure and mark: decide mounting positions so the restrictor limits opening to your required width. Typically fit the sash-side fixing near the top for casements; for sash windows mount to the stile and frame inboard of the meeting rail.
- Check clearance: open the window to the intended restricted position and use a marker to note the sash frame position relative to the fixed frame; this helps align the two components accurately.
- Pre-drill pilot holes: for timber use a slightly smaller diameter than the screw shank; for uPVC use a shallow pilot hole to prevent splitting and to locate into metal reinforcement where present; for aluminium use a suitable metal-drill bit and consider rivets if recommended.
- Fit the restrictor plate: screw to the fixed frame first, ensuring the plate is level and flush. For soft frames use the supplied backing plate and longer screws to distribute load.
- Attach sash component: with the window held at the restricted position, align and fix the sash-side component. If adjustable, set to remove slack but allow smooth operation.
- Test operation: open and close several times to ensure the limit is consistent and the release mechanism functions if present. Test by applying hand pressure equivalent to normal use; there should be no excessive movement or creaking.
- Secure and mark: if a key is used, provide the key to the occupant and mark the position with a discreet sticker or tag advising "restrictor fitted". Record location and type for future maintenance.
Practical trade tips
- Template use: cut a paper template for repeat installations to speed up marking and maintain consistency across a property.
- Avoid over-tightening: too much torque can distort uPVC frames and seize the mechanism. Use a torque-controlled driver or driver clutch set to manufacturer's recommendations.
- Fixing choice: stainless steel screws prevent corrosion on external windows; threadlocker on metal-to-metal fixings reduces rotation over time in high-vibration areas.
- Document every fitting: include photos and measurements in a job sheet. Landlords and managing agents will want evidence of safety works.
Maintenance and inspection
Restrictors are safety devices and must be maintained. Recommended checks:
- Visual inspection every six months: check fixings, cables or straps for wear, and operation of release mechanisms.
- Lubrication: light application of a silicon-based lubricant to moving parts once a year will keep mechanisms smooth; avoid heavy greases that attract grit.
- Replacement: any frayed cable, corroded metal or loosened fixings require immediate replacement. Do not attempt temporary repairs that do not restore original strength.
Compliance and safety notes
Retrofitting restrictors may affect escape routes; where a window is needed for means of escape or for firefighting access, fit a quick-release restrictor or ensure the restrictor can be easily overridden by occupants and emergency services. Consult the local building control or fire service if in doubt. Always follow manufacturers' load and fitting instructions and consider BS 8213-1 recommendations for safe window operation and child safeguarding.
Recommended Products
Based on this article, you may find these products helpful:
- UAP Keyless Window Restrictor
- TSS Keyless Cable Window Restrictor
- TSS Fixed Cable Window Restrictor
- RES Lock Concealed Window Restricto
- Restricted Friction Stay Hinges
Conclusion and next steps
Fitting a window restrictor is a straightforward way to reduce fall risk and add security; the correct product choice and proper fitting are essential to preserve escape capability and comply with safety guidance. For multiple windows, create a plan showing restrictor type and locations; contractors should keep records and homeowners should check operation regularly. For more technical detail and product options visit our pillar page: /c/windows-restrictors or contact Window Hardware Store for trade-level advice and site-specific recommendations.
Related articles
Window Restrictors
What Is a Cable Window Restrictor? How They Work
What Is a Cable Window Restrictor? How They Work A cable window restrictor is a simple mechanical device fitted to a window to limit how far it can open. I...
Cable Window Restrictor Safety Features Explained
Cable Window Restrictor Safety Features Explained What a cable window restrictor does and where it is used A cable window restrictor is a safety device fit...