Window Restrictor Installation for High-Rise Buildings
Window Restrictor Installation for High-Rise Buildings: fitting the correct window restrictor is a key safety measure for apartments and tall dwellings; it...
Window Restrictor Installation for High-Rise Buildings: fitting the correct window restrictor is a key safety measure for apartments and tall dwellings; it protects occupants, reduces risk of accidental falls and helps meet regulatory expectations for new and refurbished properties.
Why window restrictors matter in high-rise properties
Windows at height present a fall risk for children, vulnerable adults and items. A correctly specified and installed window restrictor limits the opening to a safe width while still allowing ventilation. For high-rise buildings there are additional considerations: wind loading on the opening, exposure to the elements, and the need to preserve means of escape. Balancing safety, compliance and day to day usability is essential.
Regulations and standards to consider
For UK projects consult Building Regulations: Approved Document K (protection from falling) and relevant British Standards such as BS 8213-1 for safe use and positioning of windows. Many hardware products will reference EN standards for performance; check the manufacturer’s datasheet. Where a window forms part of an escape route, restrictors should be releasable without the use of a tool or a key; typical practice is to fit a quick-release device that is intuitive to operate in an emergency. Always check site-specific fire strategy and landlord requirements before fitting.
Types of window restrictors and where to use them
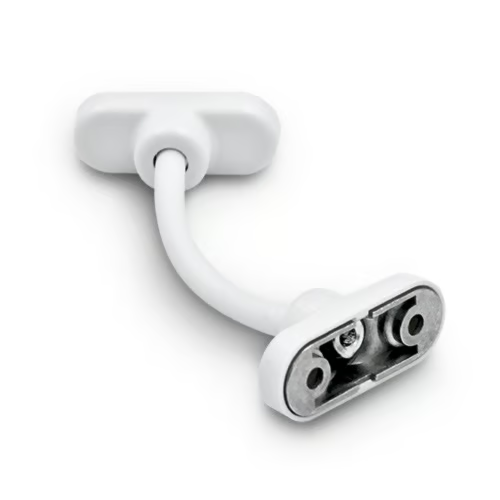
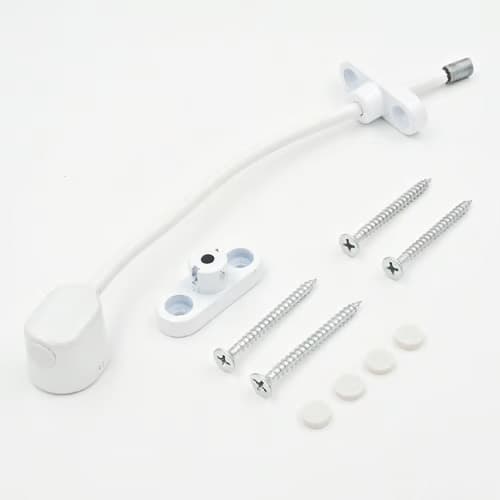
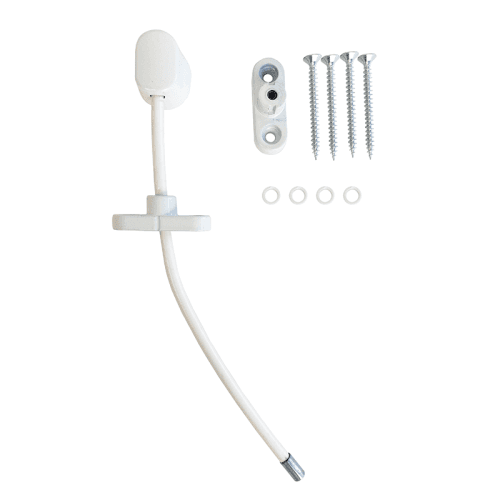
- Cable restrictors: flexible, unobtrusive and popular on casement and tilt windows; good for restricting to fixed openings while allowing full-frame strength.
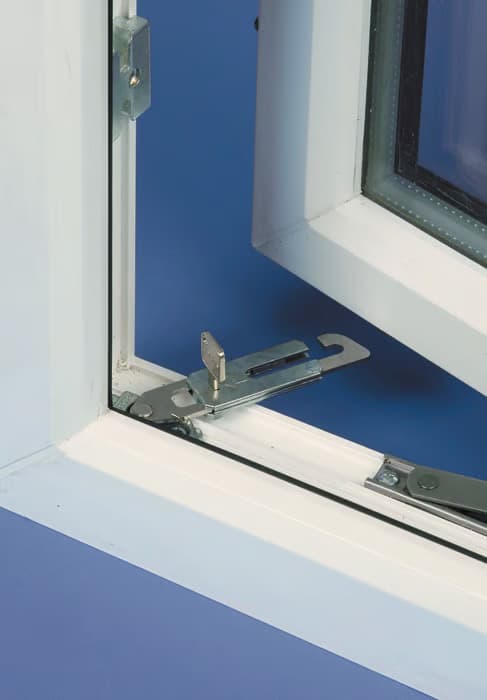
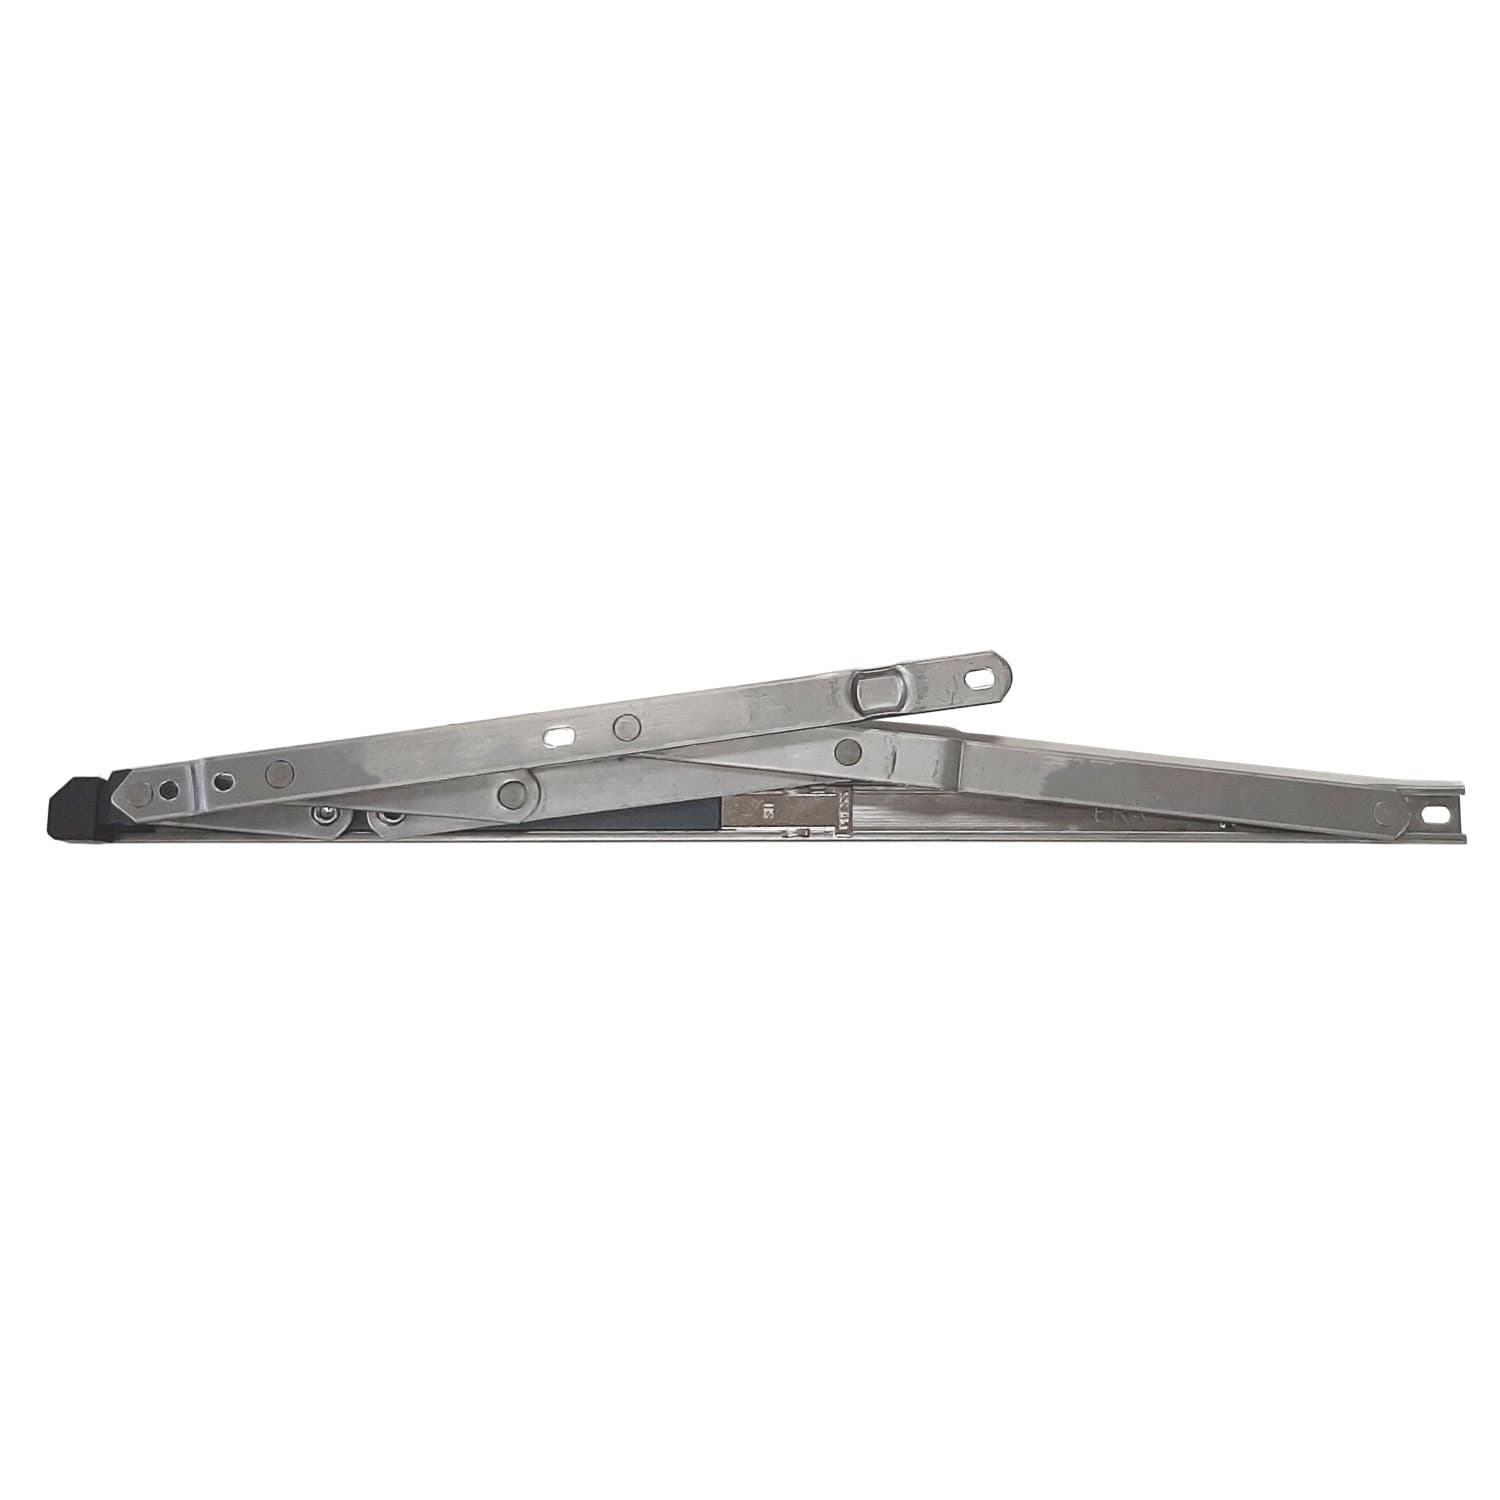
- Friction or hinge restrictors: used on top-hung and side-hung windows; these limit opening angle and are integral to the hinge mechanism on some designs.
- Key-operated restrictors: provide high security but are not suitable where the window is a required escape route unless the key is readily available.
- Quick-release restrictors: essential where the window is part of an escape route; they allow single-handed release from the inside without special tools.
- Sash-specific solutions: sash windows can use sash chains, bar restrictors or retrofit hinges depending on the frame type.
Pre-installation checks
- Identify window type and material: timber, uPVC, aluminium or composite; fixing method differs between materials.
- Confirm whether the window is a designated means of escape; if so, opt for quick-release restrictors and coordinate with building safety plans.
- Check frame condition: restrictors must be fixed to sound timber or to the metal frame; avoid screwing into weak plaster or rotten sections.
- Choose corrosion-resistant hardware for exposed façades: stainless steel (A2 or A4) is recommended in coastal or polluted environments.
- Read the product datasheet for load rating and fixing recommendations; use fixings supplied or specified by the manufacturer.
Step-by-step installation: a typical casement window
The following is a generalised procedure for a surface-mounted cable restrictor on a timber or uPVC casement. Always follow the manufacturer’s instructions for the model you have chosen.
- Tools and materials: drill and appropriate bits, spirit level, pencil, centre punch for metal frames, corrosion-resistant screws, screwdriver, measuring tape, protective goggles.
- Decide mounting positions: for child safety mount the restrictor high on the sash where reachable only by adults; for escape windows mount so the release is obvious and accessible.
- With the window closed measure and mark fixing points on the frame and sash. Use the manufacturer’s template if supplied.
- Pre-drill pilot holes; on aluminium frames use drill bits suitable for metal and consider blind rivets if screws will not engage solidly.
- Fix the sash end of the restrictor first. Ensure the cable or arm lies flat and does not contact seals or hardware.
- Test operation: open the window to the desired limit and confirm the restrictor holds securely; check that the window can still be fully opened when the restrictor is released if an escape function is required.
- Tighten fixings and re-test in different positions; check there is no binding on handles, hinges or gaskets.
Trade-level tips and common pitfalls
- Fix to the strongest substrate available: where possible anchor into the timber frame or the metal frame member rather than into lightweight cappings.
- Use stainless fasteners with the correct length; short screws can strip out, long screws can protrude into cavity or services.
- For aluminium windows use manufacturer-approved fixings; avoid self-tapping screws into thin aluminium profiles without reinforcement.
- Avoid placing restrictors where they will impede the normal function of trickle vents, handles or restrict the full-range cleaning of the glass.
- Log installations: for purpose-built high-rise blocks create an asset register with restrictor type, location and the date fitted; this assists landlord duty of care and planned maintenance.
- For rental properties give tenants a simple instruction card and clearly label quick-release mechanisms to prevent accidental removal or misuse.
Maintenance and periodic checks
Regular inspection preserves performance and safety. Recommended checks include:
- Visual inspection every six months: look for corrosion, frayed cables, loose fixings or cracked components.
- Functional test: operate and release the restrictor to ensure smooth action; verify that quick-release devices operate without excessive force.
- Lubrication: apply a light machine oil to moving parts annually; avoid heavy greases that attract dust.
- Replace damaged restrictors immediately with like-for-like rated products; do not attempt jury-rigging with unsuitable parts.
Recommended Products
Based on this article, you may find these products helpful:
- UAP Keyless Window Restrictor
- TSS Keyless Cable Window Restrictor
- TSS Fixed Cable Window Restrictor
- RES Lock Concealed Window Restricto
- Restricted Friction Stay Hinges
Conclusion and next steps
Window restrictors are a practical, cost-effective measure to reduce fall risk in high-rise buildings while preserving ventilation and security. Select a product suited to the window type and the building’s escape strategy, use correct fixings and follow the manufacturer’s instructions. For multi-occupancy blocks create a register and carry out scheduled checks.
Next steps: review the windows in your property to classify which require restrictors, choose products with appropriate release mechanisms and corrosion resistance, and appoint a competent installer or follow the manufacturer guidance carefully for DIY fitting. For further technical information and product options see our pillar page: /c/windows-restrictors.
Related articles
Window Restrictors
What Is a Cable Window Restrictor? How They Work
What Is a Cable Window Restrictor? How They Work A cable window restrictor is a simple mechanical device fitted to a window to limit how far it can open. I...
Cable Window Restrictor Safety Features Explained
Cable Window Restrictor Safety Features Explained What a cable window restrictor does and where it is used A cable window restrictor is a safety device fit...