Window Restrictor Maintenance: Keeping Your Locks Working
Window Restrictor Maintenance: Keeping Your Locks Working A well-maintained window restrictor keeps people safe and ensures windows continue to operate smo...
Window Restrictor Maintenance: Keeping Your Locks Working
A well-maintained window restrictor keeps people safe and ensures windows continue to operate smoothly. Whether a window restrictor is fitted for child safety, fall prevention or security, simple regular maintenance will prolong its life and avoid unnecessary call-outs. This article gives practical advice for homeowners and trade professionals on inspection, cleaning, lubrication, adjustment and replacement of common restrictor types.
Why regular maintenance matters
Window restrictors are mechanical devices that experience wear: moving parts, fastenings and fixings can corrode, loosen or fatigue. Neglected restrictors may fail when needed most; conversely, over-tightening or incorrect lubricants can damage plastic or coated metal components. Routine checks reduce safety risks, maintain compliance with manufacturer guidance and save time and cost by addressing minor faults before they become major problems.
Tools and materials you will need
- Screwdrivers: cross-head and flat; a selection of sizes for different fasteners
- Hex keys and small socket set: for restricted access fixings
- Torque-limiting driver or low-torque setting on cordless drill: to avoid over-tightening
- Soft brushes, microfibre cloths and a vacuum cleaner with crevice tool
- Mild detergent and warm water; isopropyl alcohol for stubborn residues
- Lubricants: silicone spray or light PTFE spray; light machine oil for metal-on-metal pivots
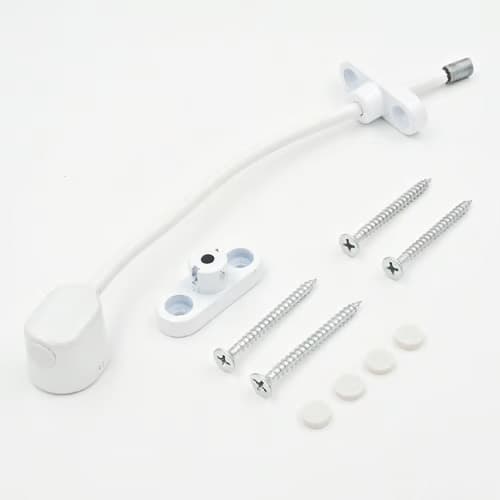
- Replacement fixings: stainless steel screws or manufacturer-specified fasteners
- Replacement parts: new strap, cable or locking mechanism from the manufacturer where required
- Personal protective equipment: gloves and eye protection
Inspection checklist: what to look for
- Visual condition: rust, corrosion, cracks in plastic housings or fraying on straps and cords
- Fixings: loose or missing screws, stripped threads or inappropriate replacement fasteners
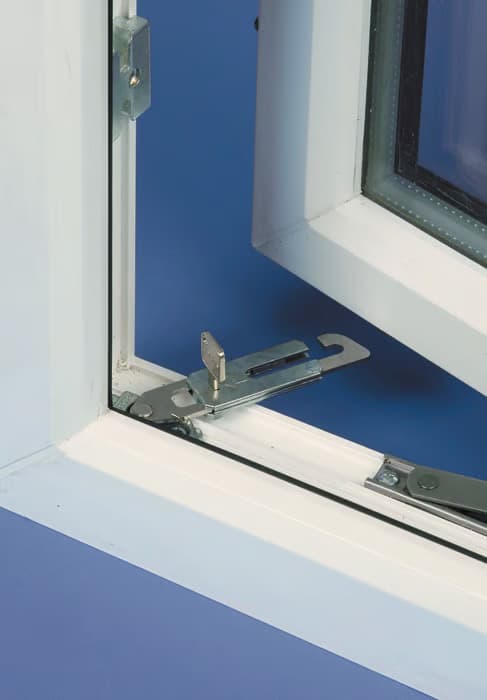
- Movement: stiff or sticky action, rough engagement or excessive free play in the mechanism
- Security: is the lock still engaging fully and does the key or release operate smoothly
- Compatibility: has any subsequent window refurbishment altered the frame depth or fixing positions
- Escape function: where restriction is for safety, ensure the restrictor can still be defeated quickly by authorised users if required for means of escape
Cleaning and lubrication: step‑by‑step
Regular cleaning keeps grit out of the mechanism and lubricant where it belongs. Follow these steps:
- Remove surface dust and debris using a soft brush and vacuum. For accessible areas, wipe with a damp microfibre cloth and mild detergent; avoid saturating timber or uPVC seals.
- Clean metal parts with isopropyl alcohol if oily residue or old grease remains; allow to dry.
- Apply a small amount of silicone or PTFE spray to moving metal pivots and sliding surfaces: avoid heavy greases that attract dust and can gum up the action.
- For metal-on-metal pivots use a drop of light machine oil; wipe away excess immediately.
- Operate the restrictor through its full range several times to work the lubricant in; check for smooth action and repeat application if necessary.
Adjustment and tightening: do it right
Many issues are caused by loose or incorrectly aligned fixings. Key points for safe adjustment:
- Do not overtighten screws into plastic housings; use a torque-limiting driver if available, or tighten until snug and then a quarter turn more only.
- Replace any steel screws with stainless steel equivalents to prevent corrosion staining and galvanic reaction with aluminium or uPVC.
- When re-fixing to timber frames, ensure screws bite into solid wood and not just thin-faced trims; use longer screws or pack as required to reach the structural frame.
- If the restrictor mounting holes have become elongated, replace the plastic housing or fit the manufacturer-approved repair plate; do not attempt to fill with filler compounds as a long-term solution.
- For strap and cable restrictors, adjust length per manufacturer instructions; incorrect tension can either allow excessive opening or overload the mounting points.
When to replace parts or the whole restrictor
Some items are straightforward to replace; others require a full unit swap. Replace immediately if:
- Straps or cords show any fraying or crushed fibres; these are critical safety elements and must be renewed with original-spec parts
- Plastic housings are cracked or severely UV-degraded; cracking can lead to sudden failure under load
- Locks fail to engage, keys shear or the release mechanism jams despite cleaning and lubrication
- Fixing points are corroded through or the frame material around the fixings has lost integrity
For trade professionals: source manufacturer replacement parts and follow approved fitting instructions; for bespoke or obsolete restrictors consider replacing the complete unit with a current, certifiable product that meets performance and safety expectations.
Testing and safety considerations
After maintenance always test the restrictor under normal operating conditions. Do not rely on a casual tug test; use controlled operation and check engagement at the expected limiting position. Inform household members about the function and safe use of the restrictor; ensure keys or authorised release mechanisms are available where required.
Be mindful of fire safety and means of escape: some windows need to open fully for escape routes. If you are unsure about compliance, consult local building control or a competent installer to confirm whether the restrictor arrangement is acceptable for your property.
Trade tips and common pitfalls
- Match fasteners to substrate: self-tapping screws for uPVC, timber screws for timber, and use suitable anchors for masonry where required
- Avoid penetrating double-glazing beads; if access is restricted remove the sash only if competent to do so and if the window design allows
- Keep a maintenance log for communal or managed properties: date, condition, actions taken and parts replaced; this supports audit and liability records
- Where windows are exposed to coastal environments, increase maintenance frequency and choose marine-grade stainless steel fasteners
Recommended Products
Based on this article, you may find these products helpful:
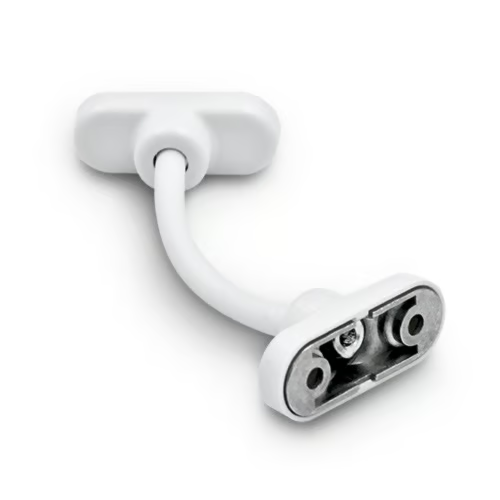
- UAP Keyless Window Restrictor
- TSS Keyless Cable Window Restrictor
- TSS Fixed Cable Window Restrictor
- RES Lock Concealed Window Restricto
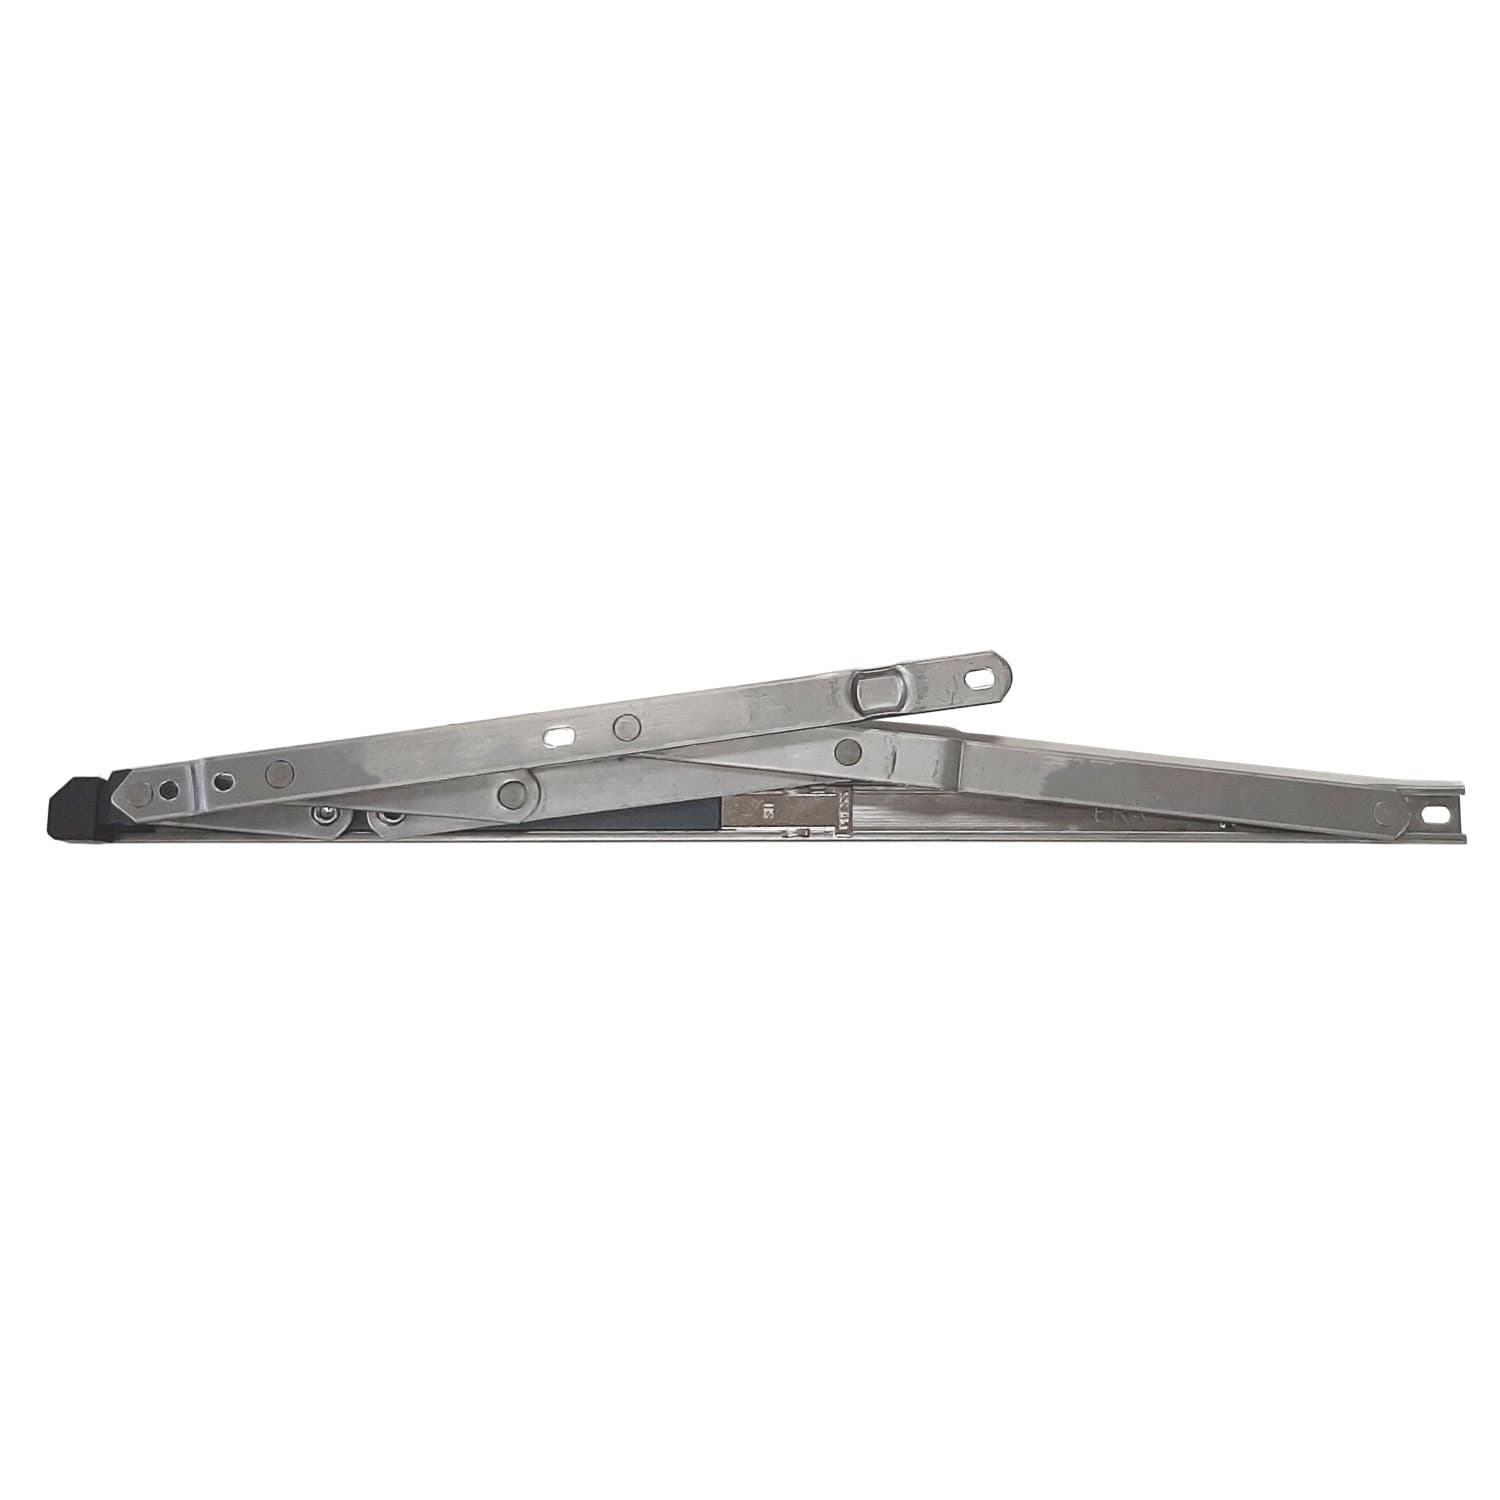
- Restricted Friction Stay Hinges
Conclusion and next steps
Regular inspection, cleaning and correct lubrication will keep window restrictors functioning and safe. Replace any worn or damaged parts promptly, use manufacturer-approved spares and choose appropriate fasteners for the frame material. For complex issues, suspect compliance questions or if you prefer not to undertake work at height, contact a qualified installer.
For technical specifications, fitting instructions and replacement parts see our central resource: /c/windows-restrictors. If you need parts or professional assistance, Window Hardware Store can advise on compatible restrictors and arrange supply or installation through our trade partners.
Related articles
Window Restrictors
What Is a Cable Window Restrictor? How They Work
What Is a Cable Window Restrictor? How They Work A cable window restrictor is a simple mechanical device fitted to a window to limit how far it can open. I...
Cable Window Restrictor Safety Features Explained
Cable Window Restrictor Safety Features Explained What a cable window restrictor does and where it is used A cable window restrictor is a safety device fit...