Cable Window Restrictor Problems: Troubleshooting Tips
Cable Window Restrictor Problems: Troubleshooting Tips Cable window restrictors are a common safety device installed on residential and commercial windows ...
Cable Window Restrictor Problems: Troubleshooting Tips
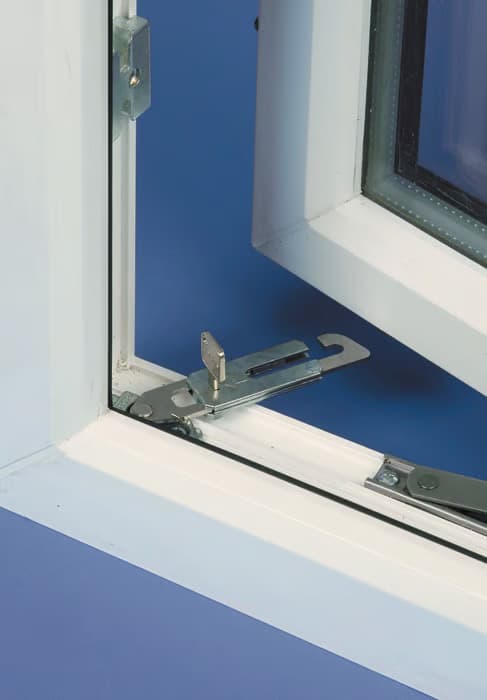
Cable window restrictors are a common safety device installed on residential and commercial windows to limit opening for child safety and security. Despite their simple appearance, they can present a range of problems from minor wear to sudden failure. This post explains typical faults, practical diagnostic checks, repair options, and trade-level tips for installers and homeowners in the UK.
Common faults and what causes them
Understanding how and why restrictors fail helps identify the correct repair. Typical issues include:
- Frayed or snapped cable: caused by abrasion against sharp edges, repeated flexing, or corrosion in coastal environments.
- Stretching or slack cable: repeated load cycles or poor initial tension can allow excessive window opening.
- Seized mechanism or jammed slider: dirt, paint overspray or internal corrosion can prevent free operation.
- Loose or stripped fixings: incorrect screw type, poor pilot holes, or low-quality frame material lead to movement and play.
- Lock cylinder failure on locking restrictors: worn tumblers, dirt ingress or incorrect keying can prevent locking/unlocking.
- Incorrect restrictor length or type: wrong model for sash size can over‑restrict or allow unsafe openings.
Initial safety checks
Before touching the restrictor ensure the window is stable: support the sash and do not rely on the restrictor to carry the weight. If the sash is stuck open or slipped, secure it with a prop or have a second person hold it. If there is any risk to occupants, particularly children, make the area safe and consider temporary measures such as blocking access to the window.
Step-by-step troubleshooting
Work through these checks in order to isolate the problem:
- Visual inspection: look for frayed cable strands, rust, paint build-up, missing components and loose screws. Check both ends of the cable at the fixings and any swaged crimps.
- Functional test: with the sash supported, operate the restrictor through its full movement. Note where it binds or where excessive play occurs. For locking models, test lock/unlock with the key and observe any stickiness.
- Check fixings and substrate: confirm screws are the correct length and type for the frame material (timber, PVCu or aluminium). Timber often needs countersunk screws; PVCu commonly requires self-tapping screws with correct pilot holes; aluminium requires pre-drilling and through-bolts or rivets as recommended.
- Assess corrosion risk: in coastal properties use stainless steel components; mild steel parts commonly corrode and seize. Replace corroded parts rather than attempt long-term repairs.
- Measure restrictor geometry: confirm the installed length and mounting centres match the sash and frame geometry; an incorrectly sited restrictor will allow excessive opening or over-tension the cable.
DIY repairs homeowners can safely attempt
Homeowners can address some minor issues if comfortable with basic tools. Recommended actions:
- Tighten loose screws: use the correct screwdriver head and avoid over-tightening; strip repairs in timber can be re-bored and plugged with a suitable hardwood dowel or use a slightly larger screw.
- Clean and lubricate moving parts: remove paint and debris with a soft brush; apply silicone spray to moving pivots and a light penetrating oil for seized metal parts. Do not use heavy grease on cables as this attracts dirt.
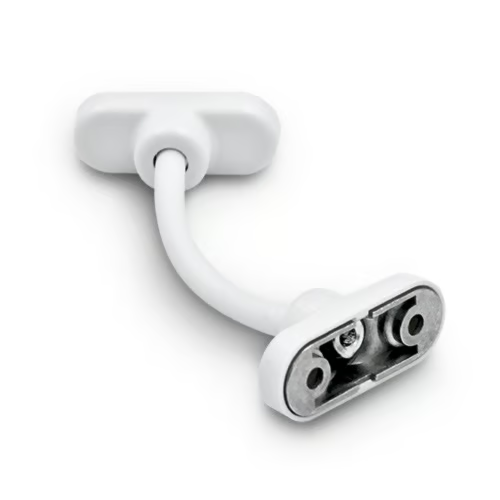
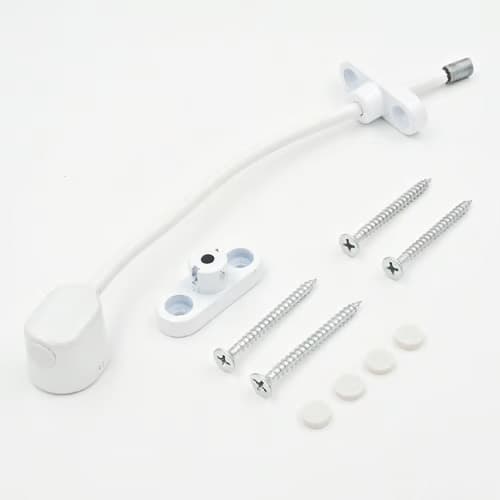
- Replace simple fittings: many non-locking cable restrictors are supplied as complete units; replacement usually involves unscrewing the two brackets and fitting the new restrictor with the same fixing positions.
- Swap an entire unit if the cable is frayed or the swage has failed: attempting to re-terminate a swaged cable without specialist tools is not advised.
Trade-level advice for installers and maintenance teams
For trade professionals, correct specification and installation prevent most future problems. Best practice includes:
- Choose the correct model and finish: select stainless steel or coated units for coastal or high-humidity locations; use locking variants where required for security.
- Use manufacturer-recommended fixings: matching screws and plugs to the frame material avoids stripping and ensures rated pull-out strength.
- Follow torque and pilot hole guidance: over-tightening can deform PVCu frames and under-tightening leads to movement that stresses the cable and brackets.
- Stock common lengths and spare components: many restrictor units are modular; carrying replacement cables, brackets and cylinders reduces call-back time.
- Record maintenance: log installation and routine checks including operation cycles and any parts replaced; this helps warranty claims and planned replacements.
Cylinder and lock-specific faults
Locking cable restrictors include a small cylinder which can stick or fail. For locks:
- Use a dry lock lubricant such as graphite or a PTFE spray; avoid oil-based lubricants which attract dirt.
- If keys do not turn or the cylinder feels gritty, remove and inspect for contamination; replacement cylinders are often more economical than rebuilding.
- Ensure keys are not bent; a bent key can damage internal tumblers and create a jam.
When to replace rather than repair
Replace the restrictor if the cable is frayed, the swage has failed, the mounting brackets are warped or corroded, or if the mechanism no longer meets the intended opening limit. Do not attempt makeshift repairs such as tying or knotting a frayed cable; these are unsafe and may fail under load.
Compliance and testing
Installations should comply with relevant British Standards and building regulations applicable to safety glazing and child protection where relevant. After installation or repair, carry out a full functional test and document the result: the restrictor should stop the sash at the correct opening and operate smoothly over several cycles.
Recommended Products
Based on this article, you may find these products helpful:
- UAP Keyless Window Restrictor
- TSS Keyless Cable Window Restrictor
- TSS Fixed Cable Window Restrictor
- RES Lock Concealed Window Restricto
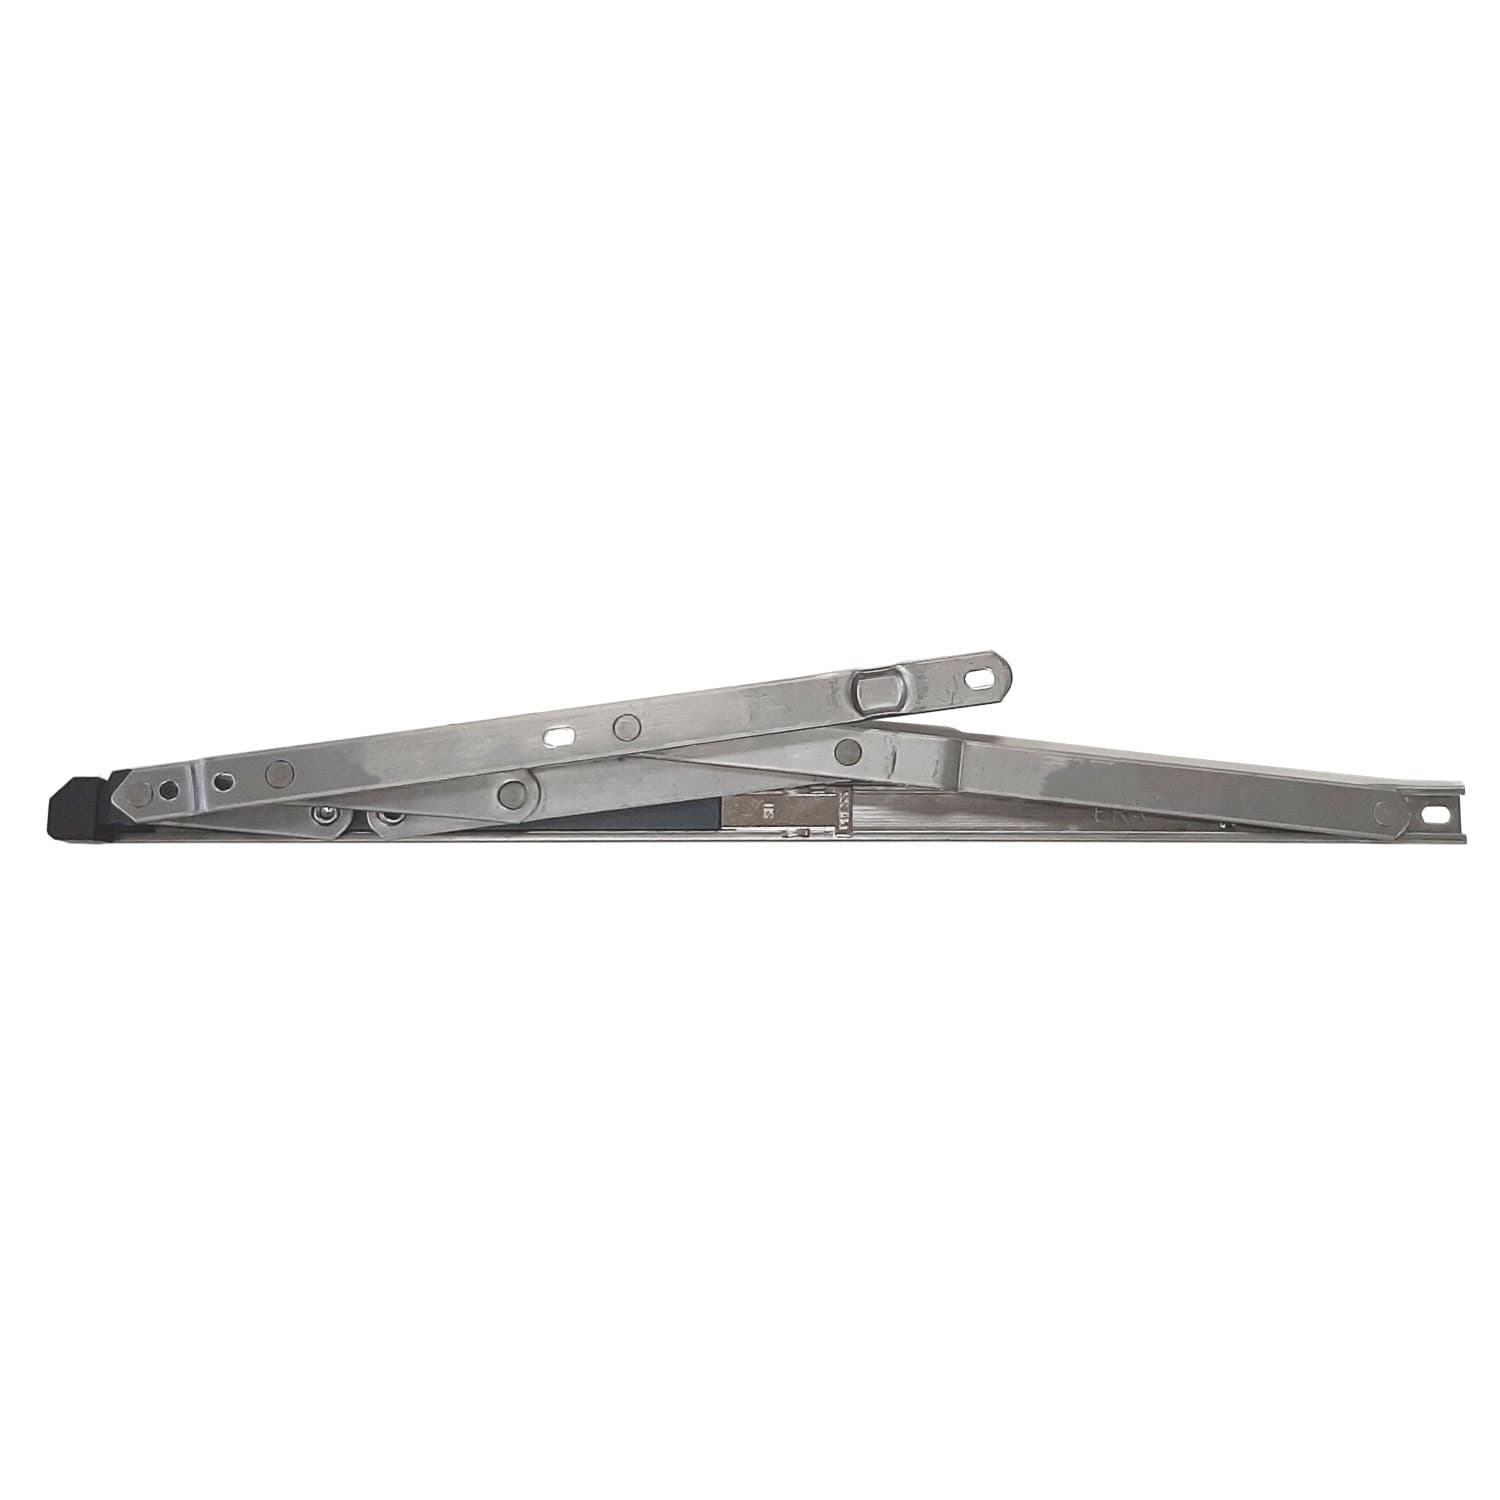
- Restricted Friction Stay Hinges
Conclusion and next steps
Cable window restrictor issues are commonly caused by wear, incorrect installation and environmental corrosion. Many faults can be diagnosed with a careful inspection and remedied by tightening fixings, cleaning and lubrication, or replacing the whole unit. For homeowners, replace frayed cables and seized units rather than attempt complex repairs; for installers, specify the correct product and fixings for the frame and environment, and keep spares to hand. For more technical information and product choices visit our pillar page: /guides/window-locks-restrictors or contact a trade specialist if there is any doubt about safety or compliance.
Related articles
Window Restrictors
What Is a Cable Window Restrictor? How They Work
What Is a Cable Window Restrictor? How They Work A cable window restrictor is a simple mechanical device fitted to a window to limit how far it can open. I...
Cable Window Restrictor Safety Features Explained
Cable Window Restrictor Safety Features Explained What a cable window restrictor does and where it is used A cable window restrictor is a safety device fit...