Window Restrictor Safety Standards: EN 14351 Explained
Window Restrictor Safety Standards: EN 14351 Explained Window restrictor products are a common specification on both new builds and retrofit projects; they...
Window Restrictor Safety Standards: EN 14351 Explained
Window restrictor products are a common specification on both new builds and retrofit projects; they reduce the risk of falls from height and help meet safety requirements for vulnerable occupants. This article explains how the European product standard EN 14351 relates to windows and window restrictors, what installers and homeowners should check for, and practical trade and DIY guidance to ensure safe, compliant installations.
What EN 14351 covers and why it matters
EN 14351-1 is the harmonised product standard for windows and external pedestrian doorsets. It sets performance criteria for complete window products: air permeability, water tightness, resistance to wind load, thermal transmittance, acoustic performance and essential safety characteristics. When a window is placed on the market in the UK or EU it is typically accompanied by a Declaration of Performance and CE or UKCA marking that references EN 14351 where applicable.
Important point for restrictors: EN 14351 applies to the finished window assembly rather than each individual piece of hardware. A window fitted with a restrictor must still meet the declared performance characteristics. In practice that means restrictors must be compatible with the window system and be fitted so they do not compromise strength, weather performance or the ability to escape in an emergency where required.
Relevant hardware standards and markings
Window restrictors are mechanical hardware; separate standards govern the performance and durability of fittings. The EN 13126 series covers many types of window hardware; manufacturers often test restrictors for strength, durability and corrosion resistance to those or similar specifications. For the market, look for:
- CE or UKCA marking on the finished window or on the hardware as required;
- A Declaration of Performance (DoP) for the window that confirms compliance with EN 14351 where applicable;
- Technical data from the restrictor manufacturer detailing load ratings, permitted openings and corrosion class (for example Class 3 or Class 4 for coastal locations).
Safety and building regulation context
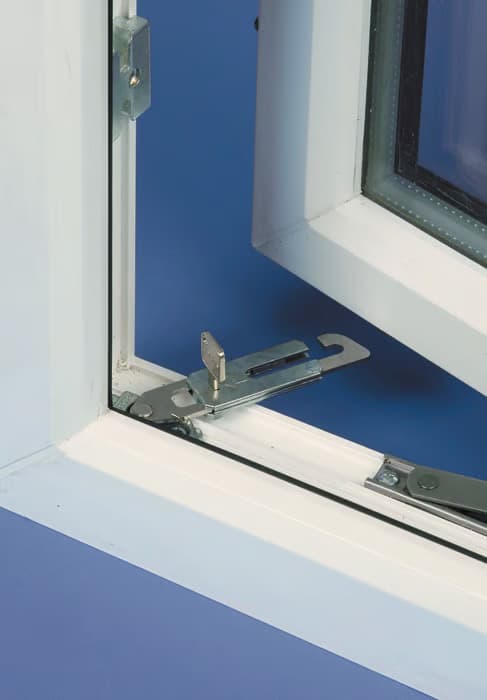
Building Regulations and guidance documents set expectations for the prevention of falls from windows. For example, Approved Document K (protection from falling) advises on guarding and safe openings in dwellings. For room users who are vulnerable, specifiers commonly limit window openings to about 100 mm with restrictors; this is a practical industry recommendation rather than a single statutory dimension. For means of escape windows, restrictors must be releasable quickly and easily from the inside so the window can be fully opened in an emergency.
Choosing the right window restrictor: trade advice
When selecting a restrictor for a project, consider the following:
- Compatibility: ensure the restrictor is suitable for the window type: casement, top-hung, tilt-and-turn, horizontal sliding or rooflight. Some restrictors are designed specifically for a sash or a frame application.
- Strength and durability: check tested load ratings and cycle life; trade-grade restrictors should be tested for thousands of cycles and have corrosion protection appropriate to the environment.
- Release mechanism: for escape routes use restrictors with a simple internal release; for child safety applications consider models that need a tool or key to release only where escape is not required.
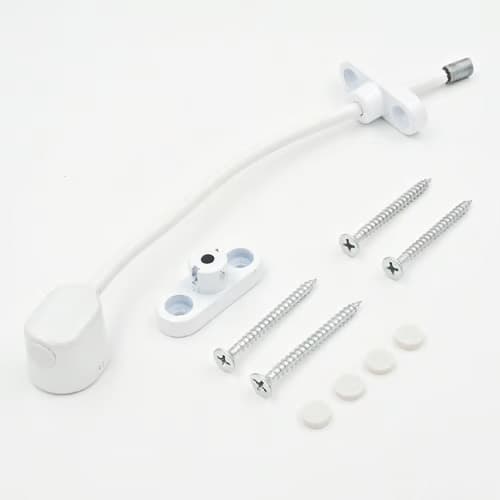
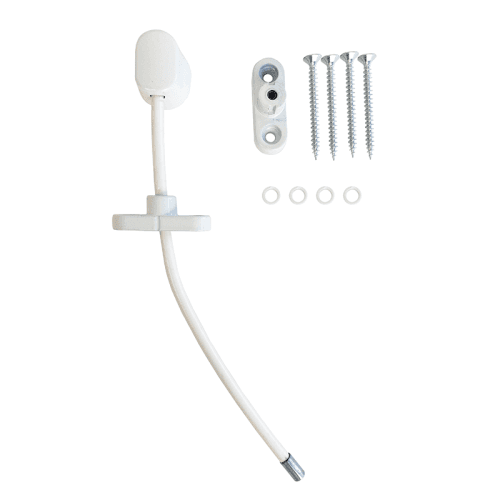
- Fixings and materials: stainless steel fixings and corrosion-resistant bodies are essential in coastal or humid environments; aluminium frames may require rivets or through-fixings rather than wood screws.
- Documentation: request manufacturer installation instructions, test certificates and any suitability statements for use with your chosen frame material.
Practical DIY and installation guidance
These steps are for routine installations; for complex or high-risk situations use a trained trade fitter:
- Plan the position: fit the restrictor to the fixed frame where possible; fixing into the fixed frame reduces stress on the moving sash and gives a more secure anchor.
- Measure and mark: set the restrictor length so the opening is limited to the safe distance specified on site; check that the restricted opening still allows ventilation and reasonable use.
- Pilot holes and appropriate fixings: always drill pilot holes suitable for the screw or rivet supplied; for timber frames use countersunk wood screws of sufficient length to penetrate at least 25 mm into solid timber; for aluminium use pop rivets or manufacturer recommended fasteners.
- Torque and sealing: tighten fixings to the manufacturer’s torque; avoid over-tightening which can strip fixings or deform frames. Where fixings penetrate weather-exposed frames, seal with appropriate mastic to prevent water ingress.
- Test operation and emergency release: check the restrictor works smoothly over the full cycle and that any quick-release function operates reliably; demonstrate operation to the client.
- Record and label: where a restrictor limits an escape route advise the homeowner; label escape restrictors if required and leave installation instructions with the client.
Maintenance and periodic checks
Regular checks keep restrictors safe and working:
- Inspect fixings and the housing annually; retighten if necessary and replace any corroded screws or worn parts.
- Operate the restrictor monthly to ensure the release mechanism is not seized and that it re-engages correctly.
- Lubricate moving parts with a silicone or light machine oil where recommended by the manufacturer; avoid heavy greases that attract dust.
- Replace restrictors that show metal fatigue, excessive play or failure to meet the specified opening limit.
Specialist situations and trade tips
For rental properties, HMOs and schools consider restrictors with tamper-resistant fixings and documented inspection schedules. For large commercial windows or curtain walling consult the frame manufacturer before fitting restrictors: fixings may need reinforcement and the restrictor could interact with friction stays and hinges. Always use manufacturer-recommended components to avoid voiding warranties or compromising the window’s declared performance under EN 14351.
Recommended Products
Based on this article, you may find these products helpful:
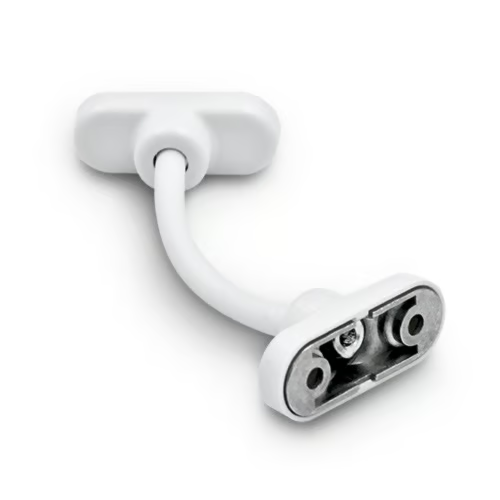
- UAP Keyless Window Restrictor
- TSS Keyless Cable Window Restrictor
- TSS Fixed Cable Window Restrictor
- RES Lock Concealed Window Restricto
- Top Hung Friction Stay - 12"
Conclusion and next steps
EN 14351 is the product standard for windows; window restrictors are part of the window system and must be selected and fitted so the finished assembly still meets declared performance and safety requirements. For trade professionals specify restrictors that are compatible, tested and documented; for DIYers follow manufacturer instructions, use correct fixings and check emergency release where required. To proceed: inspect your windows, identify locations that need restriction, choose a certified restrictor suitable for the frame material and environment, and keep records of installation and maintenance. For further practical information and product options see our pillar guide on window locks and restrictors: /guides/window-locks-restrictors.
Related articles
Window Restrictors
What Is a Cable Window Restrictor? How They Work
What Is a Cable Window Restrictor? How They Work A cable window restrictor is a simple mechanical device fitted to a window to limit how far it can open. I...
Cable Window Restrictor Safety Features Explained
Cable Window Restrictor Safety Features Explained What a cable window restrictor does and where it is used A cable window restrictor is a safety device fit...