How to Adjust a Window Restrictor Opening Distance
How to Adjust a Window Restrictor Opening Distance Why adjust a window restrictor Window restrictors limit how far a window can open for safety and securit...
How to Adjust a Window Restrictor Opening Distance
Why adjust a window restrictor
Window restrictors limit how far a window can open for safety and security: to prevent falls, reduce unauthorised access, and comply with ventilation or cleaning requirements. You may need to change the opening distance to allow easier cleaning, improve airflow, or meet escape-route requirements. Correct adjustment keeps the window functional while maintaining safety, so work carefully and test thoroughly after any change.
Identify your restrictor type
Different restrictors adjust in different ways. Before starting, determine which of the following you have:
- Strap or ribbon restrictor: a fabric or metal strap with multiple fixing positions.
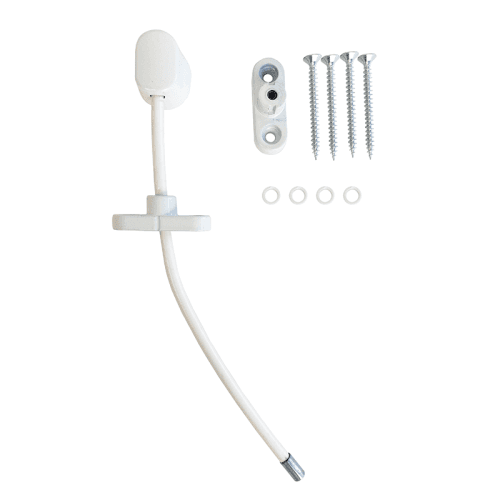
- Cable restrictor: steel cable with fixed length or multi-hole fixing plate.
- Chain or hinged arm restrictor: metal arm that fits into different notches or holes.
- Key-operated or push-button restrictor: removable or lockable type with a release mechanism for emergency egress.
- Friction hinge restrictor: integrated into the hinge with a limit screw or slot.
Knowing the type tells you whether the opening distance can be changed by moving fixings, releasing a pin, altering a slot or replacing a component.
Tools and materials you will need
- Screwdriver set: pozidriv and crosshead; sizes to suit your screws.
- Drill and appropriate pilot drill bits for timber, UPVC or metal.
- Replacement screws: A2 stainless steel recommended for durability.
- Replacement restrictor kit: straps, cables or keyed restrictor if current unit is non-adjustable or damaged.
- Sharp tape measure or ruler.
- PPE: gloves and eye protection.
- Small chisel or centre punch for pilot positioning if needed.
Adjusting common restrictor types: step-by-step
Strap or ribbon restrictor
These are common on sash and casement windows and usually have several fixing holes on the frame plate to change the effective length.
- Open the window to the desired test position and mark the sash relative to the frame so you know where the strap should fix.
- Support the window open; do not rely on the restrictor alone while making adjustments.
- Loosen the strap fixing screws slightly and refix the strap to a different hole closer to or further from the sash to reduce or increase the opening distance.
- Tighten screws securely; use stainless screws and ensure the strap sits flat with no twists.
- Test the window several times to confirm the opening is consistent and the strap is not over-stressed at its new angle.
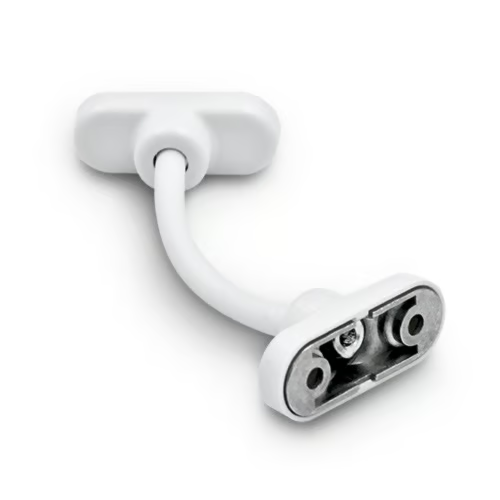
Cable or chain restrictor
Some cable units have multiple fixing points on the frame plate; others are riveted and non-adjustable.
- If the plate has several holes: reposition the end plate to a different hole to alter the maximum opening; refit with the correct screw length and head type.
- If the cable end is riveted or crimps are fixed: replacement with an adjustable cable or a new restrictor is the safe option; do not attempt to shorten a crimped cable by re-crimping unless you have the correct tooling and replacement cable assembly.
- After any change, check for sharp bends that could fray the cable and ensure the cable path is free from chafing against the frame.
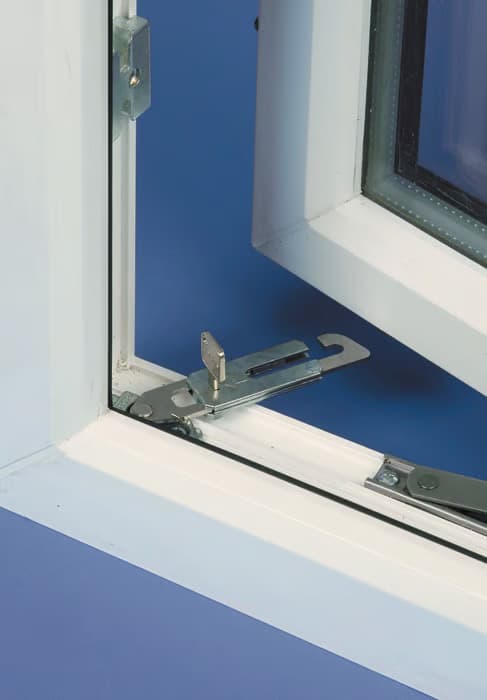
Hinged arm or bracket restrictor
These often use notches or a sliding plate to set the opening stop.
- Locate the notch or slot and open the window to the position of the desired notch; release the arm from the current notch and relocate.
- If the arm mounts with screws, moving the mounting plate along its available slots will alter the travel limit.
- Ensure the arm engages fully in the notch; incomplete engagement will allow the window to open further and compromise safety.
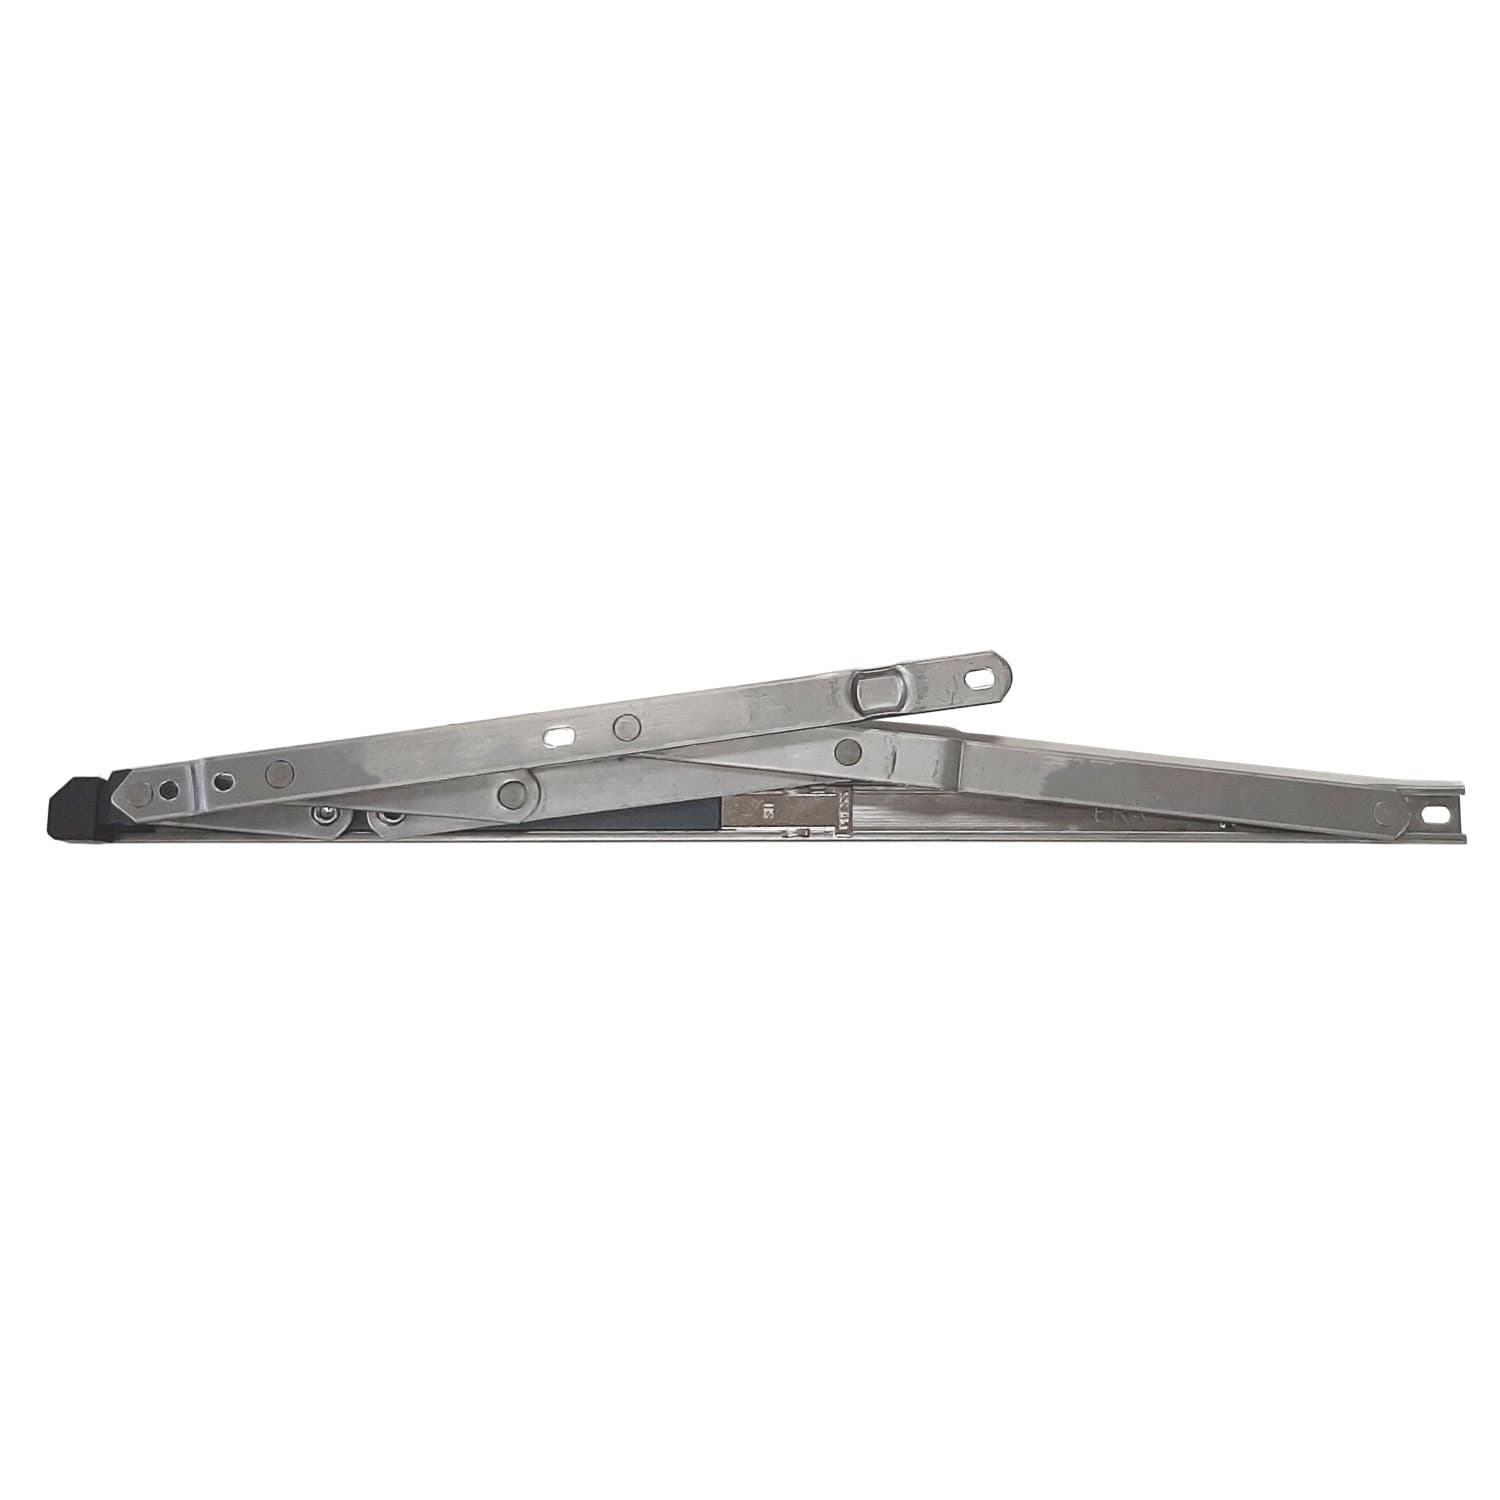
Friction hinge with limit screw
Some modern hinges integrate a limit screw or a sliding stop.
- Refer to the hinge manufacturer’s marking; on many types a small grub screw or limit screw can be slackened and the sliding stop adjusted.
- Adjust incrementally and test the window at each step; do not overtighten the screw to the point of deforming the hinge.
- If unsure of the hinge internal arrangement, consult the hinge data sheet or supplier; incorrect adjustment can affect the hinge’s load-bearing behaviour.
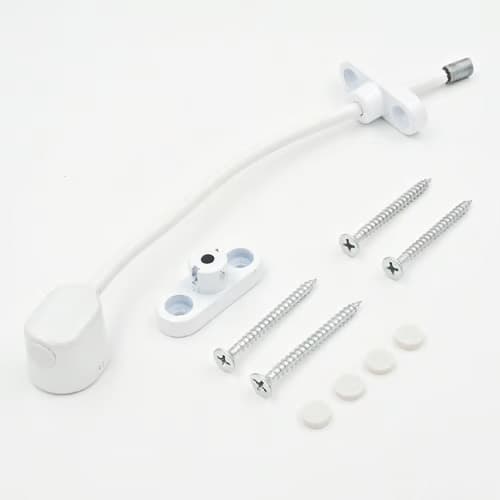
If the restrictor is fixed, damaged or riveted
Some older restrictors are riveted or welded in place and cannot be adjusted. In these cases replace the unit. Replacement is straightforward for a competent DIYer or a trade fitter:
- Remove the old unit: drill out rivets and clear holes; retain the original fixing positions if they are in sound timber or UPVC.
- Fit the new, adjustable restrictor using A2 stainless screws; if drilling into new material, use correct pilot hole sizes to avoid splitting timber or distorting UPVC frames.
- Choose a restrictor type suited to the intended use: key-operated for emergency escape windows; fixed-length for permanent child safety barriers; adjustable models for cleaning/ventilation needs.
Safety and compliance
Always consider safety and regulatory requirements: restrictors should not impede escape where a window is required as an emergency exit; quick-release or key-operated restrictors are often used where egress is necessary. For child safety, many installers aim for maximum openings of 100–120 mm across low-level windows; check local building regulations and fire safety guidance for exact requirements applicable to your property. If in doubt, consult a qualified installer or your local authority building control.
Maintenance and testing
Regular maintenance keeps restrictors effective: inspect annually for corrosion, fraying or loose fixings; lubricate moving parts with a light oil or silicone spray where appropriate; replace worn straps, cables or arms promptly. After adjustment or replacement, test the window at least five cycles to confirm consistent operation and ensure the restrictor engages properly every time.
Recommended Products
Based on this article, you may find these products helpful:
- UAP Keyless Window Restrictor
- TSS Keyless Cable Window Restrictor
- TSS Fixed Cable Window Restrictor
- RES Lock Concealed Window Restricto
- Restricted Friction Stay Hinges
Conclusion and next steps
Adjusting a window restrictor is usually straightforward when you know the type and have the right tools. Start by identifying the restrictor, measure the required opening, and adjust by moving the fixing point, relocating an arm or replacing the unit if necessary. If the current restrictor is fixed or damaged, fit a modern adjustable or quick-release model to meet both safety and usability needs. For technical assistance, parts or trade-grade restrictor kits, visit our pillar guide: /c/windows-restrictors, or contact Window Hardware Store for product recommendations and installation support.
Related articles
Window Restrictors
What Is a Cable Window Restrictor? How They Work
What Is a Cable Window Restrictor? How They Work A cable window restrictor is a simple mechanical device fitted to a window to limit how far it can open. I...
Cable Window Restrictor Safety Features Explained
Cable Window Restrictor Safety Features Explained What a cable window restrictor does and where it is used A cable window restrictor is a safety device fit...